 Pin It
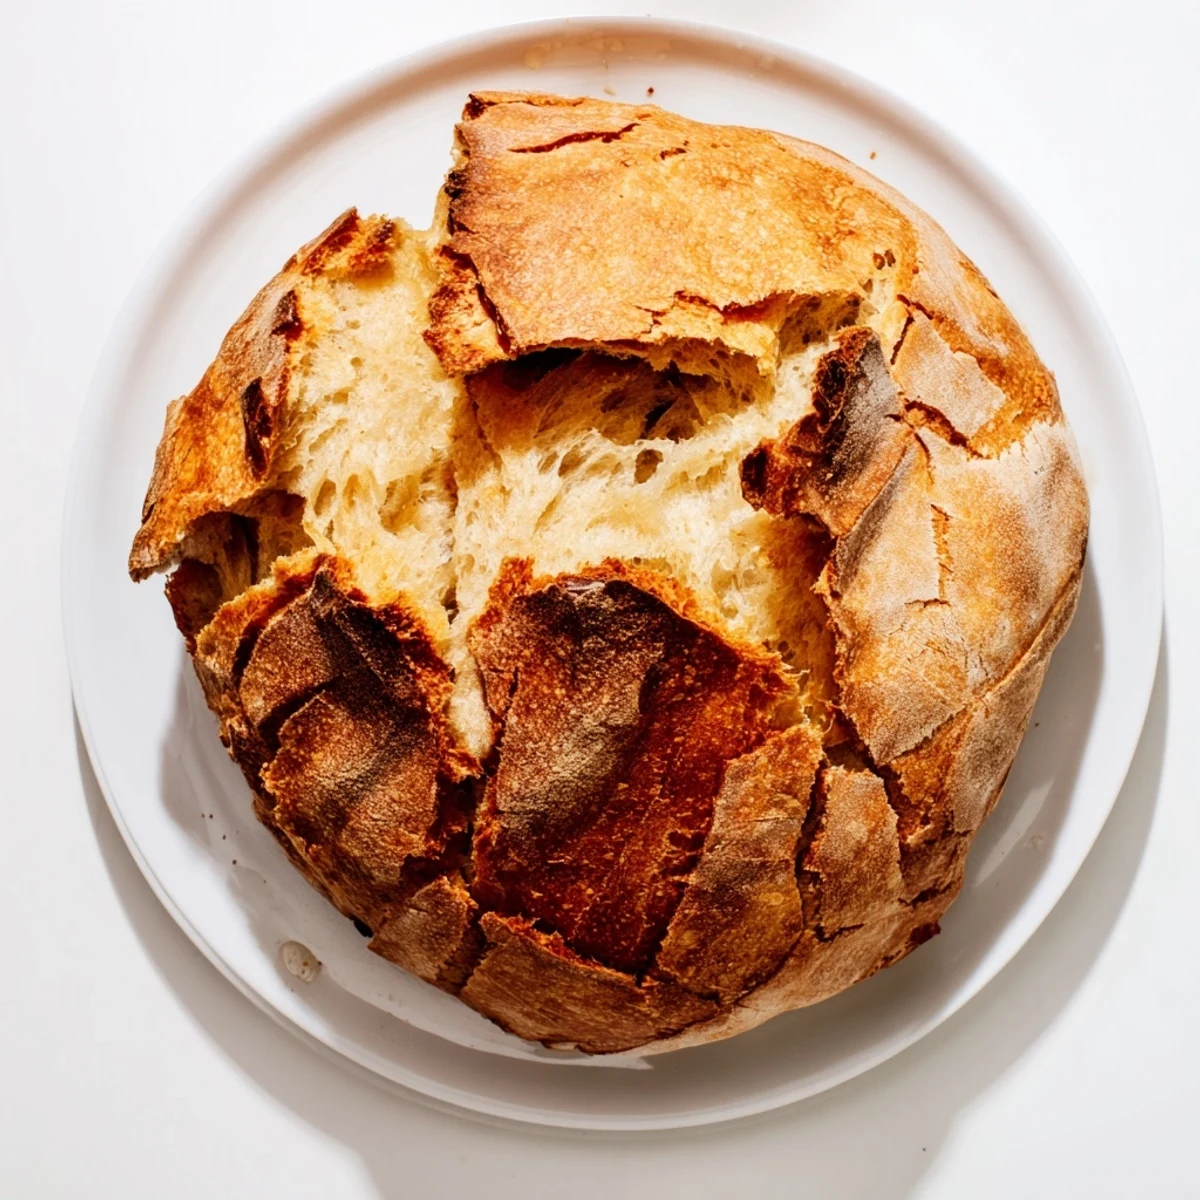
 Mix flour, salt, yeast, and water, then let the dough rest overnight for effortless fermentation. Bake in a preheated Dutch oven to achieve that signature crackling crust. The result is a stunning artisan loaf with a beautifully caramelized exterior and light, airy crumb. This method requires no kneading—just time and a hot pot. Perfect for serving alongside soups, building sandwiches, or enjoying warm with salted butter.
The first time I made this bread, I honestly thought I had done something wrong. The dough was so shaggy and sticky, nothing like the neat YouTube videos I had watched. But then came the next morning, and my entire apartment smelled like a proper European bakery. That first crackle when I cut into it sold me forever.
I brought a loaf to a friends house last winter, and we ended up standing around the kitchen island just tearing off pieces with our hands, dipping it in olive oil, talking about everything and nothing. Thats the kind of bread this is, the kind that pulls people into the room.
Ingredients
- 3 cups all purpose flour: I have used bread flour too, but honestly the all purpose gives you that beautiful rustic crumb without making it too dense
- 1 1/2 teaspoons salt: Do not skimp here, it is what balances everything and makes the flavor sing
- 1/2 teaspoon instant yeast: The long fermentation does all the heavy lifting, so you need very little yeast
- 1 1/2 cups lukewarm water: Think bath temperature, not hot, and use your hand to feel it, you want body temp warmth
Instructions
- Mix your dough:
- Dump the flour, salt, and yeast into your largest bowl and give it a quick whisk. Pour in the water and stir with a spatula until everything is incorporated, it will look messy and that is exactly right.
- Let time work its magic:
- Cover the bowl with plastic wrap or a clean kitchen towel, then walk away. Let it sit on your counter for 12 to 18 hours until the surface is dotted with bubbles and it has grown substantially.
- Shape it gently:
- Flour your counter and turn the dough out, folding the edges toward the center to create a rough ball. Place it on a piece of parchment paper, cover loosely, and let it rest for another 30 to 45 minutes while you preheat.
- Get your oven ready:
- Put your Dutch oven or heavy lidded pot in the oven and crank it to 450°F, letting it heat for at least 30 minutes. You need that vessel screaming hot.
- Bake with confidence:
- Carefully lift the parchment and dough into the hot pot, cover, and bake for 30 minutes. Remove the lid and bake another 10 to 15 minutes until deep golden brown.
- The hardest part:
- Let the bread cool on a wire rack for at least 30 minutes before slicing. Cutting too soon will steam the crumb and ruin all that work you did not even do.
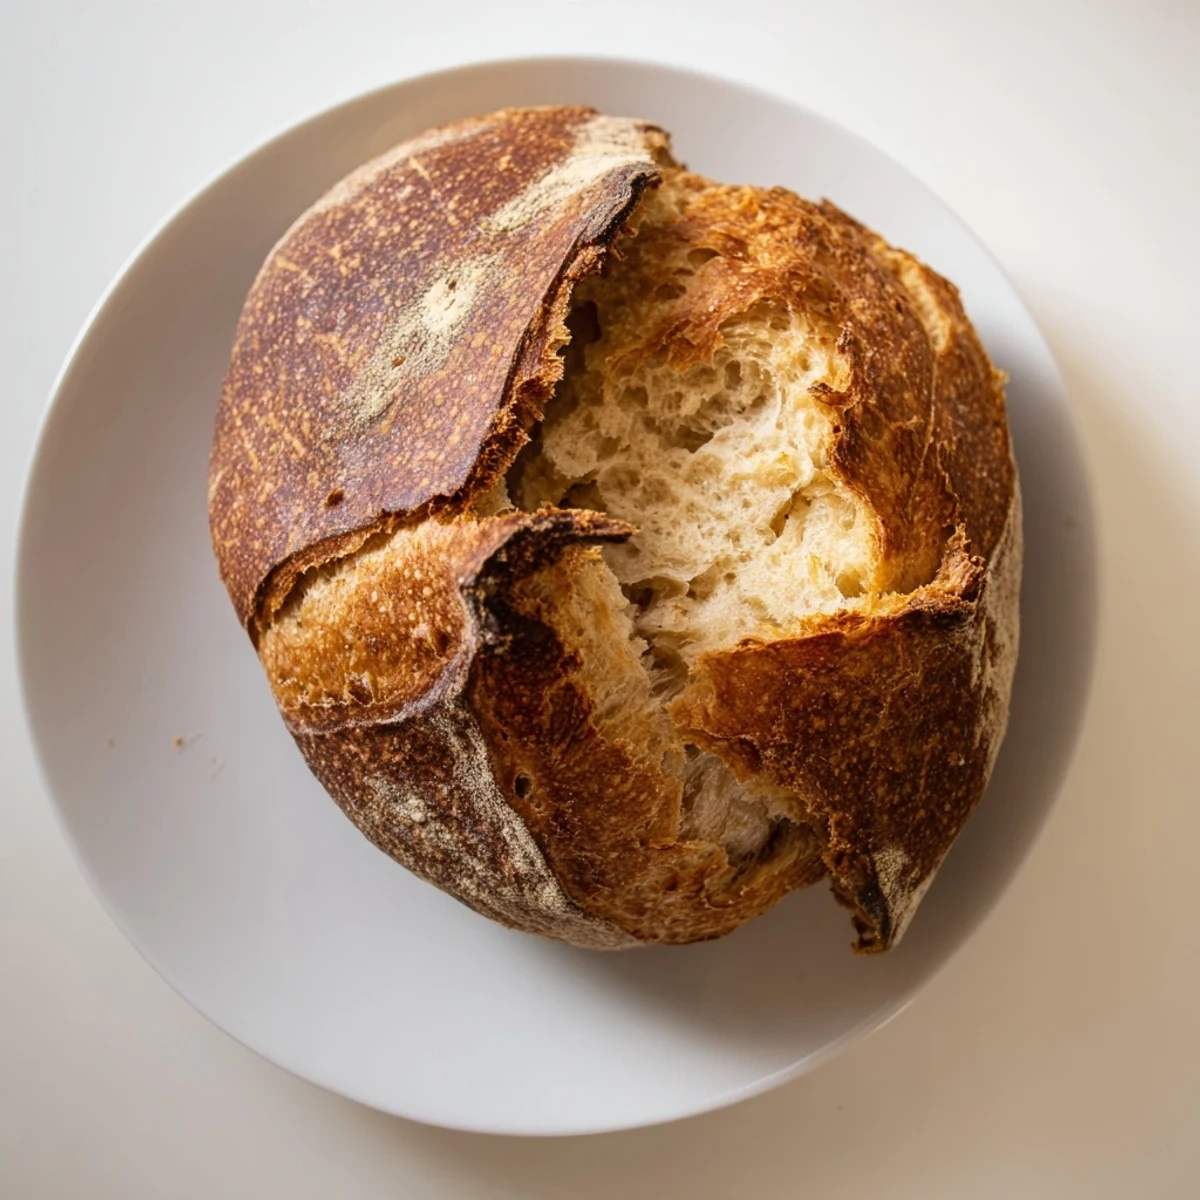 Pin It
 My roommate started requesting this weekly, and honestly, I cannot blame her. There is something magical about having fresh bread that costs pennies and tastes better than anything from the bakery down the street.
Making It Your Own
I have added everything from chopped rosemary to roasted garlic cloves right in the mixing stage. Olives are incredible here, just toss them in with the flour and let them get distributed throughout the dough as it rises.
Temperature Secrets
My kitchen runs cool in winter, so I sometimes put the bowl near the radiator (not too close) to keep the fermentation moving. In summer, it might rise faster, so check it at the 12 hour mark.
Storage Wisdom
This bread is best eaten the first day, but do not throw out leftovers. They make the most incredible toast or croutons, and you can refresh day old bread in a 350°F oven for 10 minutes.
- Store cut side down on a cutting board, never in plastic which makes the crust sad and soft
- If freezing, wrap tightly and thaw still wrapped, then refresh in the oven
- The parchment paper trick is the secret to never having dough stick to your Dutch oven
 Pin It
 Bread like this feels like magic, but really it is just patience and heat. Enjoy every crackle.
Recipe FAQs
- → Why does this bread need 12–18 hours to rise?
-
The extended fermentation time develops complex flavor and creates the bread's characteristic airy texture. Slow fermentation allows natural enzymes to break down starches, resulting in better structure and deeper taste.
- → Can I make this without a Dutch oven?
-
While a Dutch oven creates the ideal steam environment for crackling crust, you can use a heavy pot with a tight-fitting lid or a baking stone with a metal bowl inverted over the loaf. The key is trapping steam during the initial baking phase.
- → How do I know when the bread is done baking?
-
The crust should be deep golden brown, and the loaf should sound hollow when tapped on the bottom. An instant thermometer inserted into the center should read between 190–200°F (88–93°C).
- → Why must I cool the bread before slicing?
-
Slicing while hot releases trapped steam and makes the interior gummy. Cooling allows the crumb structure to set, ensuring that characteristic chewy texture. Let it rest at least 30 minutes for best results.
- → Can I add mix-ins like herbs or cheese?
-
Absolutely. Fold in up to ½ cup of chopped olives, roasted garlic, fresh rosemary, shredded cheese, or sun-dried tomatoes during the initial mixing. These additions blend beautifully with the slow-fermented dough.
