 Pin It
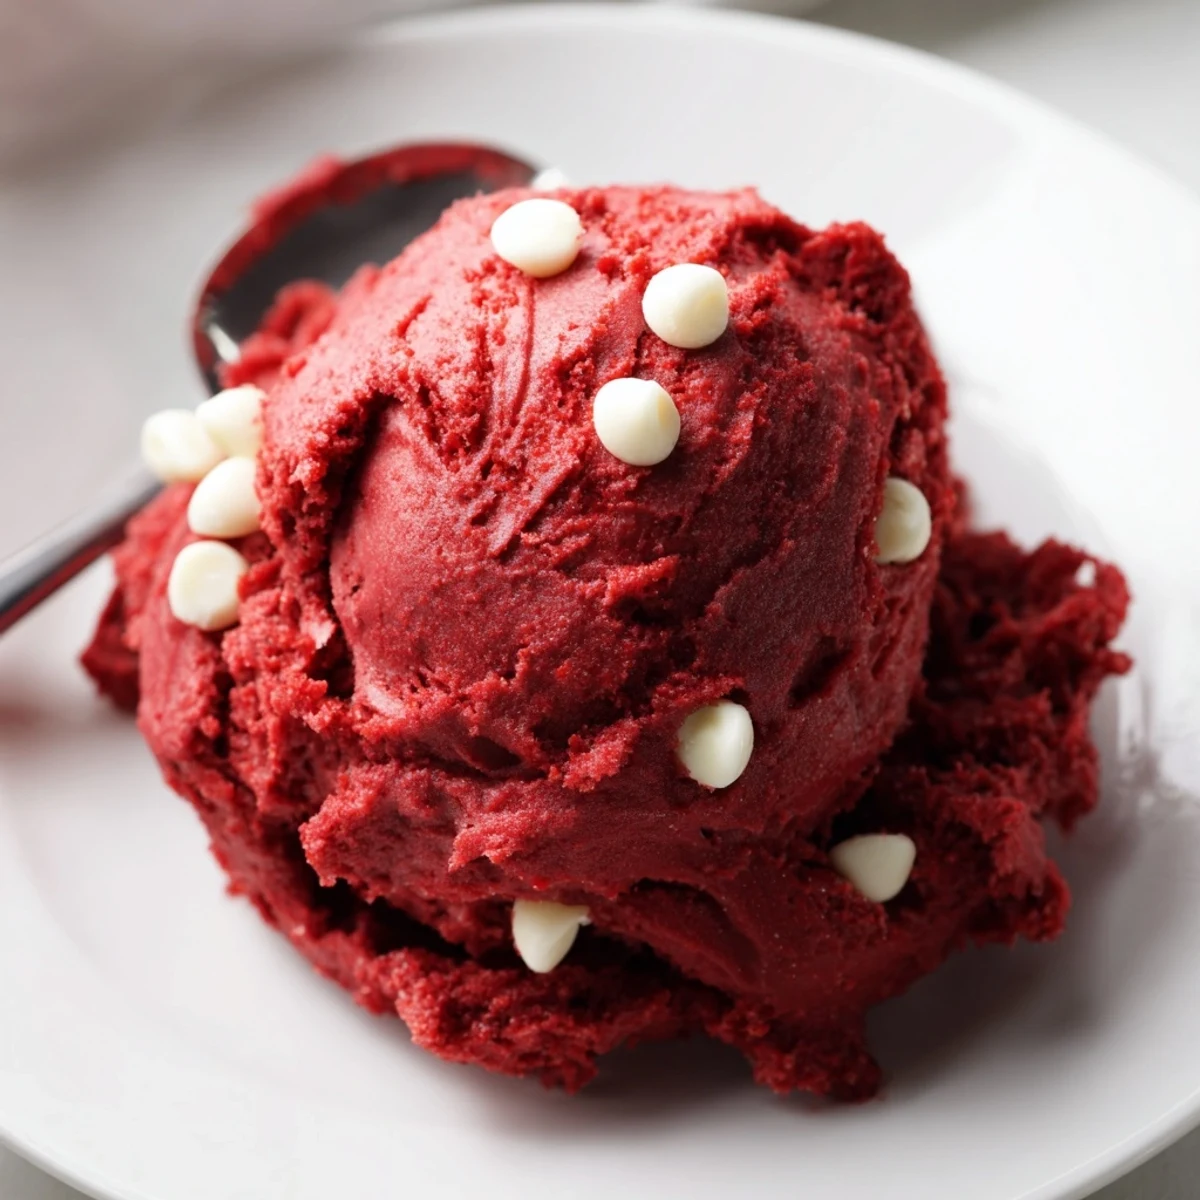
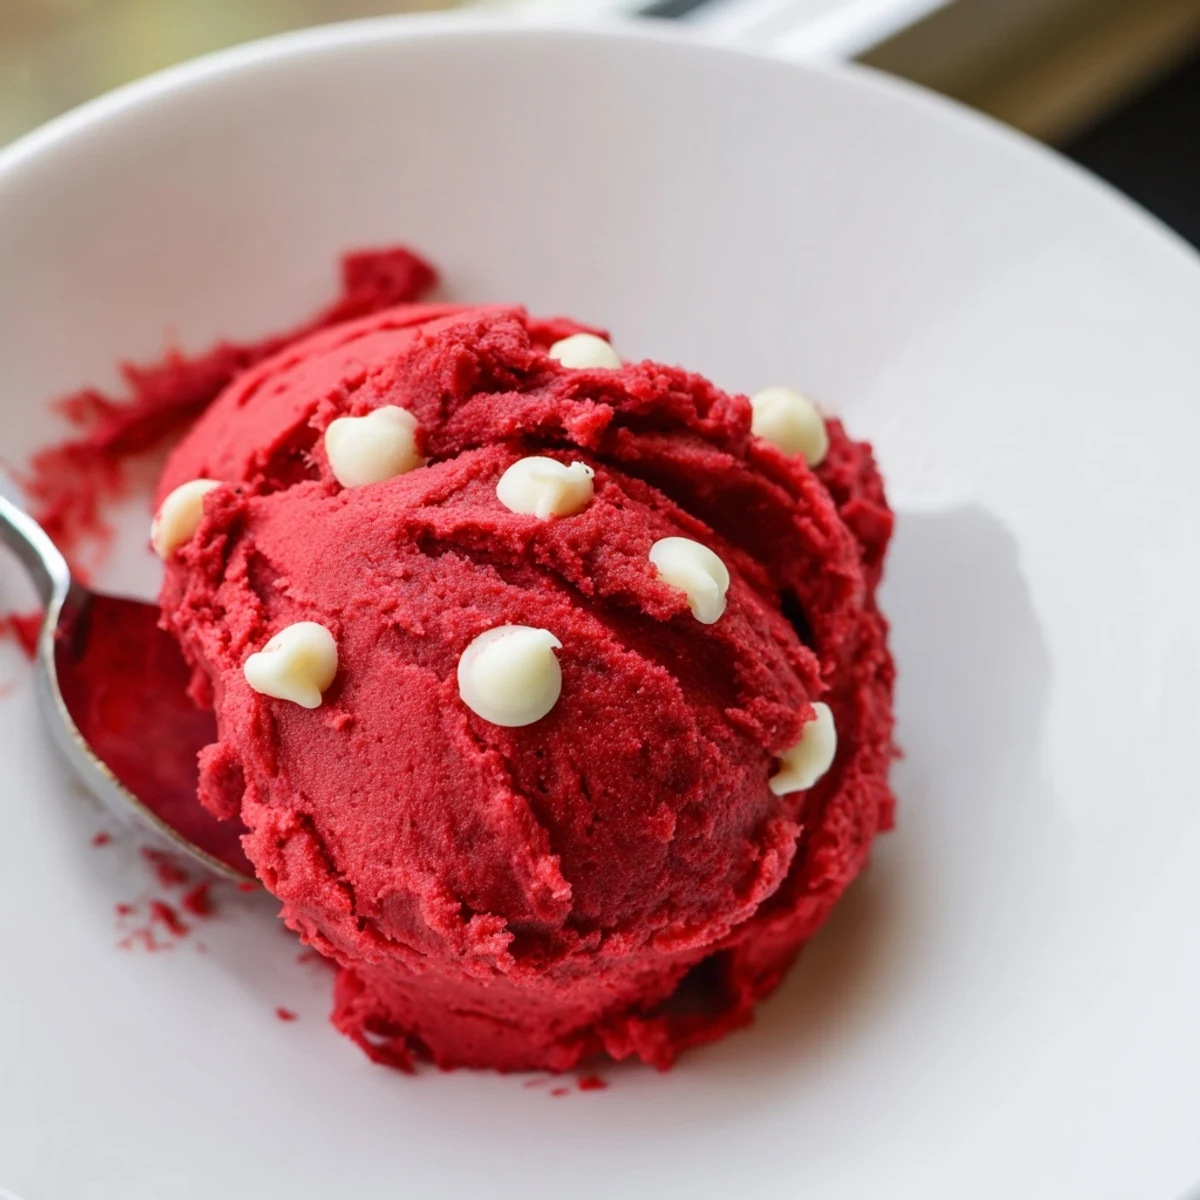
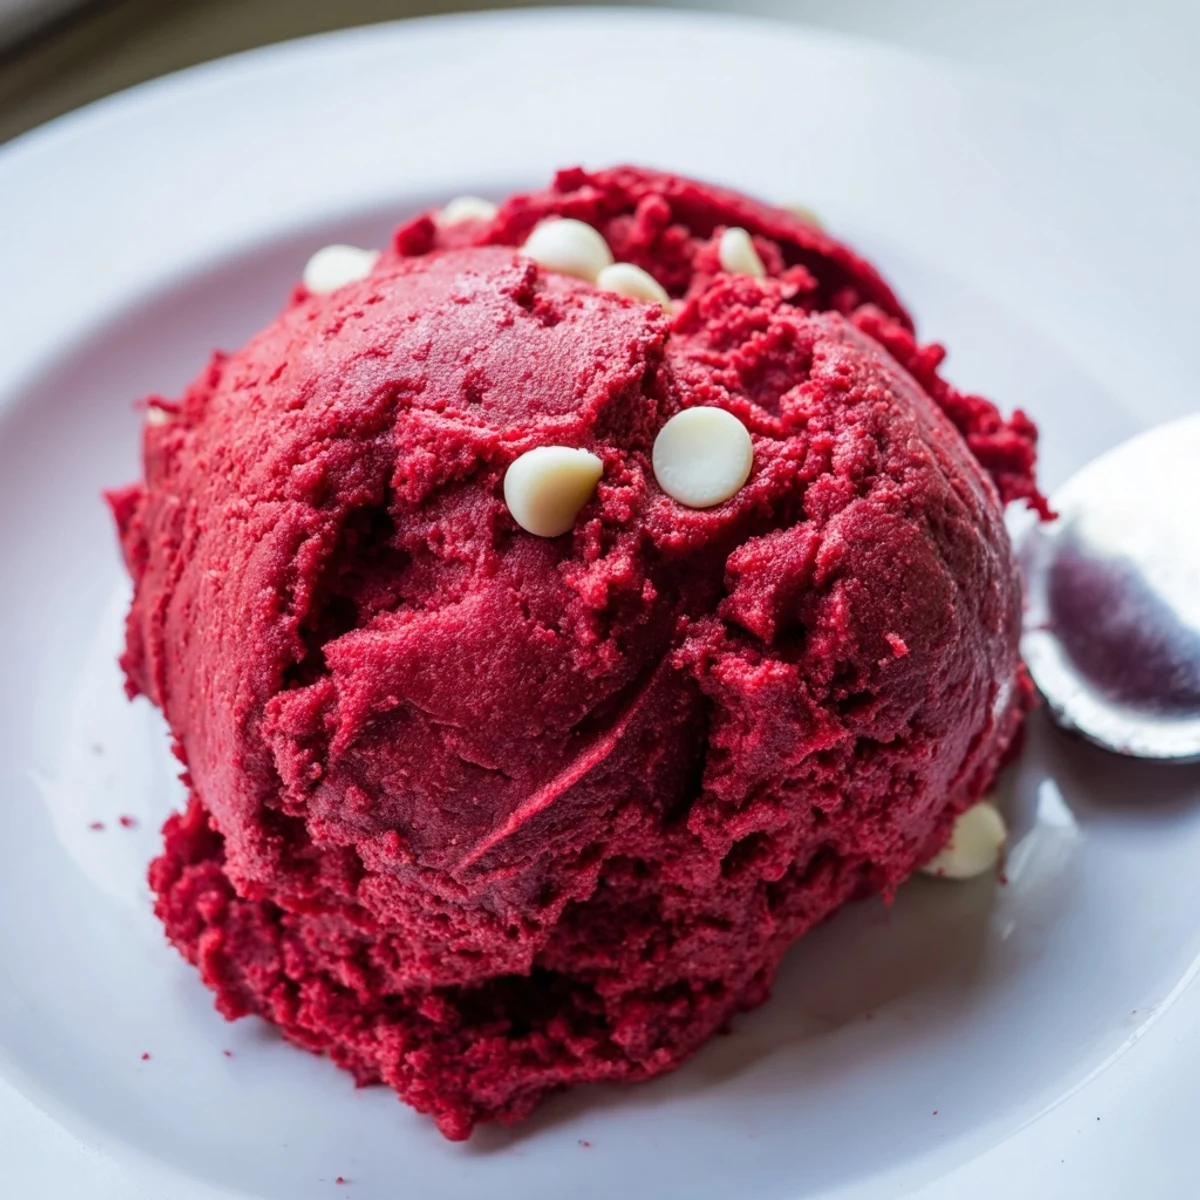
 This edible red velvet cookie dough delivers the classic cocoa flavor and signature red hue without ever turning on the oven. Heat-treated flour ensures it's completely safe to eat raw, while a blend of butter, two sugars, and a splash of vanilla creates that irresistible cookie dough texture.
White chocolate chips folded throughout add creamy pockets of sweetness in every bite. Ready in just 15 minutes, it's perfect for scooping into bowls or rolling into bite-sized balls for a quick dessert that satisfies any sweet craving.
My kitchen looked like a crime scene the first time I made edible red velvet cookie dough, bright red smears across the counter, the spatula, my fingers, and somehow even my forehead. But one bite of that fudgy, cocoa rich dough studded with white chocolate chips and I stopped caring entirely about the mess. This no bake treat captures everything people love about red velvet without ever turning on the oven for the dough itself. It comes together in fifteen minutes and disappears even faster.
I brought a batch of these little rolled dough balls to a friends movie night last winter and they vanished before the opening credits finished. Three people texted me the next day asking for the recipe, which is honestly the highest compliment a home cook can get.
Ingredients
- All purpose flour (1 1/4 cups, 160 g), heat treated: Raw flour can harbor bacteria so baking it for five minutes at 350 degrees eliminates any risk and takes almost no effort.
- Unsalted butter (1/2 cup, 115 g), softened: Let it sit out for about thirty minutes so it creams smoothly with the sugars without melting.
- Granulated sugar (3/4 cup, 150 g): Provides the primary sweetness and helps create that classic cookie dough consistency.
- Light brown sugar (1/4 cup, 50 g), packed: Adds a subtle molasses depth that makes the dough taste more like a baked cookie.
- Unsweetened cocoa powder (2 tbsp, 15 g): This is what gives red velvet its distinctive chocolate undertone without making it taste like a brownie.
- Salt (1/4 tsp): Just enough to balance the sweetness and make the cocoa flavor pop.
- Milk (2 tbsp, 30 ml): Loosens the dough to the perfect scoopable consistency, and any type works fine here.
- Vanilla extract (2 tsp): Use the real stuff if you have it because the flavor shines through in a raw dough like this.
- Red gel food coloring (1 1/2 tsp): Gel is essential here because liquid coloring can make the dough too wet and often leaves a bitter aftertaste.
- Mini white chocolate chips (1/3 cup, 60 g): Folded in at the end for little creamy pockets that contrast beautifully with the red velvet base.
Instructions
- Heat treat the flour:
- Preheat your oven to 350 degrees Fahrenheit, spread the flour in an even layer on a baking sheet, and bake for five minutes until it reaches a safe internal temperature. Let it cool completely before moving forward because hot flour will melt your butter and ruin the texture.
- Cream the base:
- Beat the softened butter with both sugars in a large bowl until the mixture looks light and fluffy, which should take about two minutes with a hand mixer. Scrape down the sides once or twice so nothing hides from the blending.
- Build the flavor:
- Add the cocoa powder, salt, milk, and vanilla extract then mix until everything is smooth and uniform. The dough will look like a rich chocolate base at this point and smell absolutely wonderful.
- Incorporate the flour:
- Gradually add the cooled heat treated flour and blend gently until just combined. Overmixing can make the dough tough so stop as soon as no dry streaks remain.
- Add the signature color:
- Pour in the red gel food coloring and mix until the dough is evenly tinted a vibrant red throughout. A silicone spatula works great for scraping the sides and bottom to catch any pale streaks hiding in the corners.
- Fold in the chips:
- Gently stir in the mini white chocolate chips by hand so they distribute evenly without getting crushed. The contrast of those pale flecks against the red dough is what makes this look as good as it tastes.
- Shape and serve:
- Scoop the dough into small bowls for sharing or roll it into bite sized balls for a party friendly presentation. Serve right away or pop them in the fridge to firm up slightly.
 Pin It
 There is something deeply satisfying about eating cookie dough without a single pang of guilt or worry. It turns a nostalgic indulgence into something you can share freely with anyone, kids included.
Tools That Make It Easier
A hand mixer saves your arm during the creaming step but a sturdy spoon works in a pinch if you are patient. Keep a silicone spatula handy because red food coloring has a way of getting into every crevice of a bowl and you will want every last bit of this dough.
Storing Your Cookie Dough
The dough keeps well in an airtight container in the refrigerator for up to five days and actually firms up nicely when chilled. You can also freeze rolled balls on a sheet pan then transfer them to a freezer bag for up to three months of emergency snack reserves.
Making It Your Own
This recipe is wonderfully adaptable once you have the base down pat. A pinch of espresso powder deepens the chocolate flavor without adding any coffee taste, and swapping the white chocolate chips for dark chocolate or even crushed Oreos creates an entirely different experience.
- For a vegan version use plant based butter, nondairy milk, and dairy free chocolate chips.
- Roll the balls in sprinkles or crushed graham crackers for a fun party presentation.
- Always let the heat treated flour cool completely before adding it to the wet ingredients.
 Pin It
 Keep a batch in the fridge and you will always be fifteen minutes away from a little bowl of happiness. Share it generously or hide it in the back behind the leftovers, your call entirely.
Recipe FAQs
- → Why do I need to heat-treat the flour?
-
Raw flour can contain harmful bacteria like E. coli. Heat-treating the flour at 350°F for about 5 minutes eliminates these pathogens, making the dough completely safe to consume without baking.
- → Can I use liquid food coloring instead of gel?
-
It's best to stick with gel food coloring. Liquid food coloring requires much more to achieve the same vibrant red shade, which can alter the dough's consistency and leave a bitter aftertaste.
- → How should I store leftover cookie dough?
-
Transfer the dough to an airtight container and keep it in the refrigerator for up to 5 days. You can also freeze it for up to 3 months — just let it thaw in the fridge before enjoying.
- → Can I make this dough vegan-friendly?
-
Absolutely. Swap the butter for vegan butter, use plant-based milk instead of dairy milk, and choose dairy-free white chocolate chips. The texture and flavor remain just as indulgent.
- → What can I add to boost the chocolate flavor?
-
A pinch of espresso powder works wonders. It won't make the dough taste like coffee — instead, it deepens and intensifies the cocoa flavor, giving you a richer, more complex taste.
- → Can I freeze individual portions?
-
Yes, roll the dough into bite-sized balls and place them on a parchment-lined tray. Freeze until solid, then transfer to a freezer bag. They'll keep for up to 3 months and are delicious enjoyed straight from the freezer.
