 Pin It
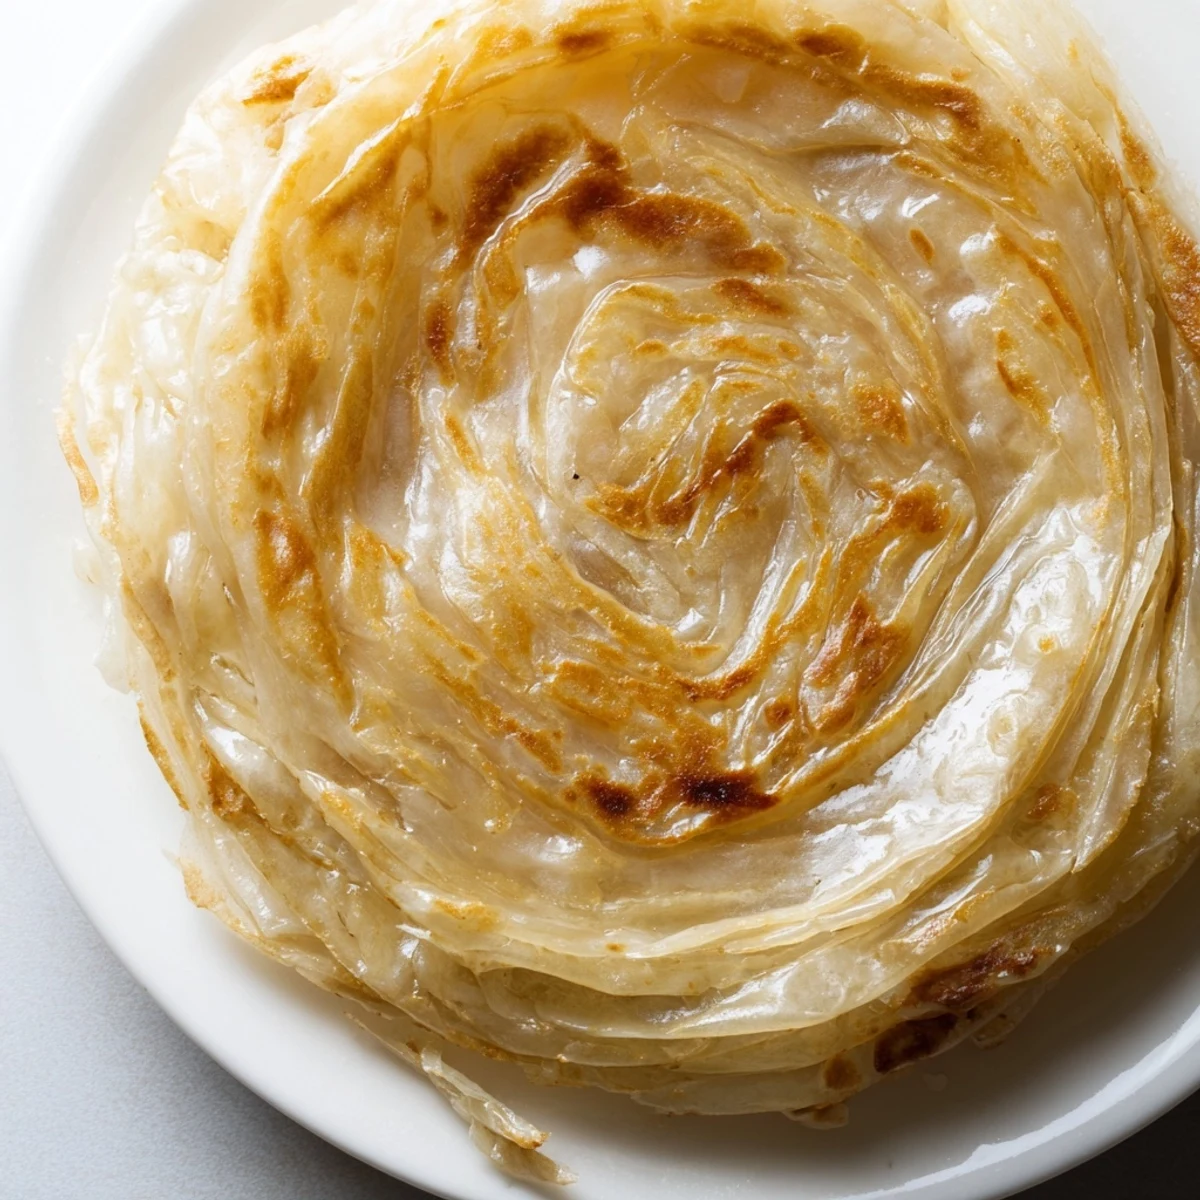
 Learn to create authentic Malaysian Roti Canai with irresistibly flaky layers and a tender, chewy center. This beloved flatbread requires simple ingredients and a bit of patience for proper resting, resulting in beautifully translucent dough that transforms into golden, crispy perfection when cooked.
The key lies in the unique stretching and folding technique that creates those signature layers. A two-hour resting period ensures the dough becomes pliable enough to pull into thin sheets without tearing. Once mastered, you'll enjoy restaurant-quality flatbreads that pair beautifully with dhal, curry, or even a sprinkle of sugar for a sweet variation.
The morning air in Kuala Lumpur carries this unmistakable aroma of ghee sizzling on flat iron griddles, street vendors tossing dough in the air like they are conjuring magic from flour and patience. I once spent an entire week trying to replicate that sound, the rhythmic slap and stretch of dough against metal, ending up with more flour on my ceiling than in my actual rotis. But that third morning, when the layers finally separated into buttery shreds as I tore into a fresh piece, I understood why this bread becomes an obsession.
My friend Sarah watched me attempt the traditional swinging stretch technique once, laughing as the dough kept folding back on itself and clinging to my fingers like a stubborn cat. We ended up with slightly misshapen but still delicious rotis, eating them standing up in the kitchen with curry dripping down our wrists, both agreeing that imperfect handmade bread beats perfect bakery bread every single time.
Ingredients
- All-purpose flour: The protein structure here is crucial for those signature layers that separate when you tear into the bread
- Condensed milk: This secret ingredient adds sweetness and creates the most tender, pliable dough you will ever work with
- Ghee: Using ghee instead of regular butter gives the roti that authentic Malaysian flavor and helps achieve those crispy golden patches
- Warm water: The temperature matters, water that feels comfortably warm to your wrist activates the dough properly
Instructions
- Mix the foundation:
- Combine your flour, salt, and sugar in a large bowl, then pour in the melted ghee and sweet condensed milk, mixing until everything starts coming together before gradually adding warm water
- Knead until smooth:
- Work the dough for a full eight to ten minutes, feeling it transform from shaggy to silky smooth under your palms
- Let it rest:
- Divide the dough into six equal portions, coat each generously with ghee, and let them rest covered for at least two hours, during which time the gluten will relax and make stretching possible
- Stretch thin:
- Using generously oiled hands and work surface, flatten each ball and gently pull it into an almost translucent sheet, working from the center outward in a circular motion until the dough is paper thin
- Create layers:
- Fold the stretched dough into a long rectangle, roll it tightly like a Swiss roll, then coil into a spiral tucking the end underneath before letting it rest briefly
- Cook to golden:
- Flatten each spiral into a six inch round and cook on a medium hot griddle brushed with ghee, turning until both sides are golden brown and crispy
- The final secret:
- Remove from heat and clap the roti firmly between your hands to puff and separate those beautiful layers you have created
 Pin It
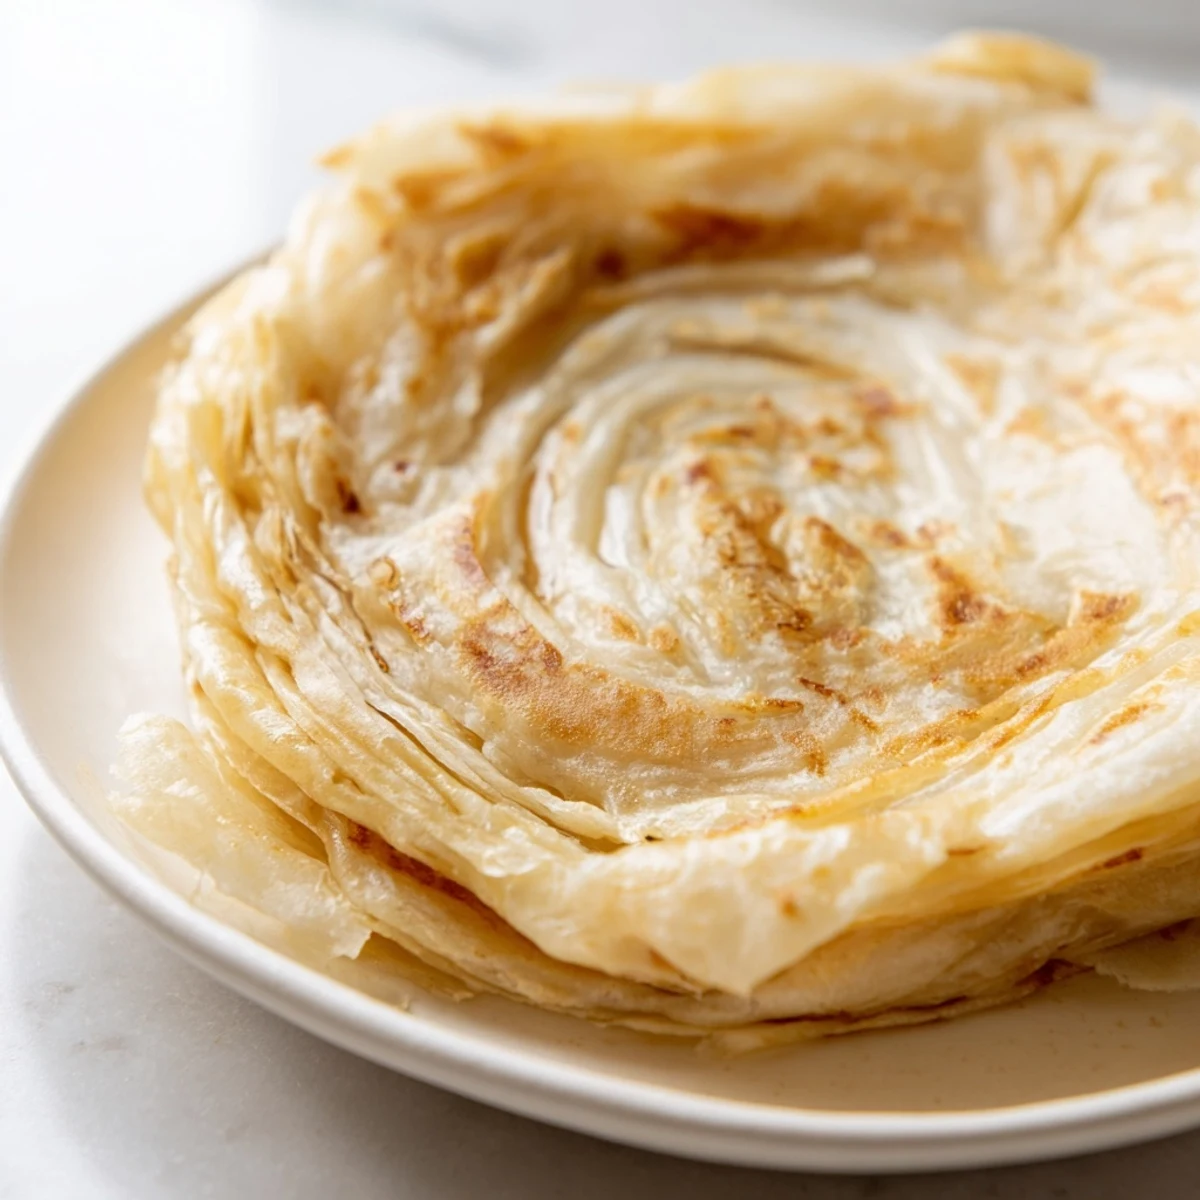
 There is something meditative about the process now, standing at the counter with oil slicked hands, stretching dough until it becomes nearly translucent, folding and rolling with a rhythm I have developed over dozens of attempts. The first time my family tore into a perfectly flaky roti I had made, the sound of those layers shattering like pastry, watching their eyes widen at the texture I had finally achieved, that was the moment this recipe moved from challenge to treasure.
The Art of Stretching
The most intimidating part of roti making is the stretching, but I have learned that working on an oiled surface changes everything. The dough slides instead of sticking, and using your fingertips to gently pull from the center outward creates that paper thin consistency without tearing. Do not worry about perfect circles, the folds will hide any irregularities, and the texture remains just as stunning.
Perfecting the Clap
The clapping technique felt ridiculous the first time I tried it, but now I understand it is absolutely essential for creating those dramatic layers. As soon as the roti comes off the griddle, immediately clap it between your hands with a quick, firm motion, almost like you are trying to create thunder. The steam trapped inside puffs the layers apart, and you can actually feel the bread become lighter and more flaky with each clap.
Serving Suggestions
While roti canai is traditionally served with dhal or curry, I have discovered that the slight sweetness from condensed milk makes it incredibly versatile. Try serving it alongside spicy Malaysian chicken curry for that perfect contrast, or dust it with sugar for a simple breakfast treat that kids absolutely love. The way those flaky layers soak up sauce is nothing short of magical.
- Make extra ghee for brushing, you will need more than you think
- Keep finished rotis wrapped in a clean kitchen towel while cooking the rest
- These are best eaten immediately but can be gently reheated in a dry pan
 Pin It
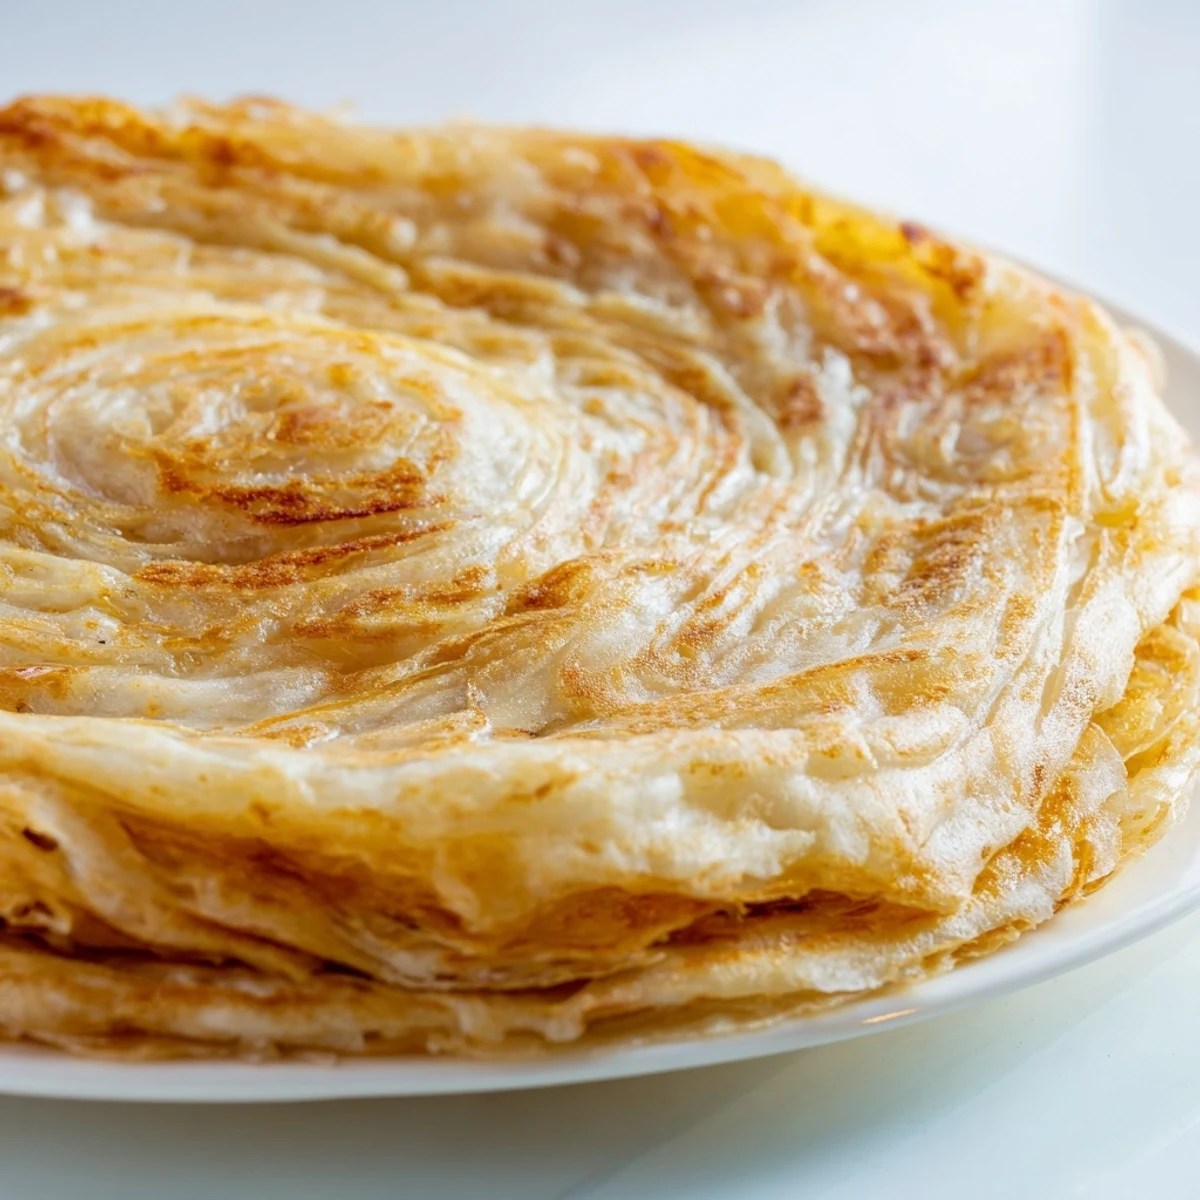
 Every time I make these now, I am transported back to that bustling street corner in Malaysia, watching the roti man work with an effortless grace I am still chasing. But honestly, my imperfect kitchen versions taste just as good, especially shared with people who do not care about technique, only about the warm, flaky bread in their hands.
Recipe FAQs
- → What makes Roti Canai flaky?
-
The flaky texture comes from the unique folding technique—stretching the dough into thin sheets, folding into a rectangle, rolling like a Swiss roll, then coiling into a spiral. This creates multiple layers that separate during cooking.
- → Can I use butter instead of ghee?
-
Yes, unsalted butter works perfectly as a substitute for ghee. However, ghee provides a more authentic flavor and higher smoke point for cooking.
- → Why does the dough need to rest for 2 hours?
-
Extended resting relaxes the gluten strands, making the dough pliable and elastic. This allows you to stretch it thin without tearing, which is essential for achieving those signature flaky layers.
- → How do I store and reheat leftover Roti Canai?
-
Store cooled rotis in an airtight container or zip-lock bag for up to 2 days. Reheat on a skillet over medium heat for 1 minute per side to restore crispiness.
- → What should I serve with Roti Canai?
-
Traditional pairings include dhal curry, chicken curry, or fish curry. For a sweet version, sprinkle with sugar or drizzle with condensed milk. It's also delicious plain with hot tea.
