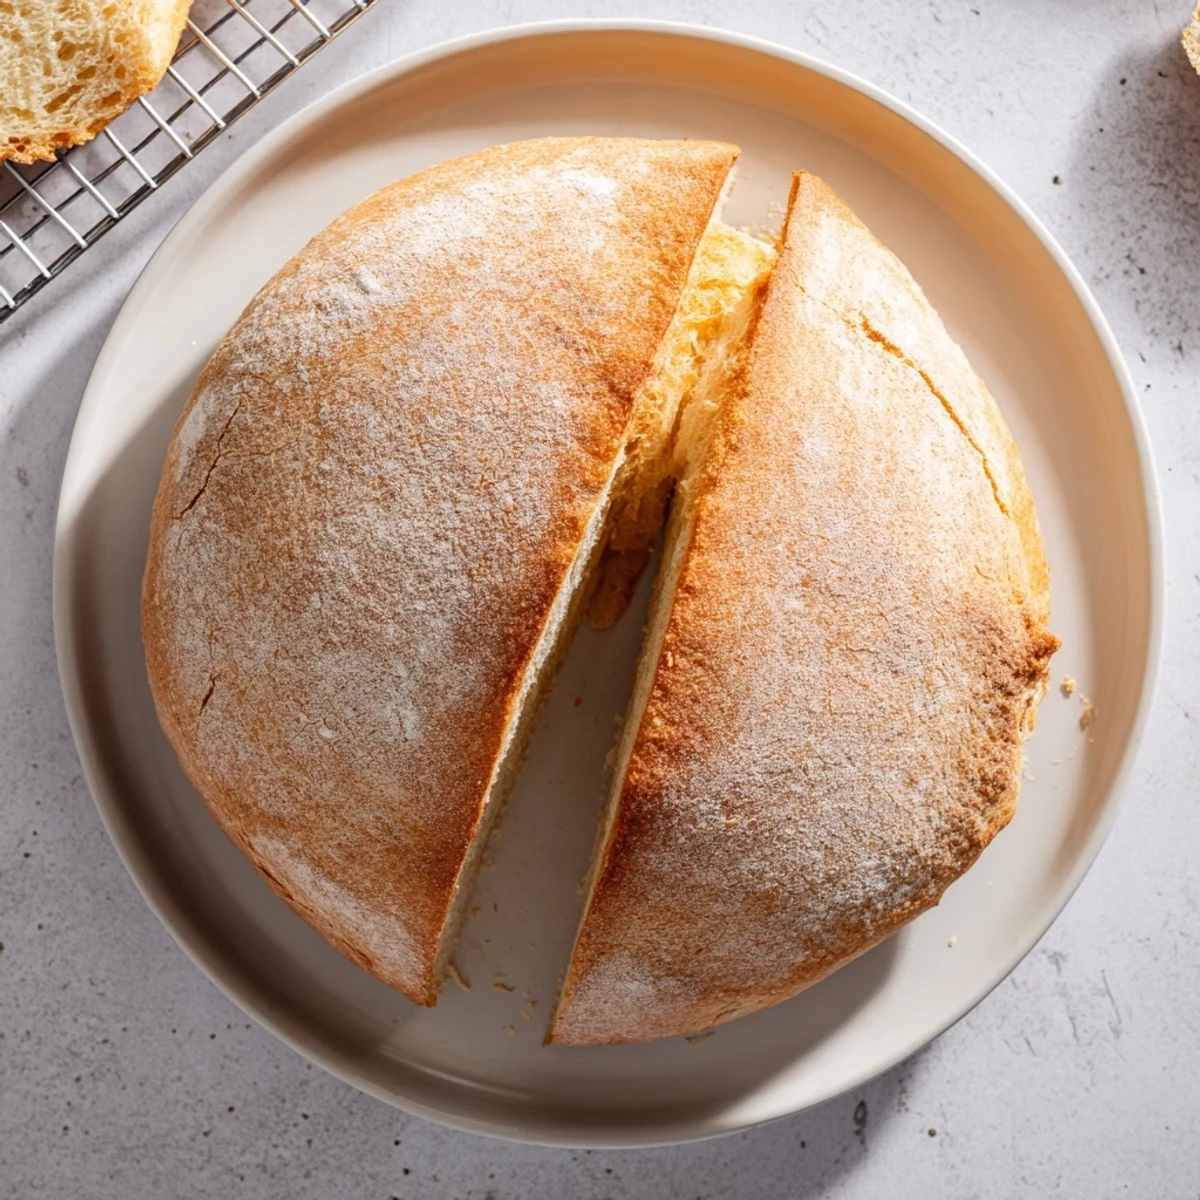
 Pin It
 Create bakery-style bread at home using only your stovetop. This simple dough combines flour, yeast, and olive oil, rising for one hour before cooking in a covered skillet. The gentle heat produces a golden crust with pillowy insides, perfect for serving warm with butter. No oven required—ideal for small kitchens, camping, or when you want fresh bread fast.
The rain was coming down hard that Sunday, and I had zero intention of turning on my oven. My apartment was already too warm, but I was craving something freshly baked. Thats when I remembered my grandmother talking about making bread right on the stove during summer months when no one wanted the kitchen heating up. I figured it was worth a shot, and honestly? It changed everything about how I think about homemade bread.
My roommate wandered in about halfway through the rising time, absolutely confused why there was dough rising on the counter but no oven in use. When I flipped that loaf in the pan and she heard that hollow thud that tells you bread is done, she was converted on the spot. We stood there ripping off warm pieces right from the cooling rack, not even bothering with butter because it was that good on its own.
Ingredients
- All-purpose flour: This is your foundation here—bread flour makes it too dense for the stovetop method, while cake flour wont give enough structure
- Instant yeast: No need to proof it first, just mix it right in with your dry ingredients
- Sugar: Just enough to feed the yeast and help with that lovely golden browning
- Salt: Crucial for flavor and it helps control the yeast activity
- Olive oil: Keeps the dough tender and adds that subtle Mediterranean note
- Warm water: Think bathwater temperature—too hot kills the yeast, too cold and it takes forever to rise
Instructions
- Getting the dough started:
- Combine your flour, yeast, sugar, and salt in a large bowl—this quick dry mix ensures everything distributes evenly before you add any liquid
- Bringing it together:
- Pour in the warm water and olive oil, then stir with a wooden spoon until you have this shaggy, sticky mess that doesnt look very promising yet
- The kneading phase:
- Turn onto a lightly floured surface and knead for about 8 to 10 minutes until the dough transforms from sticky and clumsy into smooth and elastic
- The rising window:
- Place in a greased bowl, cover with a damp cloth, and find a warm corner of your kitchen for about an hour until it has beautifully doubled in size
- Shaping your loaf:
- Punch down gently—youll feel the air release—then shape into a nice round loaf, tucking the edges underneath to create tension on top
- Getting the pan ready:
- Grease your heavy-bottomed skillet with olive oil, making sure to coat the bottom well, then place the dough right in the center
- The first cook:
- Cover tight with that lid and cook on the lowest possible heat for 15 minutes, peeking occasionally to make sure the bottom isnt getting too dark too fast
- The flip and finish:
- Carefully flip the loaf, cover again, and cook another 12 to 15 minutes until both sides are golden brown and when you tap it, it sounds beautifully hollow
- The hardest part:
- Let it cool on a wire rack for at least 15 minutes because slicing into hot bread will ruin that perfect interior texture
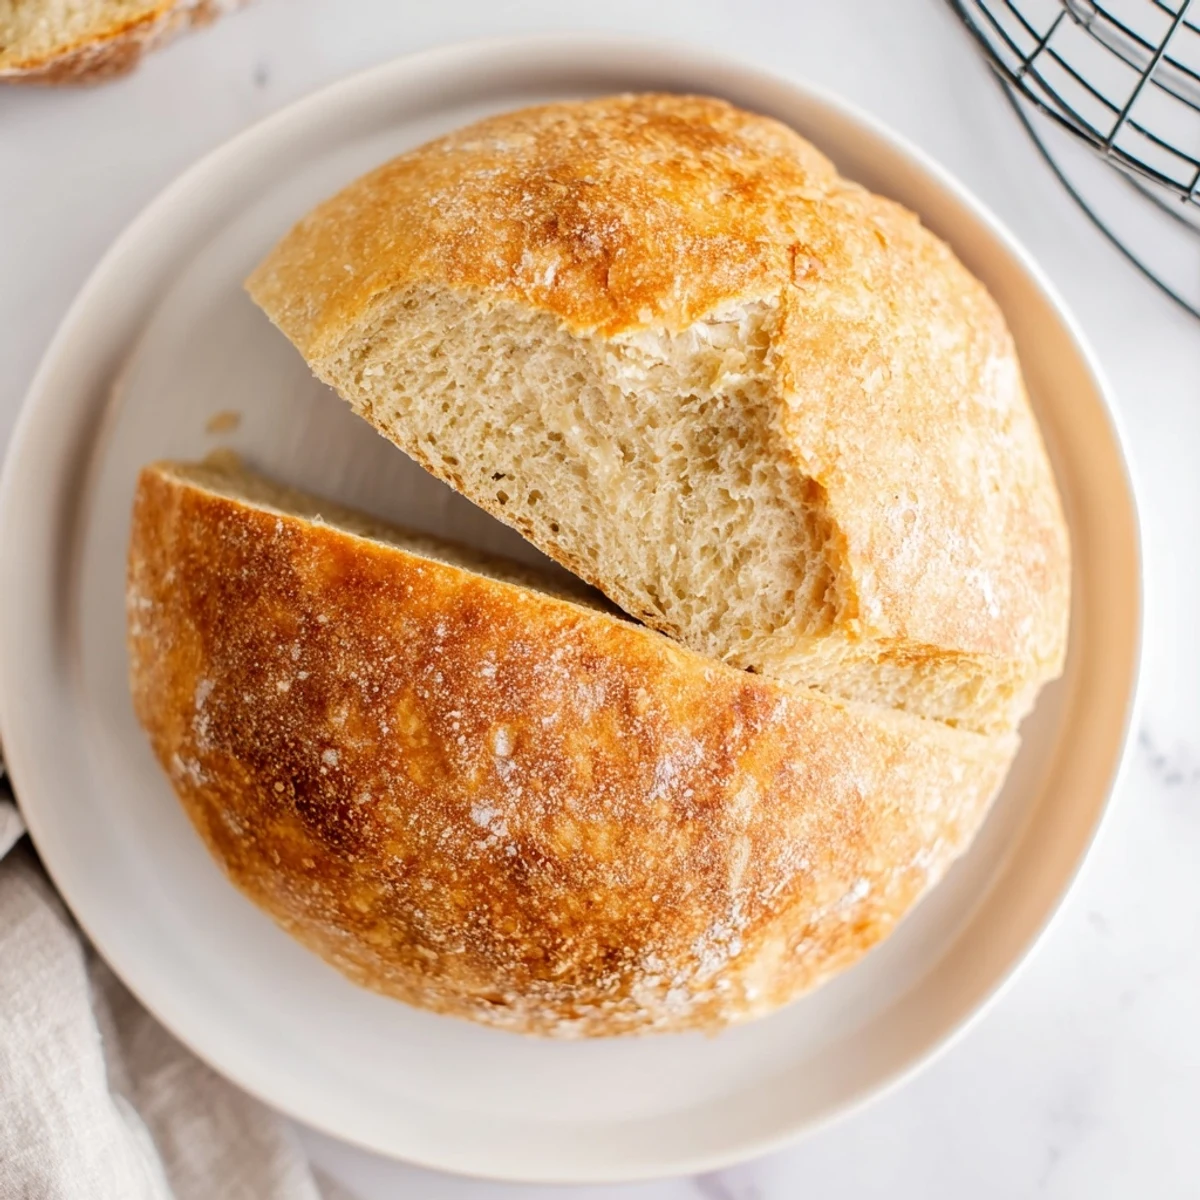 Pin It
 This recipe has become my go-to for dinner parties because people get so impressed watching me cook bread in a pan like some kind of kitchen magician. Theres something about the smell of fresh bread mingling with whatever else is simmering on the stove that makes a whole house feel like home.
Getting Creative With Add-Ins
I love tossing in dried herbs right into the dry ingredients—rosemary and thyme are classics, but everything bagel seasoning mix creates this incredible savory crunch throughout. Garlic powder and grated Parmesan work beautifully too.
Pan Selection Secrets
Cast iron skillets are absolute gold for this recipe because they hold heat so evenly and create this gorgeous crust. If you only have nonstick, it will work but watch your heat carefully because lighter pans tend to have hot spots that can burn.
Serving And Storing
This bread is at its absolute best the same day, ideally within a few hours of making it. The texture changes overnight and gets a bit denser, though its still perfectly edible. If you do need to refresh it the next day, a quick toast in a buttered pan brings back most of the magic.
- Wrap any leftovers in a clean kitchen towel rather than plastic, which keeps the crust from getting soggy
- This bread freezes surprisingly well if you slice it first, then toast straight from frozen
- The bottom usually has the prettiest golden color, so serve that side up for maximum presentation points
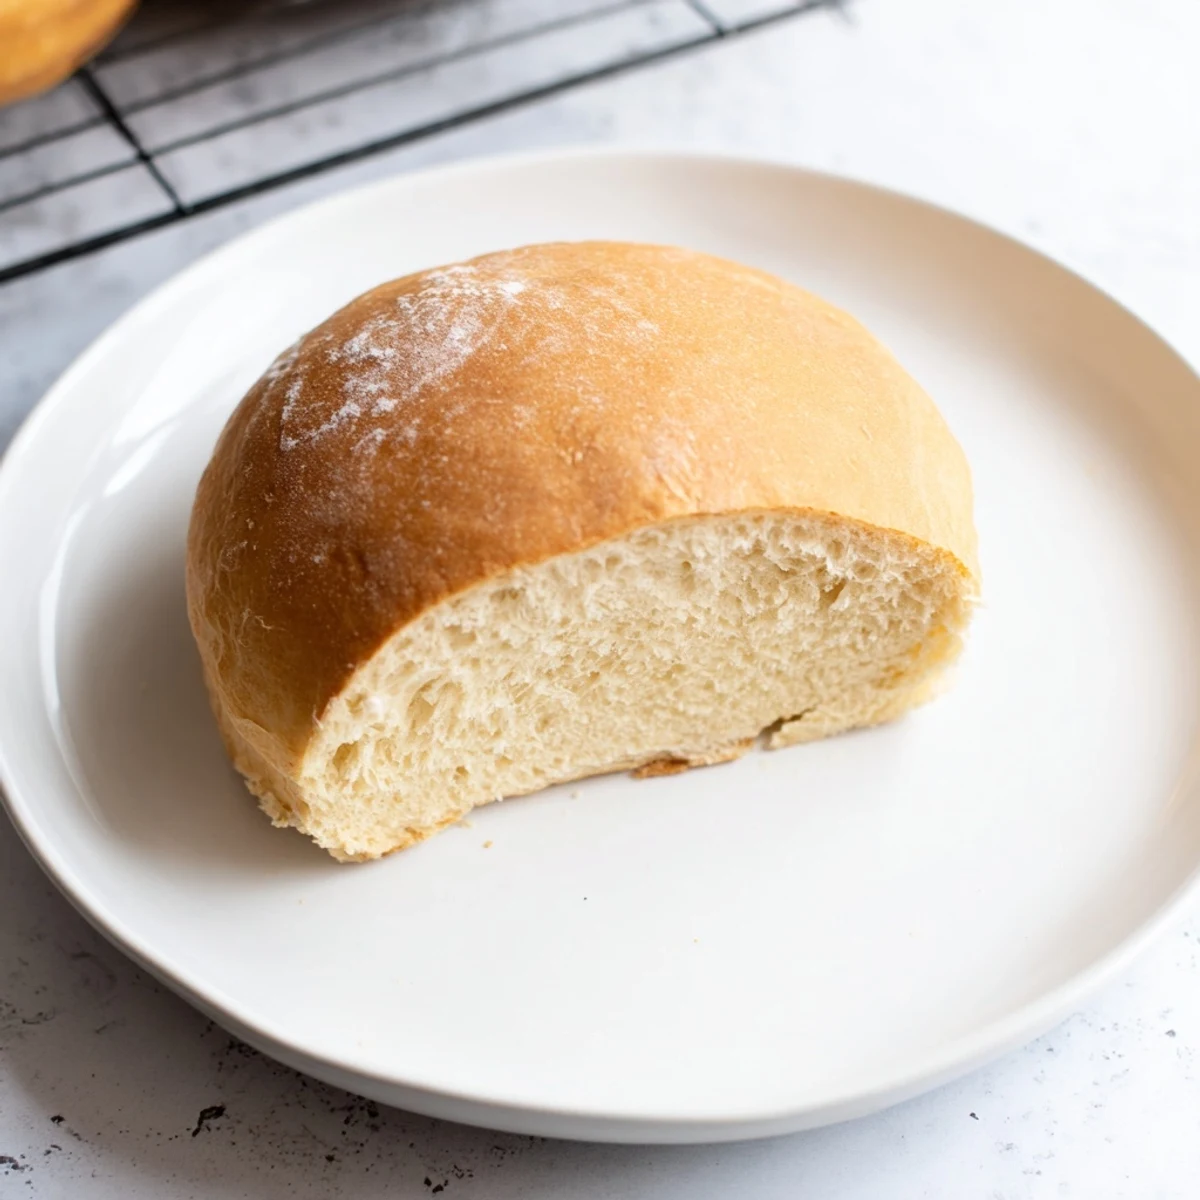 Pin It
 Theres something wonderfully primitive and satisfying about making bread this way, like youre connecting with cooks from a hundred years ago who didnt have the luxury of temperature-controlled ovens. Plus, nothing beats the look on peoples faces when you tell them this fluffy masterpiece came from a skillet.
Recipe FAQs
- → Do I need an oven for this bread?
-
No oven needed. Everything happens in a skillet on your stovetop using low heat with the lid on to trap steam and create that fluffy interior.
- → How do I know when the bread is done?
-
The bread is ready when both sides are golden brown and it sounds hollow when tapped on the bottom—usually about 15 minutes per side.
- → Can I add herbs or cheese?
-
Absolutely. Mix in dried rosemary, thyme, or oregano during step 2. You can also fold in shredded cheese or garlic before the final rise.
- → What kind of pan works best?
-
A heavy-bottomed skillet or cast-iron pan with a tight-fitting lid distributes heat evenly and holds in moisture for the best results.
- → How should I store leftovers?
-
Wrap cooled bread in a clean cloth or paper bag. Best eaten the same day, but you can refresh slices in a warm pan or toaster.
- → Why is low heat important?
-
Low heat prevents burning while allowing the bread to cook through completely. High heat will scorch the outside before the inside finishes baking.
