 Pin It
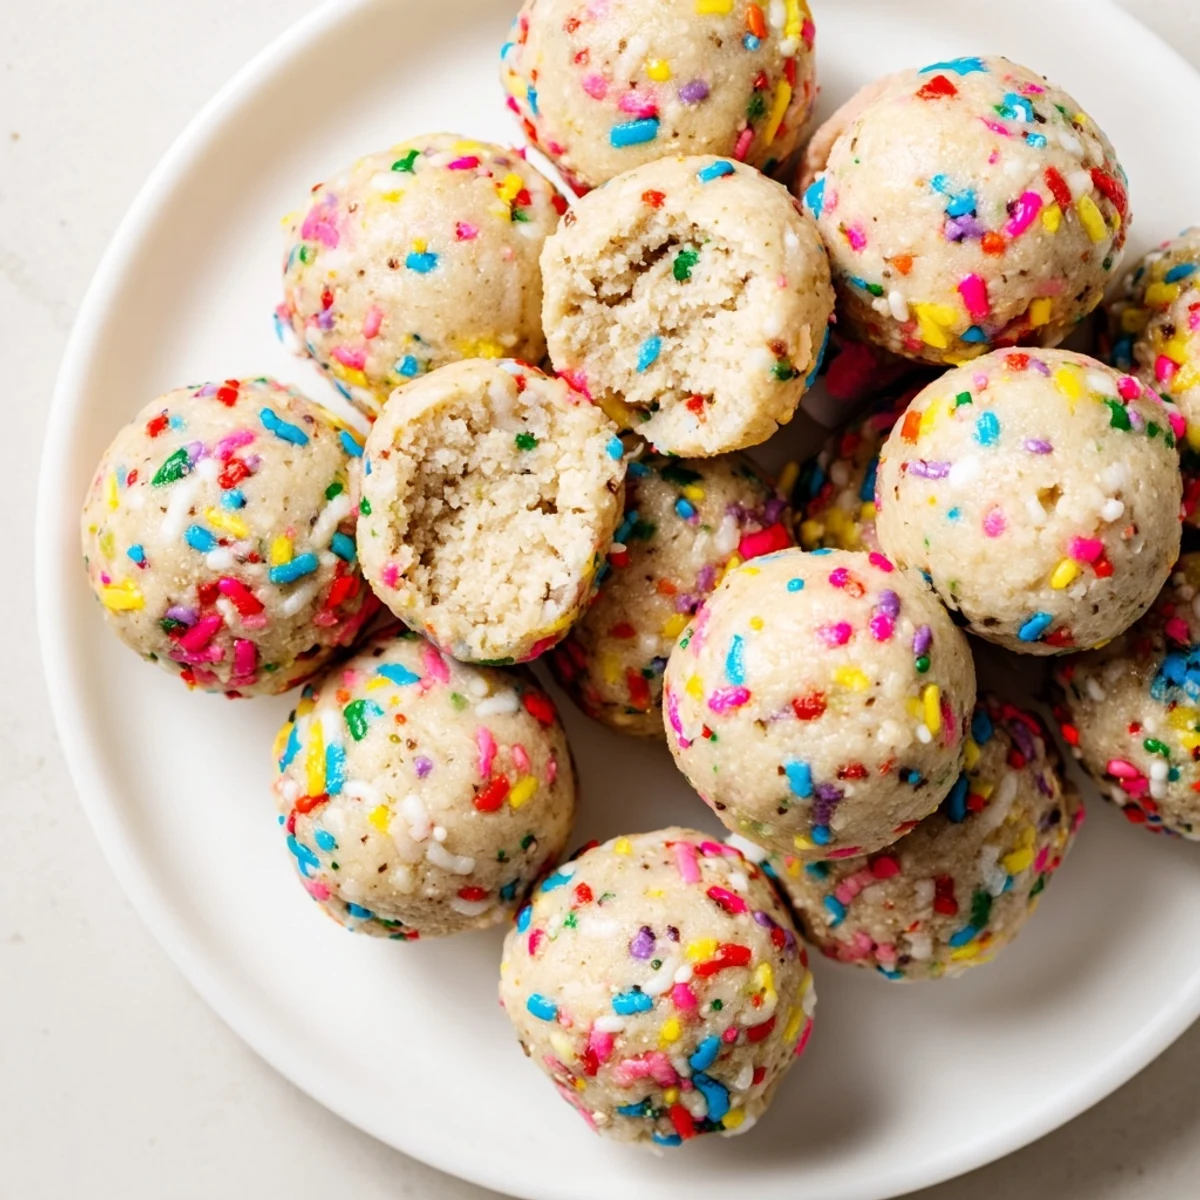
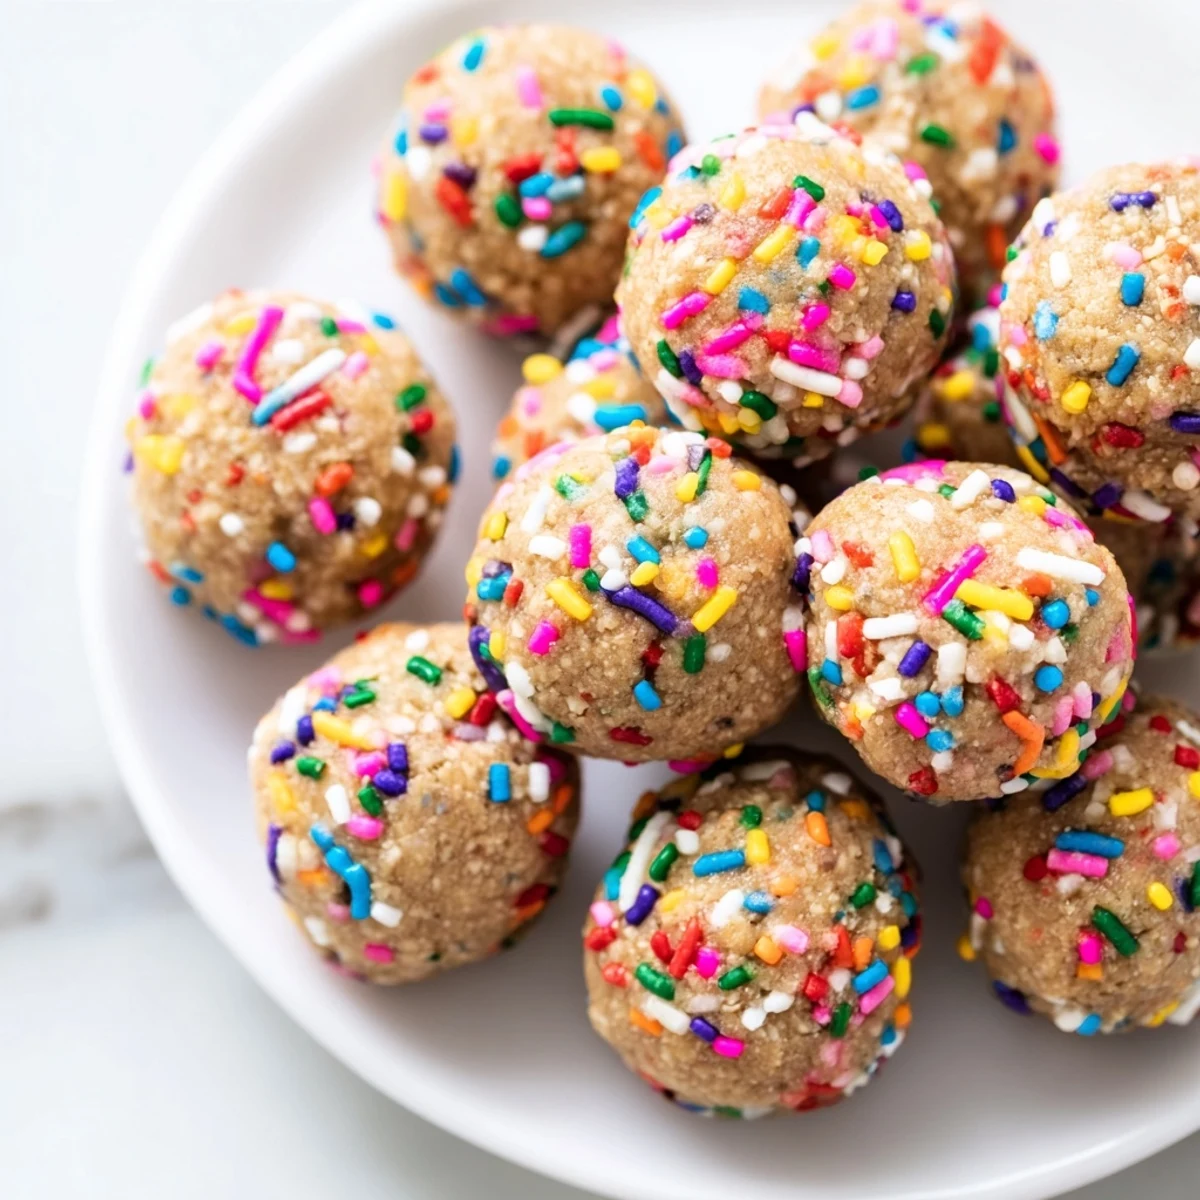
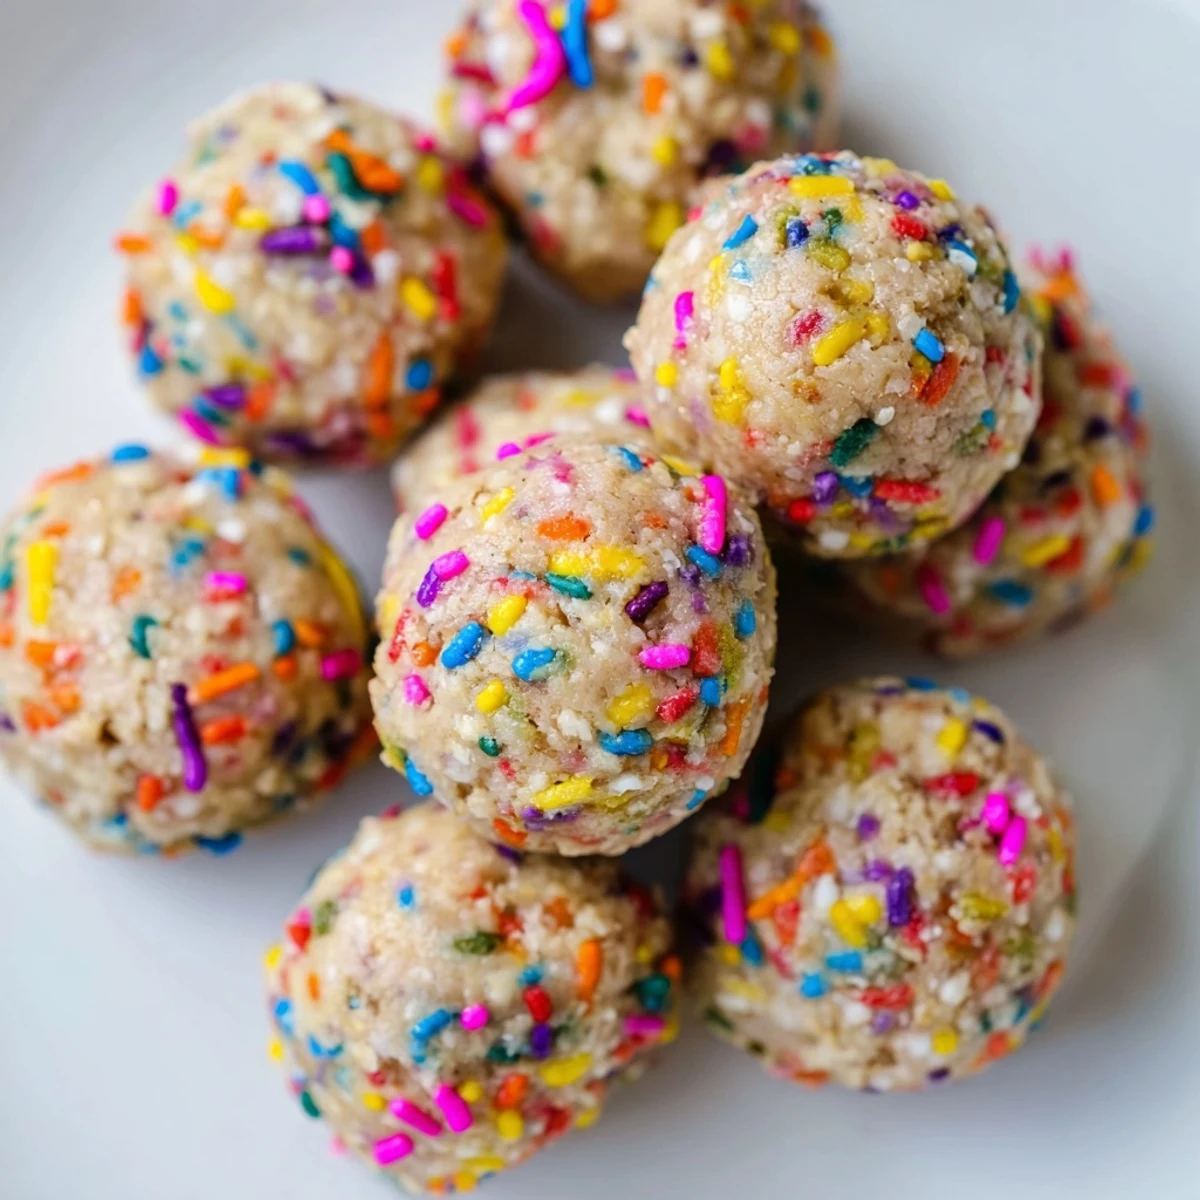
 These soft, no-bake birthday cake batter protein balls capture all the nostalgic flavor of cake batter in a healthy, portable format. With vanilla protein powder, almond butter, and maple syrup creating the perfect dough base, each bite delivers 6g of protein along with that classic birthday cake taste. Rainbow sprinkles are folded throughout and pressed onto the exterior for festive flair. The dough comes together quickly with just 15 minutes of active time—no oven required. Simply mix the dry ingredients, blend in the wet ingredients until a pliable dough forms, fold in sprinkles, roll into balls, and chill until set.
The first time I made these, my kitchen smelled like a bakery crossed with a smoothie shop. I was trying to recreate that cake batter flavor I loved as a kid, but without actually baking anything. When I took that first bite, I couldn't believe something this healthy could taste so indulgent.
My roommate walked in while I was rolling these and immediately asked if I was making cake. When I told her they were protein balls, she looked at me like I was lying. Now she begs me to double the batch every time.
Ingredients
- Vanilla protein powder: This is the base that gives you that cake flavor and protein boost. I've learned the hard way that unflavored powder just doesn't capture that birthday cake magic.
- Oat flour: Creates that soft, cake-like texture while keeping things gluten-free. You can grind oats in a blender if you can't find oat flour.
- Coconut flour: Just a tiny amount helps absorb moisture without making the balls dry. Don't skip it or the dough won't hold together properly.
- Sea salt: Sounds weird in something sweet, but it makes all the flavors pop. The first time I forgot it, I really noticed something was missing.
- Almond butter: The healthy fat that binds everything together. Cashew butter works great too and actually gives a more classic cake batter taste.
- Pure maple syrup: Natural sweetness that doesn't overpower the vanilla flavor. Honey works in a pinch, but maple is my go-to.
- Vanilla extract: This is non-negotiable. I once accidentally used imitation vanilla and the difference was shocking.
- Milk of choice: Start with less than you think you need. I've ruined multiple batches by adding too much liquid too quickly.
- Rainbow sprinkles: Obviously essential for the birthday cake vibe. Make sure they're the tiny jimmies, not the hard pearl kind that hurt your teeth.
Instructions
- Mix your dry ingredients:
- Whisk the protein powder, oat flour, coconut flour, and salt in a large bowl until they're completely blended. This step seems simple, but I once had clumps of coconut flour throughout my final batch because I rushed it.
- Combine with wet ingredients:
- Add the almond butter, maple syrup, and vanilla. The mixture will look crumbly and dry at first, which is totally normal and exactly what you want.
- Add milk gradually:
- Pour in one tablespoon of milk at a time, mixing thoroughly after each addition. Stop when the dough holds together when you squeeze it but still feels slightly tacky.
- Fold in the sprinkles:
- Gently mix in your sprinkles so they don't get crushed. I use a spatula and try to fold like I'm making muffins instead of stirring vigorously.
- Roll into balls:
- Scoop about a tablespoon of dough and roll between your palms. If your hands get too sticky, rinse them with cold water and dry them between every few balls.
- Let them set:
- Place on a parchment-lined tray and refrigerate for at least 30 minutes. I've eaten them immediately, but they're so much better after they've had time to firm up.
 Pin It
 Last month I brought these to a friend's birthday party instead of an actual cake. Everyone thought I was crazy until they tried one. The birthday girl said they were better than the cake she'd ordered from a bakery.
Getting The Texture Right
I've made these dozens of times and the dough consistency can be finicky depending on your protein powder brand. If the mixture feels too dry after adding all your wet ingredients, let it sit for five minutes before adding more milk. The coconut flour needs time to absorb the moisture properly.
Make-Ahead Magic
These actually taste better on day two because the flavors have time to meld together. I keep a batch in my fridge at all times for emergency snacks. They freeze beautifully too, though I'll admit I rarely have any left to freeze.
Serving Suggestions
Sometimes I press a white chocolate chip into the center of each ball before rolling them. It melts just enough during refrigeration to create a little surprise center. I've also experimented with rolling them in crushed graham crackers for an extra cookies and cream vibe.
- Try serving them with a glass of cold almond milk for the full experience
- They make perfect pre or post workout fuel
- Package them in cute boxes for instant homemade gifts
 Pin It
 I never thought I'd say this about something called protein balls, but these have become one of my favorite treats to make. Something about those colorful sprinkles just makes any day feel like a celebration.
Recipe FAQs
- → Can I use different protein powder flavors?
-
Vanilla protein powder works best to achieve that classic cake batter taste. Chocolate or unflavored varieties will alter the flavor profile significantly, though you can experiment with different extracts to compensate.
- → What's the best way to store these?
-
Keep them in an airtight container in the refrigerator for up to one week. For longer storage, freeze them for up to two months—they thaw quickly and make great grab-and-go snacks straight from the freezer.
- → Can I make these without protein powder?
-
You can substitute additional oat flour or almond flour, though the protein content and texture will change. The balls may be softer and hold their shape less effectively without the binding properties of protein powder.
- → Why is my dough too sticky or dry?
-
Protein powder absorption varies by brand. Start with 2 tablespoons of milk and add more gradually, one tablespoon at a time, until the dough holds together when squeezed without being sticky or crumbly.
- → Can I use regular flour instead of oat flour?
-
Oat flour provides the right texture and mild flavor for this application. Regular flour would give a raw, doughy taste and isn't ideal for no-bake preparations. You can make oat flour by blending rolled oats in a food processor.
