 Pin It
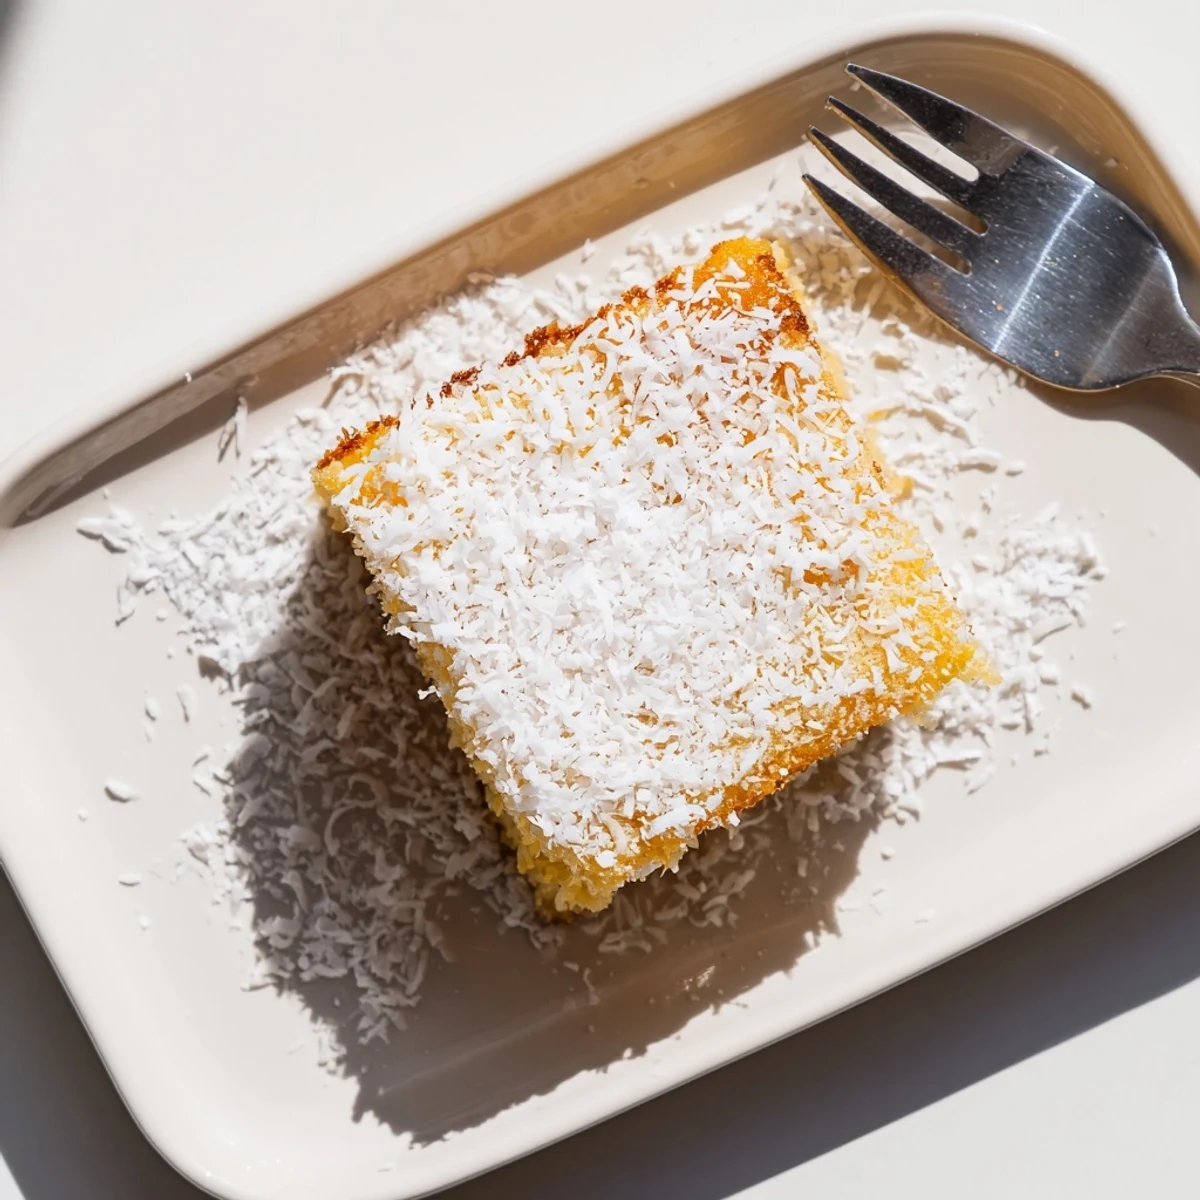
 This coconut mochi cake delivers a delightful chewy texture and rich tropical flavor. Made with sweet rice flour and full-fat coconut milk, each bite offers a satisfying bouncy consistency unique to mochi desserts. The shredded coconut topping adds a lovely toasted crunch while keeping the interior tender and moist.
Perfect for gluten-free entertaining, this Hawaiian-inspired treat comes together quickly and bakes into golden squares. The balance of sweetness makes it ideal for afternoon tea or as a light dessert after dinner.
My first attempt at coconut mochi cake came from a desperate craving for something chewy and tropical during a gray, relentless February. I had a bag of mochiko flour sitting in my pantry for months, and when that coconut aroma started filling my kitchen, I knew this was going to be special. The way the top crisps up while the inside stays impossibly tender still makes me pause every time I pull it from the oven.
I brought this to a potluck last summer, and my friend Sarah who claims to hate coconut desserts went back for thirds. She kept asking what made it so chewy, and I just smiled and said it was magic. Now she texts me every few weeks asking for the recipe, and I love that I can finally just send her this link instead of typing it out again.
Ingredients
- Sweet rice flour (mochiko): This is the non-negotiable star that creates that signature chewy texture. Regular rice flour will not give you the same result, so make sure you grab mochiko specifically.
- Coconut milk: Full-fat canned coconut milk makes all the difference here. Shake that can well before opening, and resist the urge to use the carton stuff from the refrigerated section.
- Sugar: This cake is meant to be lightly sweet, letting the coconut shine through. Reducing the sugar too much will affect the texture, so trust the ratio.
- Eggs: Room temperature eggs will incorporate much more smoothly into your batter. Set them out about 30 minutes before you start baking.
- Butter: Melt it and let it cool slightly so it does not scramble your eggs when you whisk everything together.
- Vanilla extract: Pure vanilla adds a warm depth that rounds out the coconut flavor beautifully.
- Shredded coconut: This creates that irresistible golden, slightly crispy topping. Unsweetened lets you control the sweetness level.
Instructions
- Get your oven ready:
- Preheat to 350°F and grab a 9x13-inch pan. Line it with parchment paper with some overhang, then grease the paper. This saves you so much cleanup later and ensures the cake releases perfectly.
- Mix the dry ingredients:
- In a large bowl, whisk together the mochiko, sugar, baking powder, and salt until well combined. Getting everything evenly distributed now means less mixing later.
- Whisk the wet ingredients:
- In a separate bowl, combine the coconut milk, whole milk, eggs, melted butter, and vanilla. Whisk until smooth and slightly frothy.
- Combine everything:
- Pour the wet mixture into the dry ingredients and stir with a spatula or whisk until just combined. The batter will be thin and smooth, which is exactly right.
- Pour and prepare for baking:
- Pour the batter into your prepared pan and gently tap it on the counter a few times to release any trapped air bubbles. Sprinkle the shredded coconut evenly across the top.
- Bake to golden perfection:
- Bake for 55 to 60 minutes until the edges are golden brown and a toothpick in the center comes out mostly clean. The top should feel set and slightly springy.
- Patience pays off:
- Cool completely in the pan on a wire rack before slicing. This is crucial because the texture continues to develop as it cools. Warm slices will be gummy rather than chewy.
 Pin It
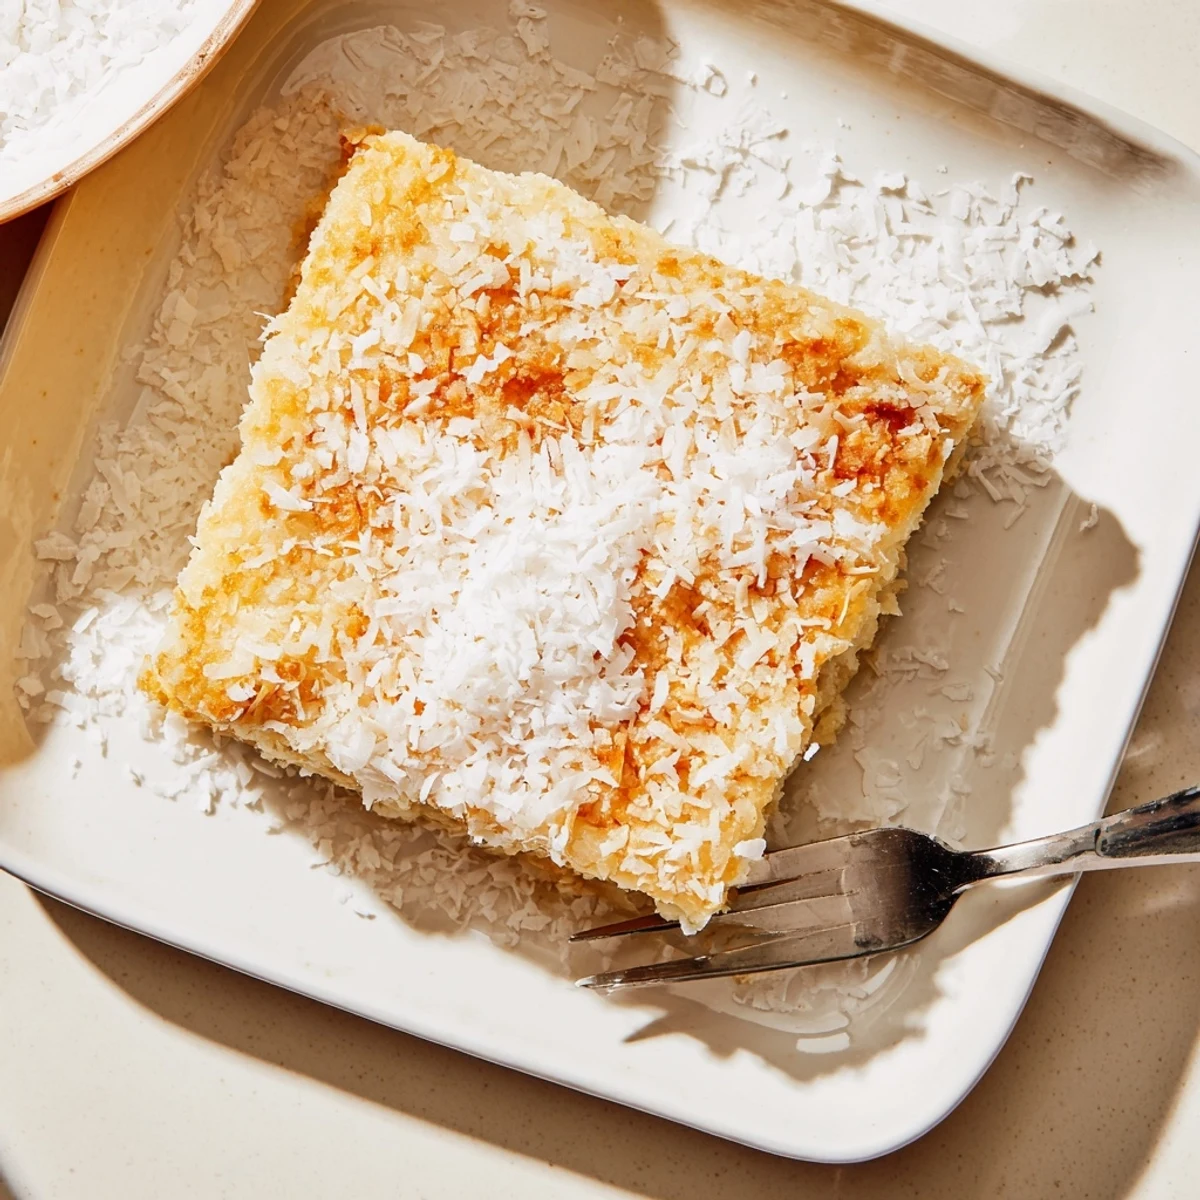
 My grandmother tried this cake and immediately declared it better than the version she used to get at her favorite Hawaiian bakery. That might just be grandmotherly kindness, but the way she carefully wrapped two slices to take home told me she meant it.
Making It Your Own
Once you have the basic recipe down, the variations are endless. I have swirled in sweetened red bean paste for a Hawaiian inspired twist that looks beautiful and adds a subtle earthiness. A tablespoon of pandan extract turns the cake a gorgeous green and adds a floral, vanilla like flavor that people go crazy for.
Serving Suggestions
This cake needs absolutely nothing to shine, but I will not judge you for adding a scoop of vanilla ice cream. Fresh tropical fruit like mango or sliced strawberries alongside makes it feel extra fancy. It is also perfect with a cup of hot tea or even a splash of coconut milk poured over a slightly warmed slice.
Storage And Make Ahead Tips
This cake actually gets better on day two as the flavors meld and the texture settles. Store it in an airtight container at room temperature for up to two days. After that, move it to the refrigerator where it will keep for up to five days. You can also freeze individual slices wrapped tightly in plastic wrap and foil for up to three months.
- Thaw frozen slices overnight in the refrigerator, then bring to room temperature before serving.
- A quick 10 second zap in the microwave brings back that just baked warmth.
- The topping will soften in storage but the texture and flavor remain incredible.
 Pin It
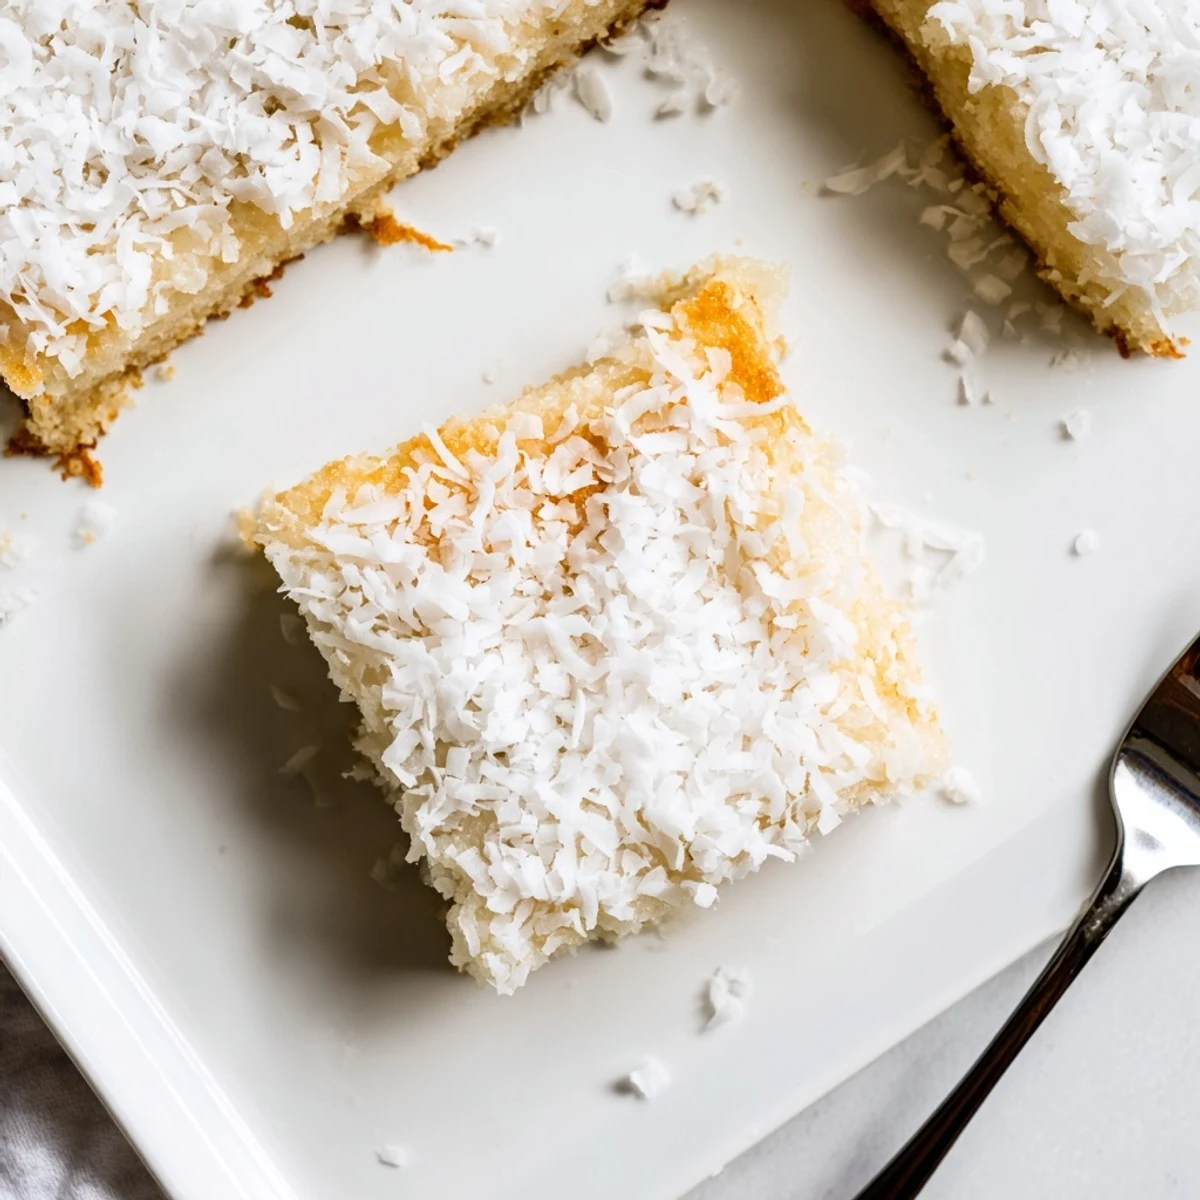
 I hope this coconut mochi cake brings as much joy to your kitchen as it has to mine. Every slice is like a little vacation to the islands.
Recipe FAQs
- → What gives mochi cake its chewy texture?
-
The chewy texture comes from sweet rice flour (mochiko), a glutinous rice flour that creates a soft, bouncy consistency when baked. Unlike wheat flour, it doesn't develop gluten but still provides that signature elastic texture mochi is known for.
- → Can I make this dairy-free?
-
Yes! Simply replace the whole milk with additional coconut milk and swap the melted butter for melted coconut oil. The coconut oil actually enhances the tropical flavor while keeping the texture perfectly chewy.
- → How do I know when the cake is done baking?
-
The edges should turn golden brown, and a toothpick inserted in the center should come out mostly clean with just a few moist crumbs. The center will set as it cools, so don't worry if it seems slightly jiggly right out of the oven.
- → Why is my mochi cake hard or dense?
-
Overmixing the batter can create a dense texture. Mix just until the ingredients are combined and smooth. Also ensure you're using sweet rice flour (mochiko) specifically—regular rice flour or glutinous rice flour won't produce the same soft, chewy results.
- → How should I store leftovers?
-
Keep in an airtight container at room temperature for up to 2 days for the softest texture. For longer storage, refrigerate for up to 5 days. Note that refrigeration will make the cake slightly firmer—bring to room temperature before serving for the best chewy texture.
- → Can I add mix-ins to the batter?
-
Absolutely! Try swirling in sweetened red bean paste for a Hawaiian-style treat, folding in fresh mango chunks, or adding chocolate chips. Just keep additions to about 1/2 cup total to maintain the proper batter consistency.
