 Pin It
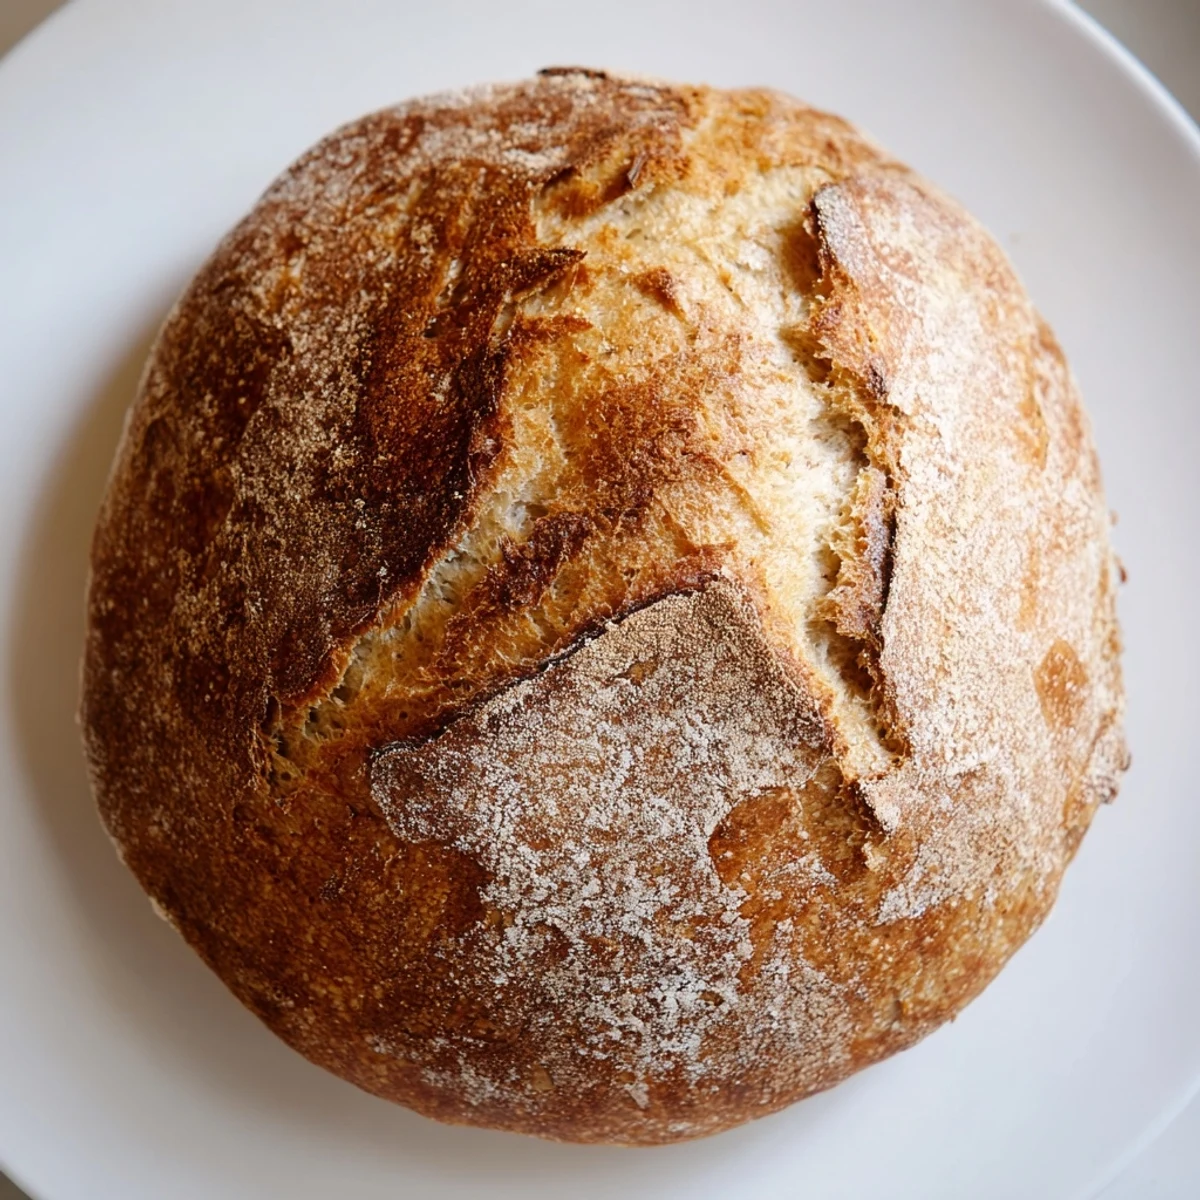
 Craft a stunning rustic loaf with minimal effort using this straightforward technique. The dough develops character through an extended resting period of 12-18 hours, creating those desirable air pockets and complex flavors usually achieved through extensive kneading. Simply combine flour, salt, yeast, and water, then let time work its magic.
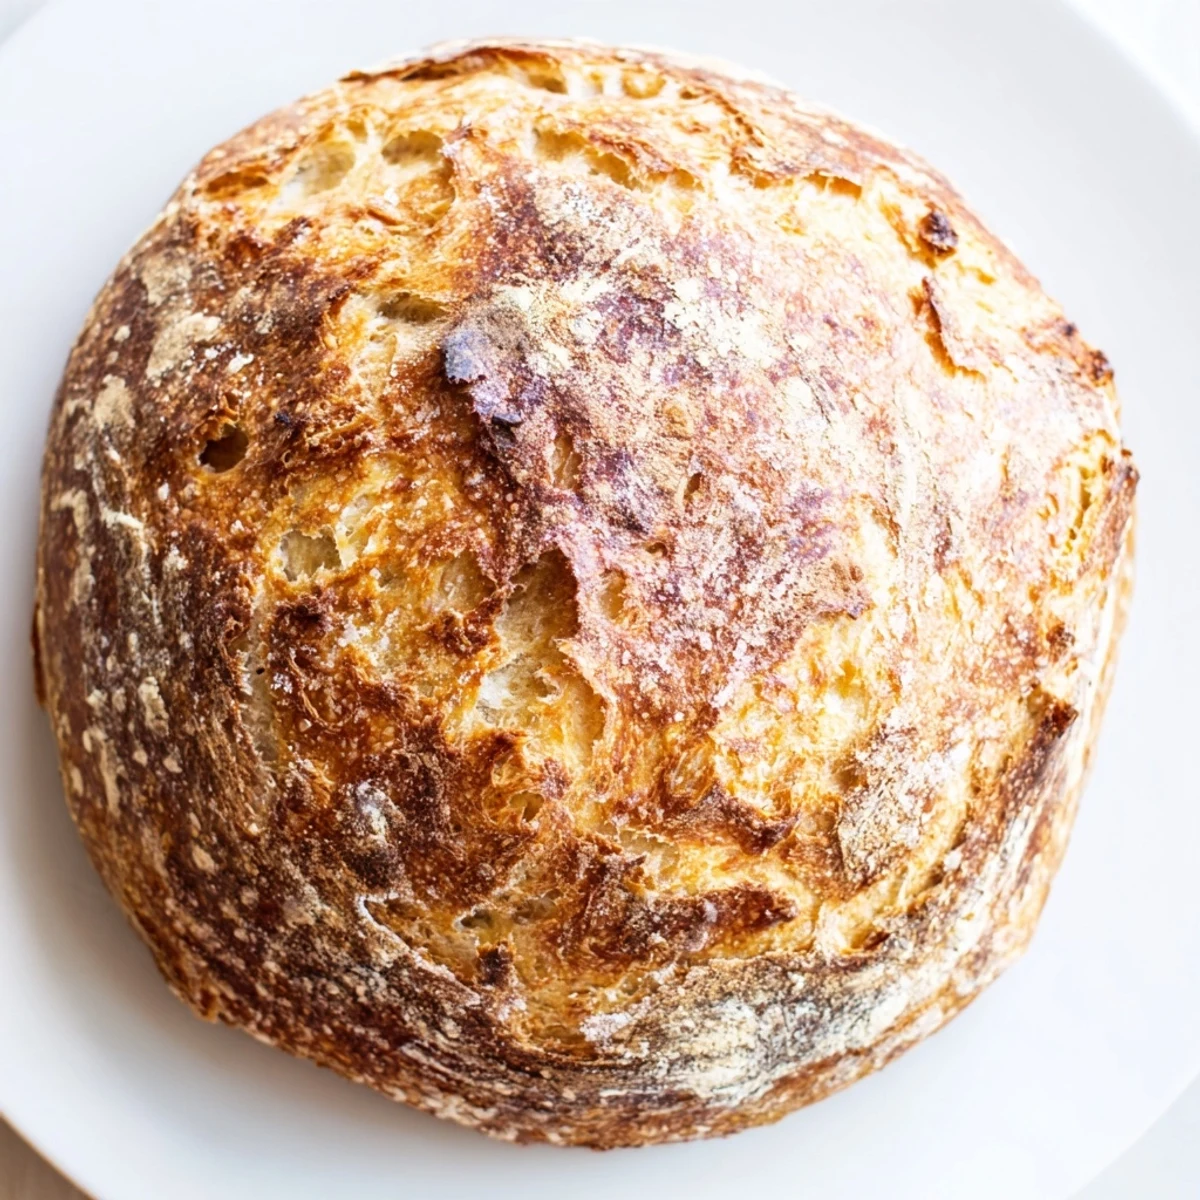
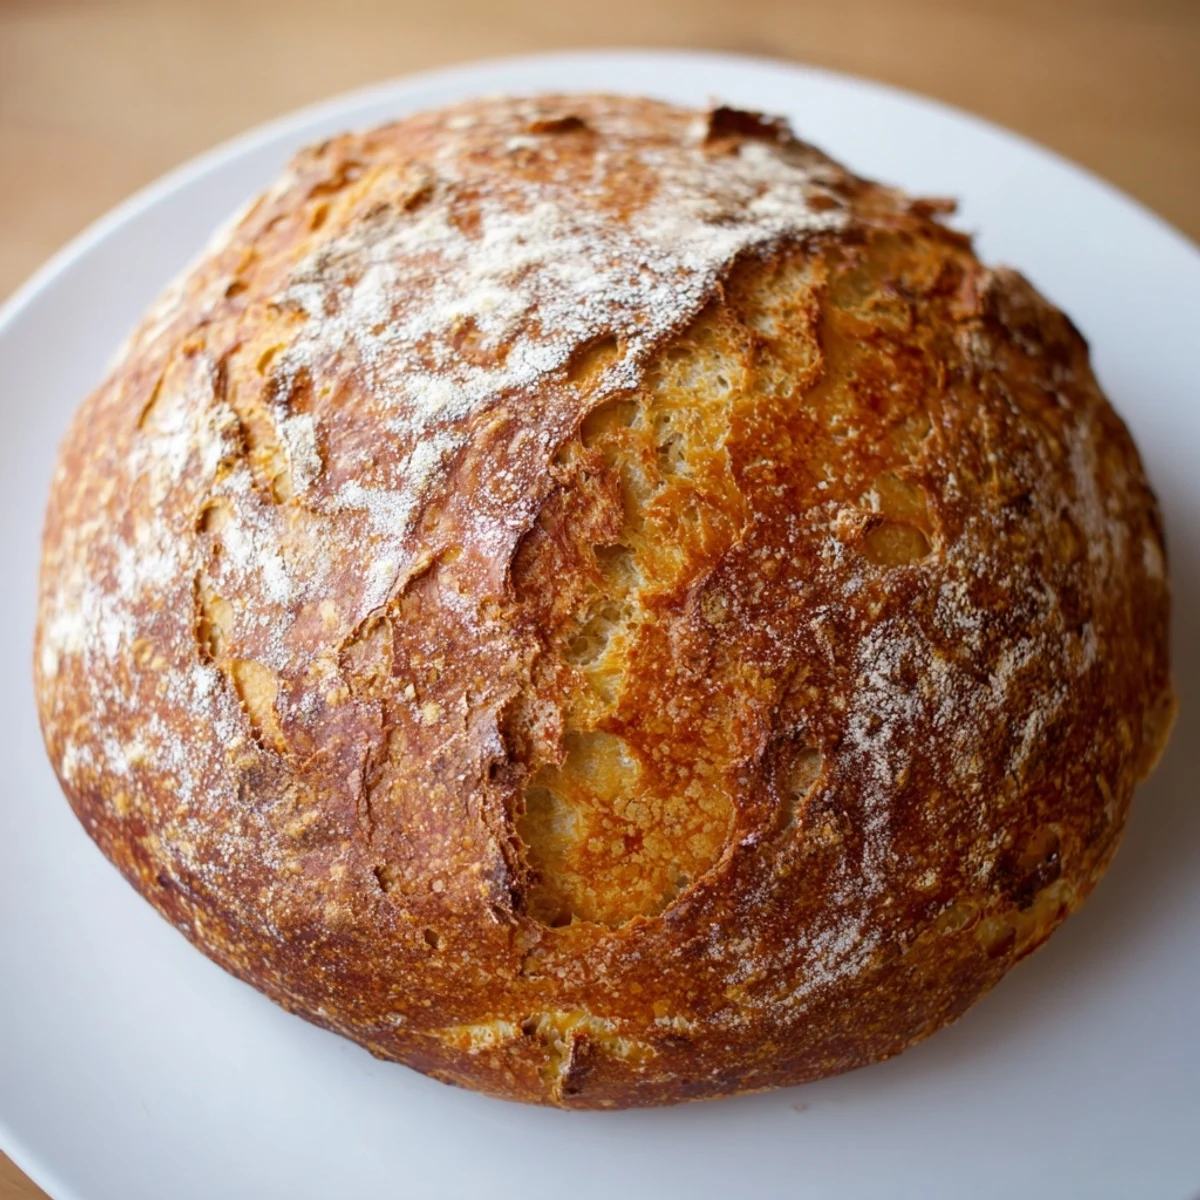
Bake in a preheated Dutch oven to create professional steam circulation, yielding that coveted crackly crust and tender interior. The method accommodates various additions like olives, nuts, or dried fruits for personalized variations. Whole wheat flour can partially replace white flour for added nutrition while maintaining excellent texture.
The winter my kitchen heater broke, I discovered the most forgiving bread recipe imaginable. The dough sat on the counter overnight in my chilly apartment, and by morning it had transformed into this bubbling, living thing. I was convinced I had ruined it, but that first loaf came out of the Dutch oven with a crackling crust that sang throughout the kitchen. Now I make this bread even on busy weekdays, knowing that patience does more work than my hands ever could.
My sister was visiting during her first year of medical school, exhausted and craving something homemade. We mixed the dough at midnight, the house quiet except for our whispered conversation about her rotations. Twelve hours later, that golden loaf pulled from the oven was the first real meal she had eaten in days. She took the second half home on the train, texting me later that the entire car smelled like a bakery.
Ingredients
- Bread flour: Higher protein content creates that satisfying chewy texture but all purpose works in a pinch
- Salt: Do not reduce this amount as salt controls yeast activity and deepens flavor
- Instant yeast: No need to proof it first which means one less step to forget
- Lukewarm water: Think bathwater temperature, about 100 degrees if you want to be precise
- Extra flour for dusting: Cornmeal adds a nice crunch and prevents sticking perfectly
Instructions
- Mix the dough:
- Whisk flour, salt, and yeast in a large bowl, then stir in water until you have a shaggy, sticky mess that looks completely wrong
- Let it work:
- Cover tightly and walk away for 12 to 18 hours while time and temperature do the heavy lifting
- Shape the loaf:
- Turn onto floured surface and gently fold edges toward center to create tension, then place seam side down on parchment paper
- Heat things up:
- Put your Dutch oven in the oven and crank to 450 degrees for at least 30 minutes because that pot needs to be seriously hot
- Bake with steam:
- Transfer dough into the screaming hot pot, cover immediately, and bake 30 minutes before uncovering to finish
- Get the crunch:
- Remove lid and bake another 12 to 15 minutes until deeply golden and the bottom sounds hollow when tapped
 Pin It
 This bread became my go to when my neighbor had surgery and could not cook for weeks. I dropped off a fresh loaf every other day, and she told me later that tearing into that crusty exterior was the highlight of her recovery. Something about bread baked at home feels like medicine in a way that store bought never quite manages.
The Secret Is In The Wait
That long fermentation is not just convenience, it is what develops the complex flavor and helps break down gluten for easier digestion. The yeast is working overtime while you sleep, creating subtle acidic notes that usually take days of sourdough nurturing to achieve. Trust the process even when the dough looks ugly and bubbly after hours on the counter.
Getting The Best Oven Spring
Oven spring is that dramatic rise in the first minutes of baking, and a properly preheated Dutch oven is essential for achieving it. The heavy pot holds heat like a professional bread oven, while the trapped steam keeps the crust soft initially so the bread can expand. Remove the lid only when the structure has set enough to support itself.
Making It Your Own
Once you have mastered the basic loaf, the variations are endless and forgiving. Add chopped rosemary and roasted garlic for an aromatic twist, or mix in walnuts and dried cranberries for a holiday version that disappears first at parties.
- Whole wheat flour can replace up to one third of the white flour without compromising texture
- Add mix ins during the initial stir so they distribute evenly throughout the crumb
- Experiment with different liquids like beer for darker, maltier notes
 Pin It
 There is something profoundly satisfying about serving bread you made yourself, even if the recipe did all the hard work. Every crackle of the crust reminds you that good things come to those who wait.
Recipe FAQs
- → Why does this dough require such a long rising time?
-
The extended 12-18 hour rest allows enzymes to break down starches and develop complex flavors naturally. This slow fermentation creates those characteristic large air pockets and enhances the bread's texture without requiring physical kneading.
- → Can I reduce the rising time for faster results?
-
While tempting, reducing the resting period affects texture and flavor development. The method's simplicity relies on this slow process. Plan ahead by preparing the dough in the evening for baking the next day.
- → What makes Dutch oven baking essential for this method?
-
The preheated Dutch oven creates an enclosed steam-filled environment that mimics professional bread ovens. This trapped moisture allows the loaf to expand fully before the crust sets, resulting in superior rise and that signature crackly exterior.
- → How do I know when the loaf is properly baked?
-
The finished loaf should display a deep golden-brown color across the entire surface. When tapped on the bottom, it should sound hollow. An instant thermometer inserted into the center should read 200-205°F (93-96°C) for perfect doneness.
- → Can I substitute different flours in this formulation?
-
Bread flour provides the best structure due to higher protein content. All-purpose flour works well too. Replace up to one-third with whole wheat flour for added nutrition. Significant flour substitutions may require hydration adjustments.
