 Pin It
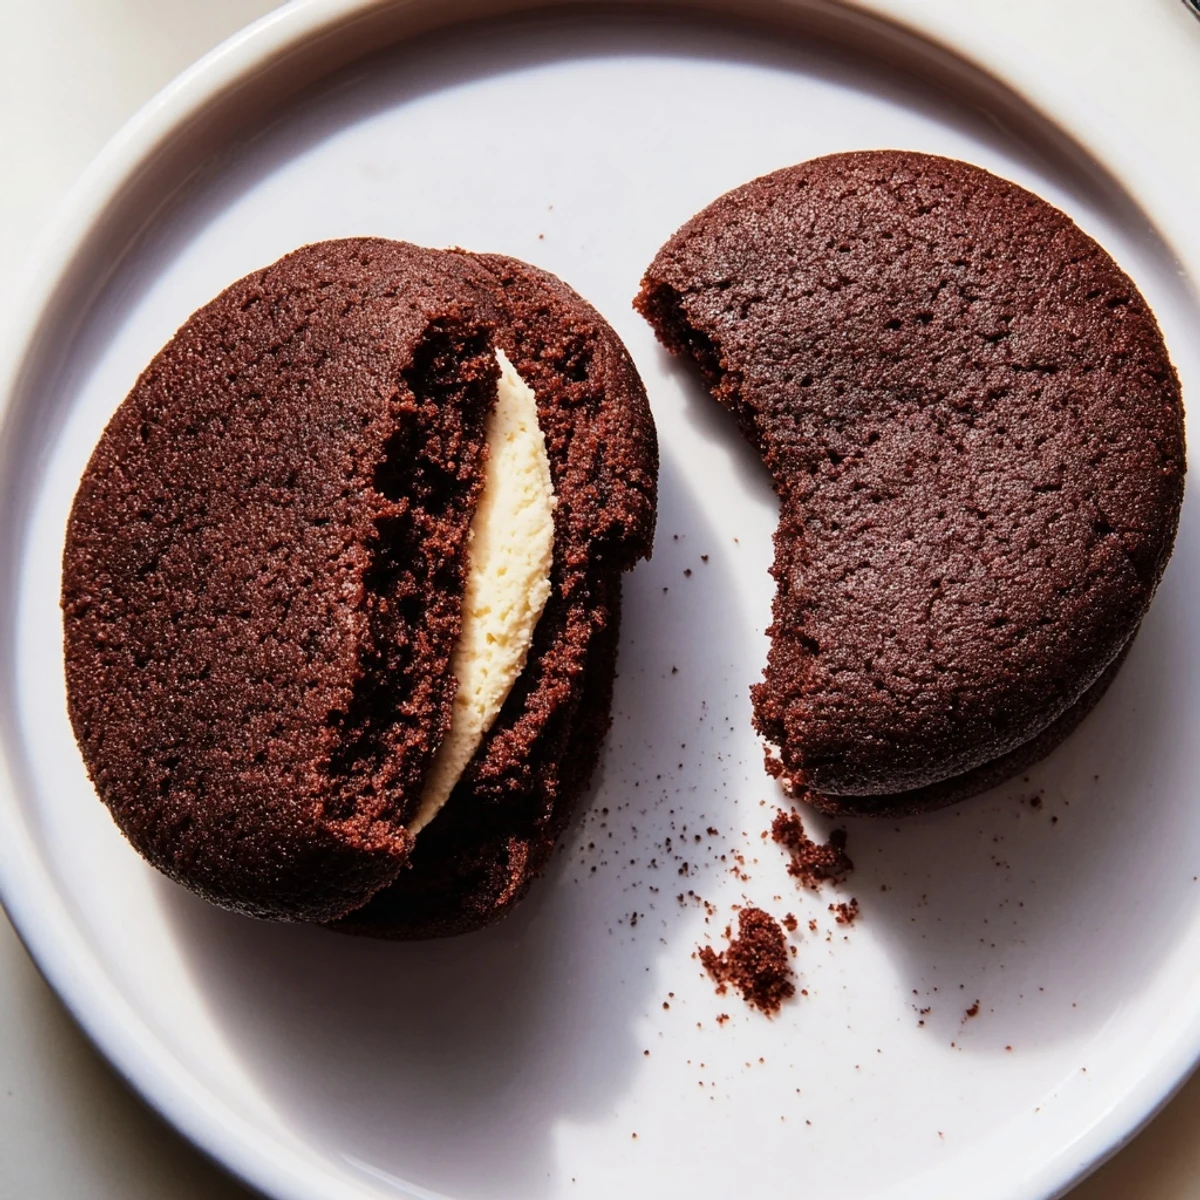
 These classic dark chocolate sandwich cookies pair crisp edges and chewy centers with a silky vanilla cream filling. Cream butter and sugar, fold in sifted cocoa and flour, shape into 1-inch balls, flatten and bake 10–12 minutes. Pipe about 1 tablespoon of filling between cooled cookies to assemble. Makes 18 sandwiches. Tip: add 1 tsp espresso powder for deeper chocolate notes; store airtight up to 5 days.
The crack of a store bought Oreo has its own charm but nothing compares to the moment you bite into one you made yourself, still faintly warm, with filling that actually tastes like vanilla. My kitchen counter was dusted black with cocoa the first time I tried these and I realized halfway through that I had been grinning like a kid for no particular reason. That alone was worth the mess.
I brought a tin of these to a friend who swore she did not like cookies and she ate four before dinner, then asked if I had brought more.
Ingredients
- All-purpose flour (1 cup, 125 g): Gives the cookies structure without making them cakey, and spooning into the cup instead of packing keeps the texture right.
- Unsweetened Dutch-process cocoa powder (¾ cup, 70 g): This is the soul of the cookie, delivering that deep dark color and mellow chocolate intensity.
- Granulated sugar (1 cup, 200 g): Sweetens and helps the edges crisp slightly while the centers stay tender.
- Baking soda (½ tsp): A small amount gives just enough lift so the cookies are not hockey pucks.
- Salt (¼ tsp for dough, pinch for filling): Balances the sweetness and wakes up the chocolate flavor.
- Unsalted butter, softened (½ cup, 115 g for dough and ¼ cup, 60 g for filling): Bring it to room temperature so it creams smoothly and incorporates air.
- Vegetable shortening (¼ cup, 55 g): Keeps the filling stable and snowy white, which is part of the nostalgic look.
- Large egg (1): Binds the dough together and adds richness.
- Vanilla extract (1 tsp for dough, 1 tsp for filling): Use the real stuff because the filling is where the flavor really shines through.
- Powdered sugar, sifted (1½ cups, 180 g): Sifting is non-negotiable here unless you want lumpy filling.
Instructions
- Get the oven ready:
- Preheat to 350°F (175°C) and line two baking sheets with parchment paper so nothing sticks and cleanup is effortless.
- Whisk the dry team:
- Sift the flour, cocoa powder, baking soda, and salt together in a bowl and watch how the cocoa clouds drift up, then set it aside.
- Cream butter and sugar:
- Beat the softened butter and granulated sugar until the mixture turns pale and fluffy, which takes about two minutes, then add the egg and vanilla and beat until everything looks cohesive.
- Bring the dough together:
- Gradually add the dry ingredients to the wet mixture and mix until a stiff, dark dough forms that pulls away cleanly from the sides of the bowl.
- Shape and flatten:
- Roll the dough into one-inch balls and space them two inches apart on the sheets, then press each one down gently with your palm or a glass bottom until they are about a quarter inch thick.
- Bake and cool:
- Bake for 10 to 12 minutes until the tops look set and slightly firm, let them rest on the sheet for five minutes, then move them to a wire rack to cool completely before filling.
- Make the filling:
- Beat the butter, shortening, powdered sugar, vanilla, and a pinch of salt together until the mixture is smooth, fluffy, and spreadable.
- Sandwich and set:
- Pipe or spread about one tablespoon of filling onto the flat side of half the cookies, top with the remaining cookies, and press gently so the cream reaches the edges, then let them sit for 10 to 15 minutes to firm up.
 Pin It
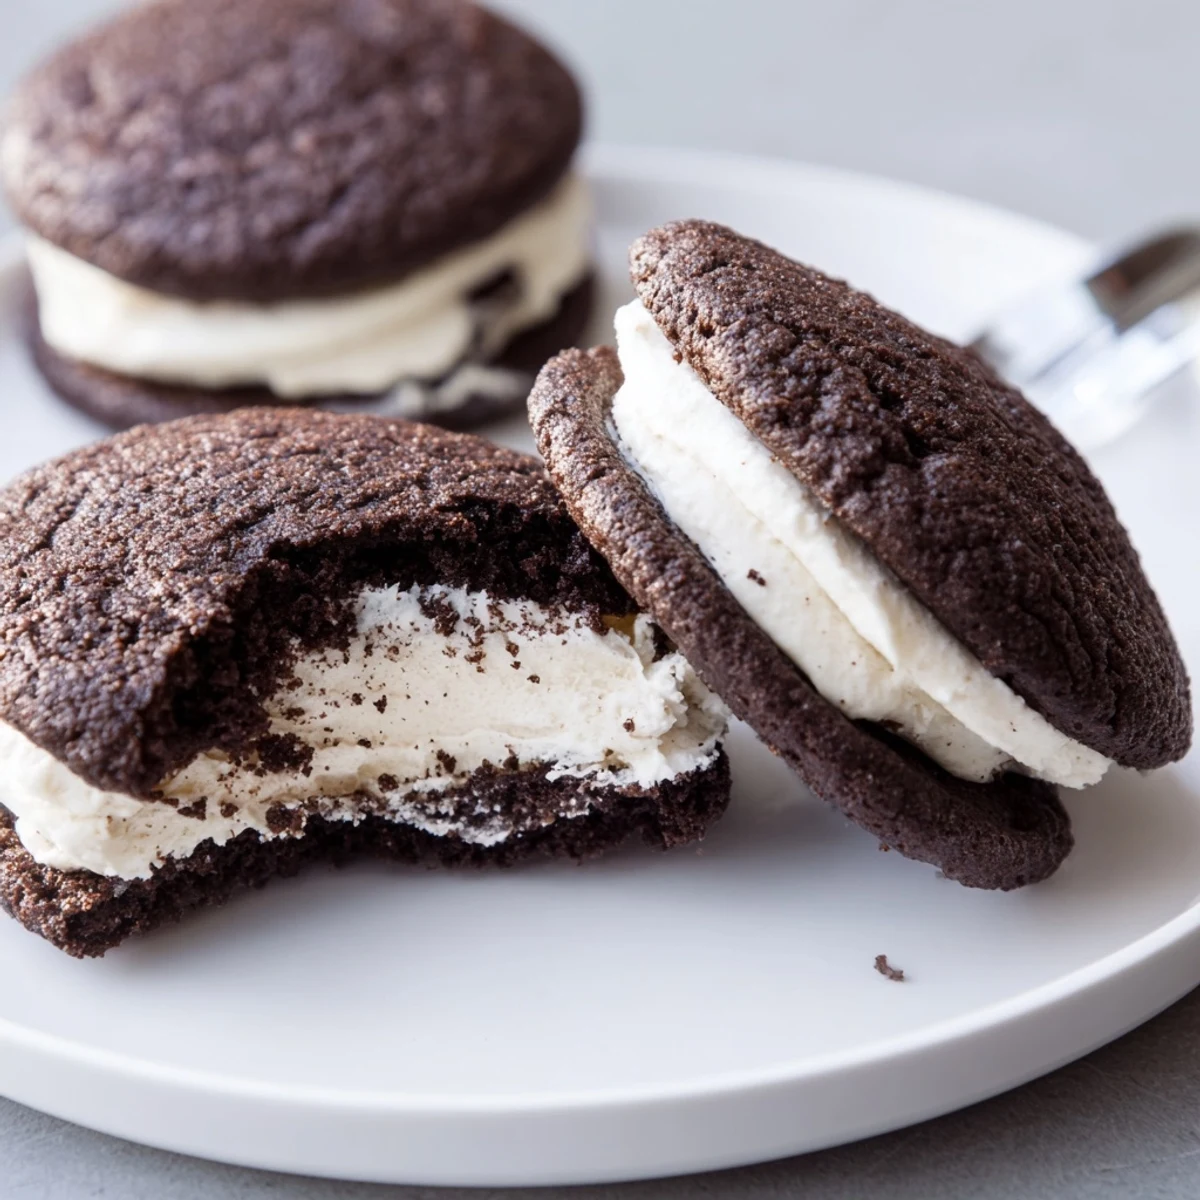
 The night I finally nailed this recipe I sat on the kitchen floor with a glass of milk, sandwich cookie in hand, and realized I had not thought about work once in the past hour.
What I Learned About the Filling
Shortening might seem old fashioned but it is the reason the filling stays white and holds its shape at room temperature. If you swap it entirely for butter the flavor deepens beautifully but the filling softens faster, especially in warm kitchens, so pick your priority.
Making Them Your Own
A teaspoon of espresso powder in the dough intensifies the chocolate without adding any coffee taste, and it is a trick I now use in almost every chocolate recipe I touch. You could also roll the edges of the assembled sandwiches in mini chocolate chips, sprinkles, or crushed candy cane during the holidays for a playful twist.
Storing and Serving
These cookies actually improve after a few hours as the flavors meld and the filling settles into the cookie layers.
- Store them in a single layer in an airtight container at room temperature for up to five days.
- Separate layers with parchment paper if you need to stack them so the filling does not stick.
- Dunk them in cold milk because that is the whole point of an Oreo style cookie.
 Pin It
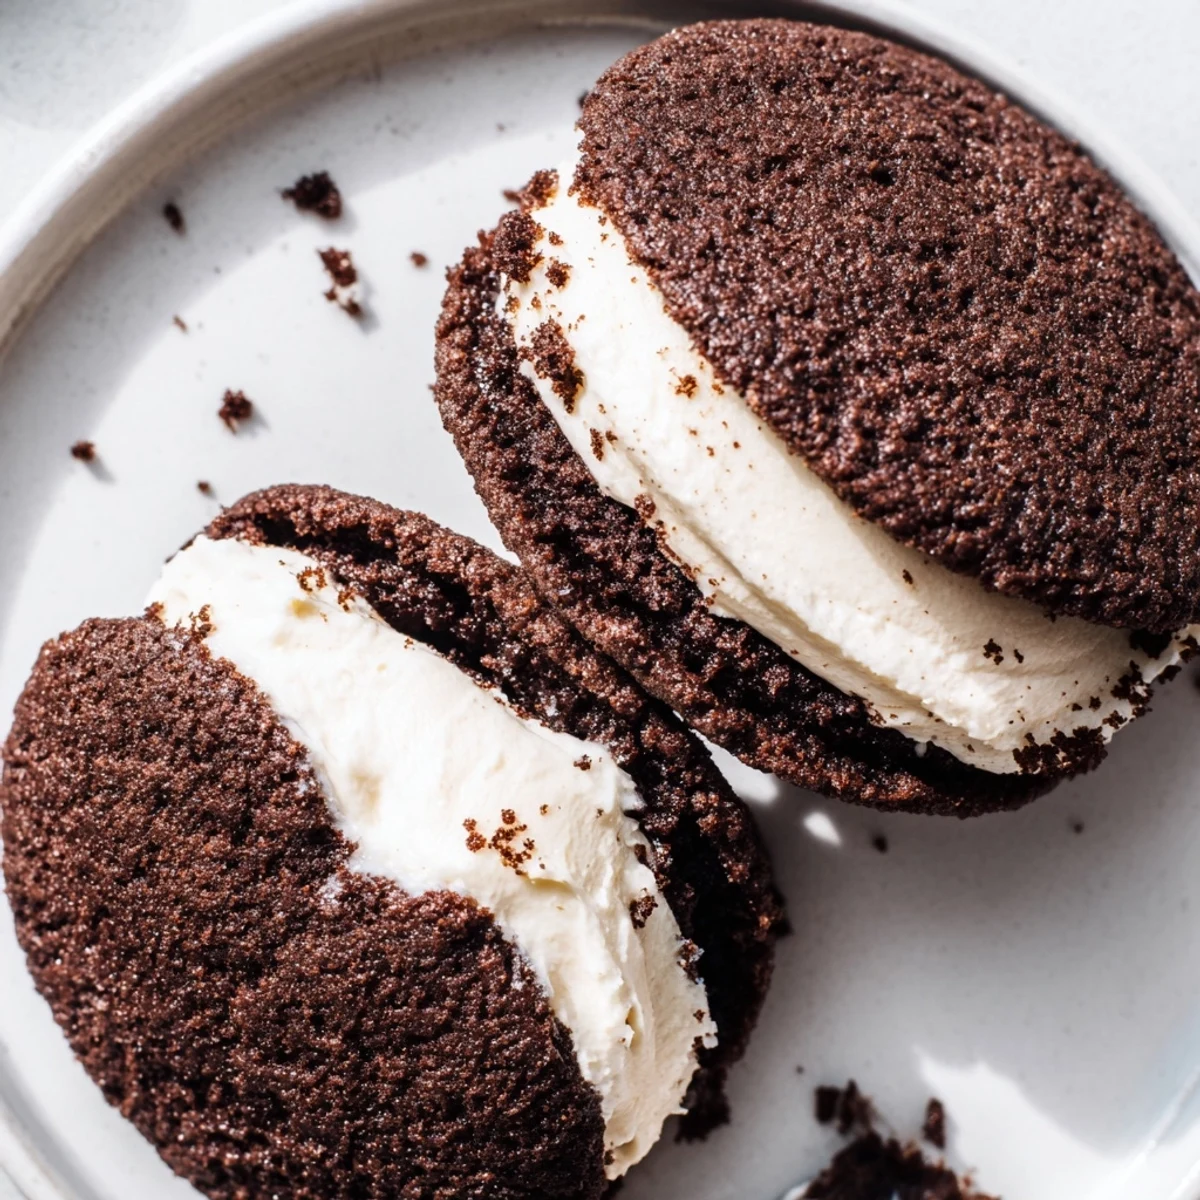
 Homemade sandwich cookies are a small act of joy that taste like childhood but feel entirely grown up. Share them generously or hide a few behind the jam jars in the fridge for yourself.
Recipe FAQs
- → How do I achieve chewy centers and crisp edges?
-
Bake until the cookies are set but not overbrowned—about 10–12 minutes. Let them cool on the sheet 5 minutes before transferring to a rack; this helps set the edges while keeping the middle tender.
- → Can I skip the shortening in the filling?
-
Yes. Substitute the shortening with an equal amount of butter for a richer, more buttery flavor, though the filling may be slightly softer at room temperature.
- → What does adding espresso powder do?
-
A teaspoon of espresso powder intensifies the chocolate flavor without making the cookies taste like coffee. Dissolve it into the dry ingredients for even distribution.
- → How should I store the sandwiches?
-
Store assembled sandwiches in an airtight container at room temperature for up to 5 days. For longer keeping, layer with parchment and refrigerate; bring to room temperature before serving.
- → Can I make the dough or filling ahead?
-
Yes. The dough can be chilled or frozen; thaw and shape before baking. The filling keeps well refrigerated for several days—bring to room temperature and rewhip briefly if it firms up.
- → Any tips for evenly sized sandwiches?
-
Roll dough into 1-inch balls and flatten uniformly with a glass or your palm. Use a piping bag for the filling and pipe about 1 tablespoon per cookie to ensure consistent thickness.
