 Pin It
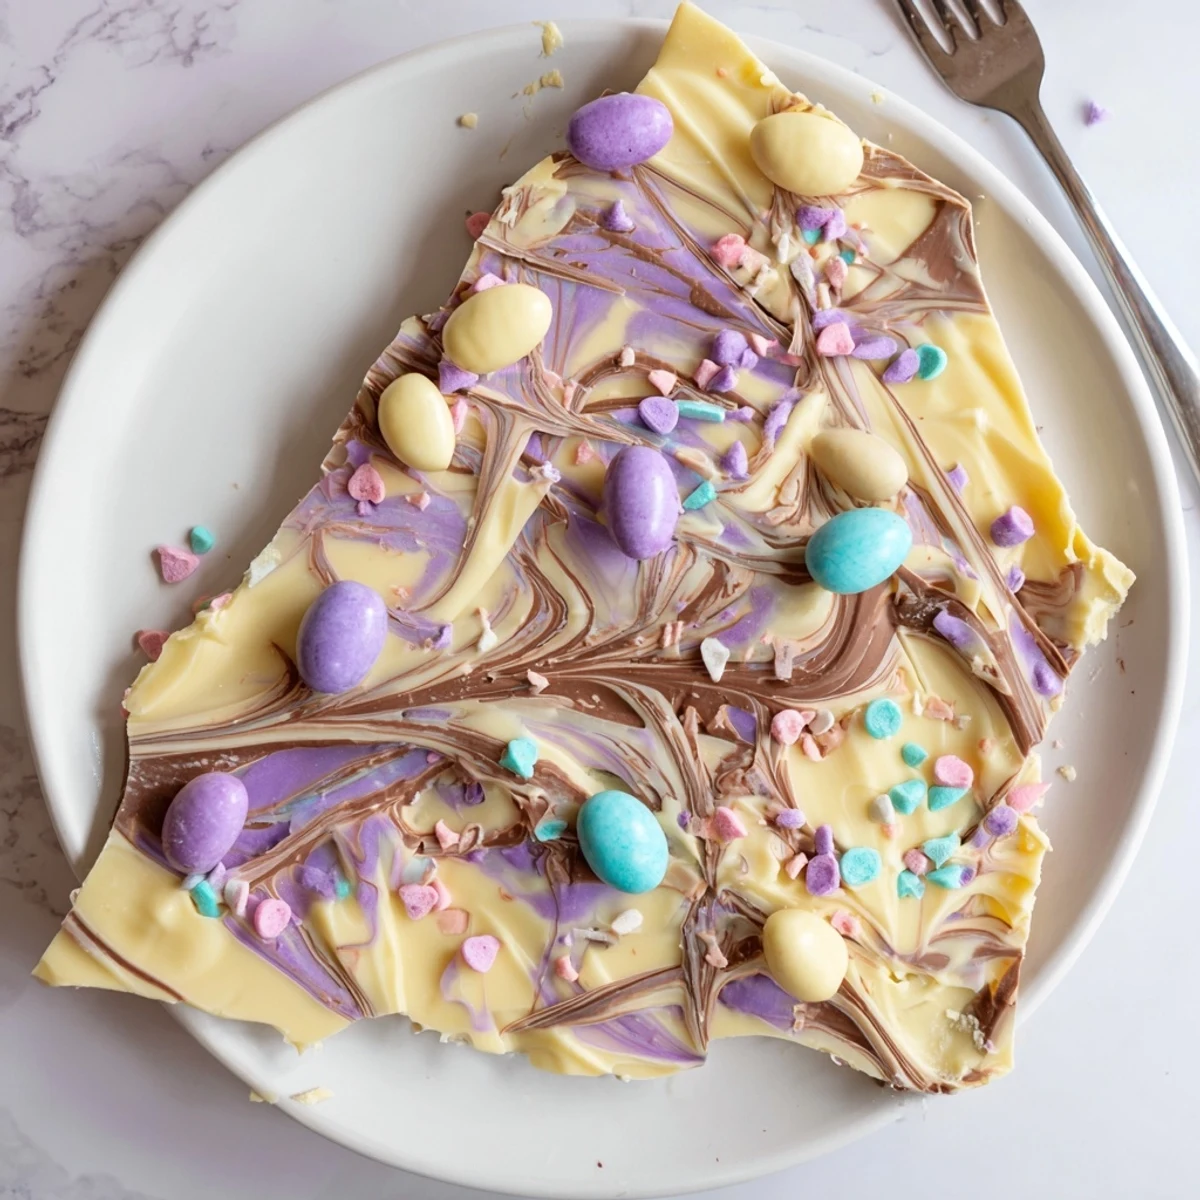
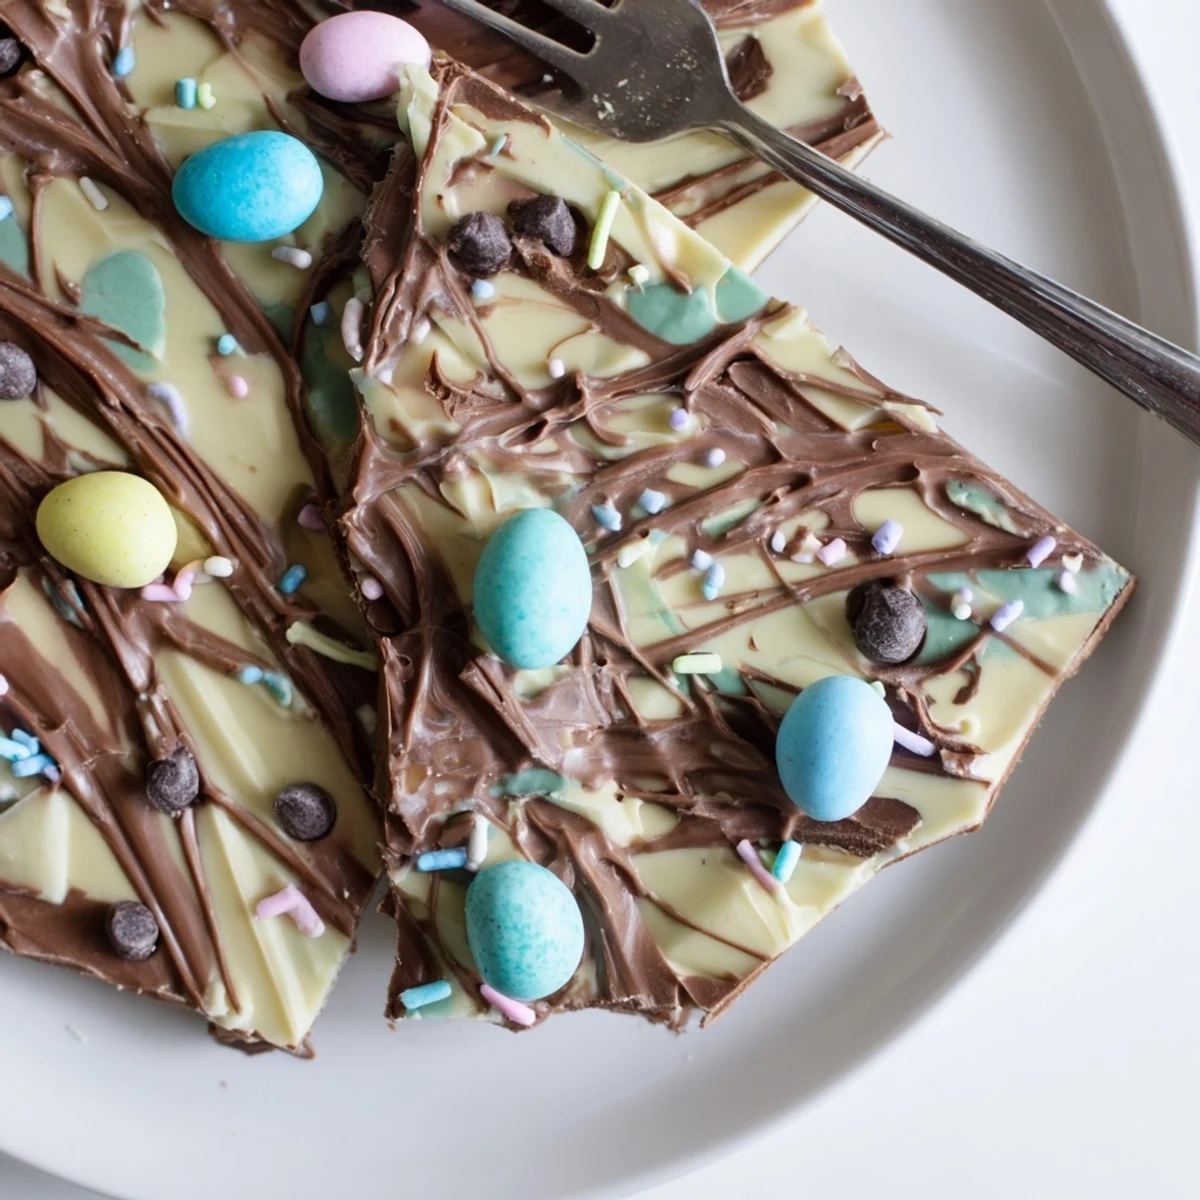
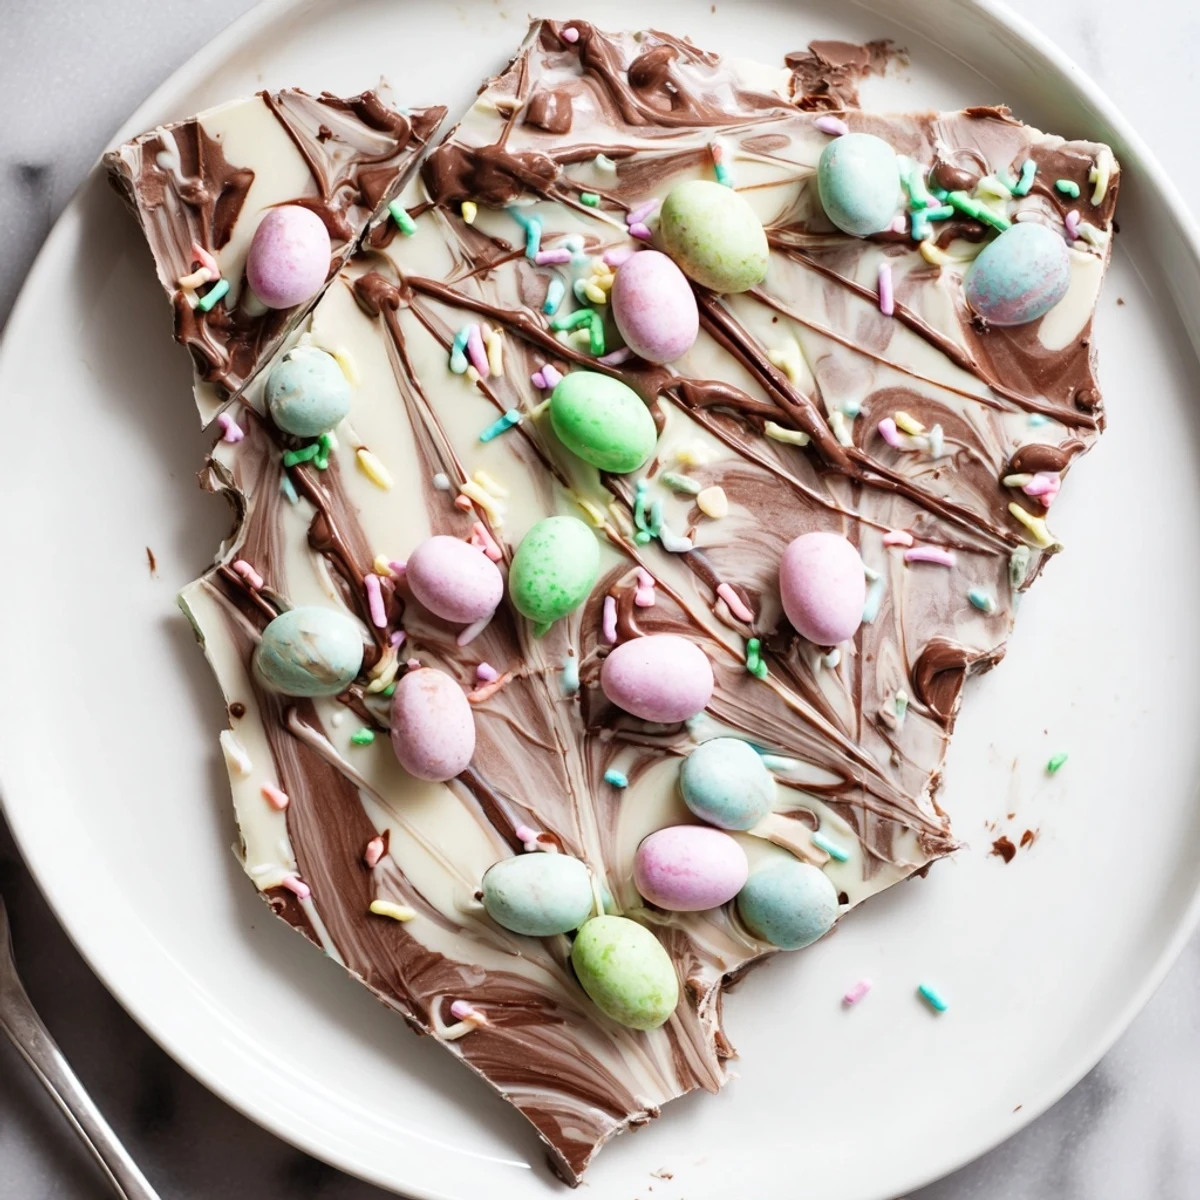
 Melt white chocolate and spread into a thin ¼-inch rectangle on parchment. Melt the semi-sweet or milk chocolate and drizzle over the white, then swirl with a toothpick to create a marbled finish. Immediately scatter candy robin eggs, pastel sprinkles and optional mini chips, pressing larger pieces to adhere. Let set at room temperature or chill until firm, then break into pieces. Yields about 12 servings.
My kitchen counter looked like a pastel explosion last Easter Sunday, with robin egg candies rolling every which way and my niece declaring herself the official sprinkle manager. We were supposed to be making dignified chocolate bark for the family gathering, but somewhere between the swirling and the scattering, it turned into joyful chaos. That batch never made it to the dessert table because we kept sneaking pieces from the fridge all afternoon.
I brought a version of this bark to a spring potluck two years ago and three people asked for the recipe before they even tasted it. The candy eggs nestled into the chocolate catch light in a way that makes everyone reach for their phone camera first.
Ingredients
- White chocolate (340 g): Use good quality white chocolate here because it forms the base and cheap versions can seize or taste waxy when melted.
- Semi-sweet or milk chocolate (170 g): This is for drizzling and swirling, so pick whichever you prefer, though milk chocolate gives a sweeter, creamier contrast against the white.
- Candy-coated robin eggs (150 g): These are the star of the show, and you can find them in the Easter candy aisle starting in late February.
- Pastel sprinkles (2 tbsp): They fill in the gaps between the eggs and add that festive touch that makes the bark feel celebratory.
- Mini chocolate chips (1 tbsp, optional): A little extra chocolate never hurt anyone and adds visual depth to the toppings.
Instructions
- Prep your workspace:
- Line a baking sheet with parchment paper and clear off some counter space because things move quickly once the chocolate starts melting.
- Melt the white chocolate:
- Set a heatproof bowl over a saucepan of gently simmering water and stir the white chocolate until it is completely smooth and glossy. You can also microwave it in 30-second bursts, stirring between each round, which I often do when I am feeling impatient.
- Spread the base layer:
- Pour the melted white chocolate onto your prepared sheet and spread it into an even rectangle about half a centimeter thick, working fairly quickly before it starts to set.
- Melt and swirl the dark chocolate:
- Melt the semi-sweet or milk chocolate the same way, then drizzle it over the white layer in thin lines. Take a toothpick or skewer and drag it through both layers to create a marbled pattern that looks elegant without needing any real technique.
- Add the toppings:
- Scatter the robin egg candies, sprinkles, and mini chocolate chips over the surface right away, gently pressing the larger candies down so they adhere to the chocolate before it hardens.
- Let it set:
- Leave the bark at room temperature for 30 to 40 minutes, or pop it in the refrigerator for 15 to 20 minutes if you are short on time and cannot wait to break into it.
- Break and serve:
- Once the bark is completely firm, use your hands to break it into rustic, uneven pieces that look beautiful piled on a platter or tucked into cellophane bags for gifting.
 Pin It
 My sister now makes this bark every Easter morning as a tradition her kids count down to all week. They line up at the counter with their hands washed, ready to scatter sprinkles with the seriousness of tiny surgeons.
Storing Your Bark
Keep the broken pieces in an airtight container at room temperature and they will stay crisp and fresh for up to a week. Avoid stacking them too tightly or the toppings press into each other and lose their visual charm.
Making It Your Own
Crushed pretzels add a salty crunch that balances the sweetness beautifully, and shredded coconut gives a chewy texture that surprises people in the best way. You could also swap the robin eggs for whatever candy fits the season, like red and green chocolates at Christmas or pastel bunnies at spring gatherings.
A Few Things I Learned the Hard Way
The beauty of bark is its forgiving nature, but there are a handful of small things that make a big difference in how it turns out.
- Always chop block chocolate into uniform pieces before melting so everything melts at the same rate.
- If your kitchen is warm, the bark may take longer to set, so find the coolest spot in your house.
- Taste your candy eggs before using them because some brands are better than others and the flavor really comes through.
 Pin It
 Every time I make this bark, someone tells me it looks too pretty to eat, but somehow the platter always ends up empty by the end of the day. That is the highest compliment a simple homemade treat can receive.
Recipe FAQs
- → What’s the best method for melting the chocolate?
-
Use a double boiler over gently simmering water for steady heat, stirring until smooth. Or microwave in 20–30 second bursts, stirring between bursts to avoid overheating and seizing.
- → How do I achieve a neat marbled effect?
-
Pour the melted white chocolate first, then drizzle the darker chocolate in thin lines. Drag a toothpick or skewer through both layers in short strokes to create swirls without overmixing.
- → Can I substitute different toppings?
-
Yes. Try crushed pretzels, shredded coconut, chopped nuts, or seasonal candies. Choose items that won’t melt immediately and press larger pieces gently into the warm surface so they stick.
- → How should I store the bark?
-
Keep pieces in an airtight container at room temperature for up to one week. Refrigeration speeds setting but can introduce condensation—return to room temperature before serving for best texture.
- → How can I make a dairy-free version?
-
Use vegan or dairy-free white and milk chocolate alternatives and choose dairy-free candy coatings. Always check labels for hidden dairy or cross-contamination warnings.
- → Why do toppings sometimes sink into the chocolate?
-
Heavy or very dense candies can sink if the base is too warm. Press toppings in immediately after swirling, or chill briefly to firm the base before adding very heavy pieces.
