 Pin It
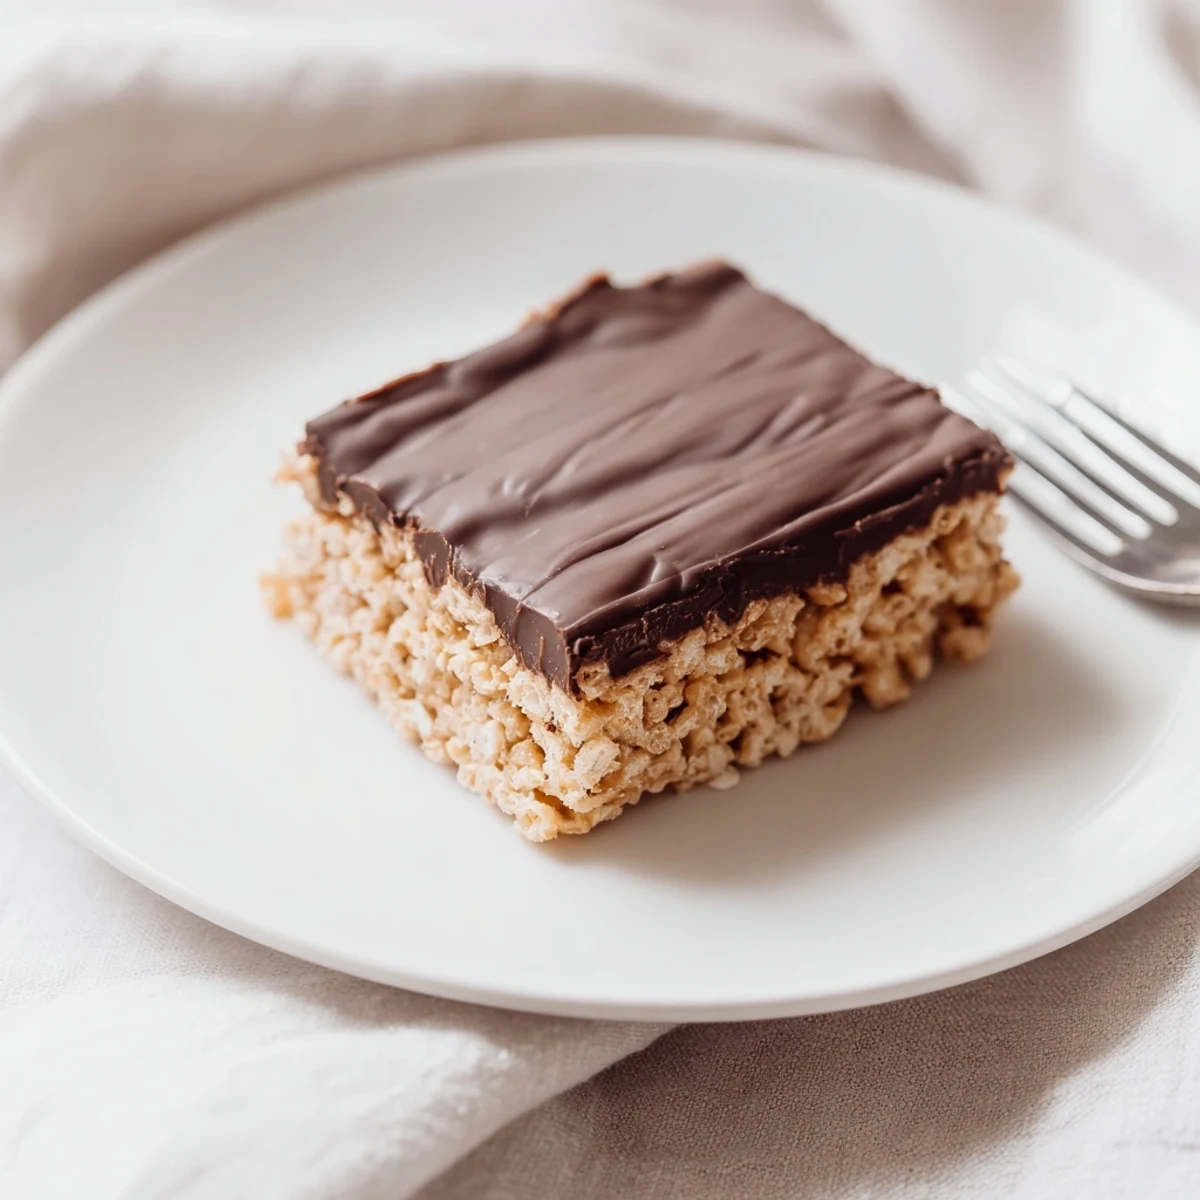
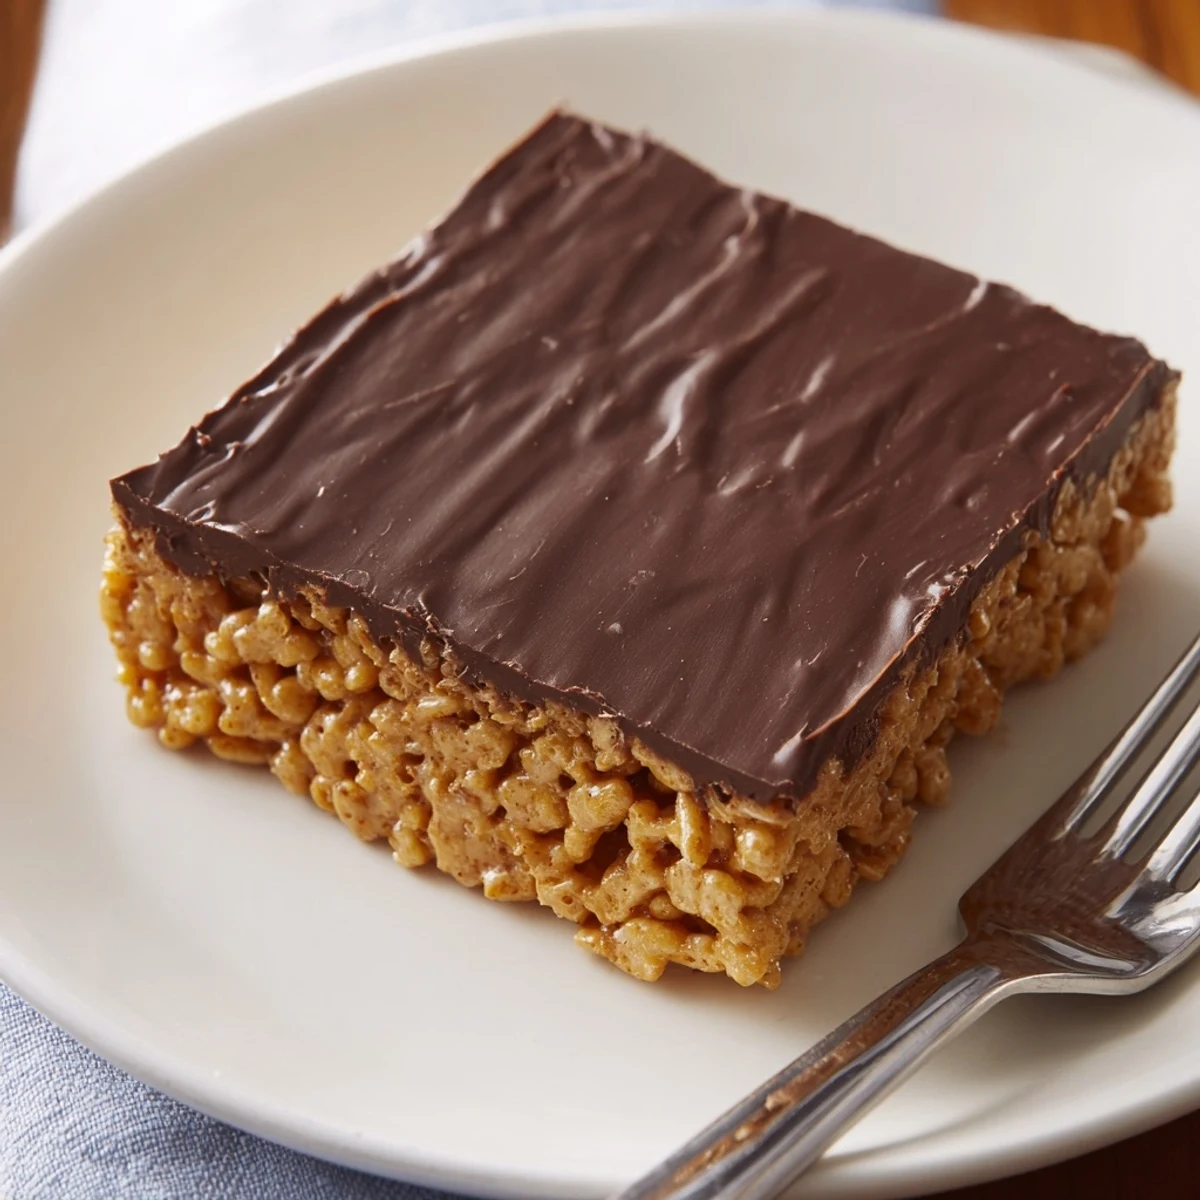
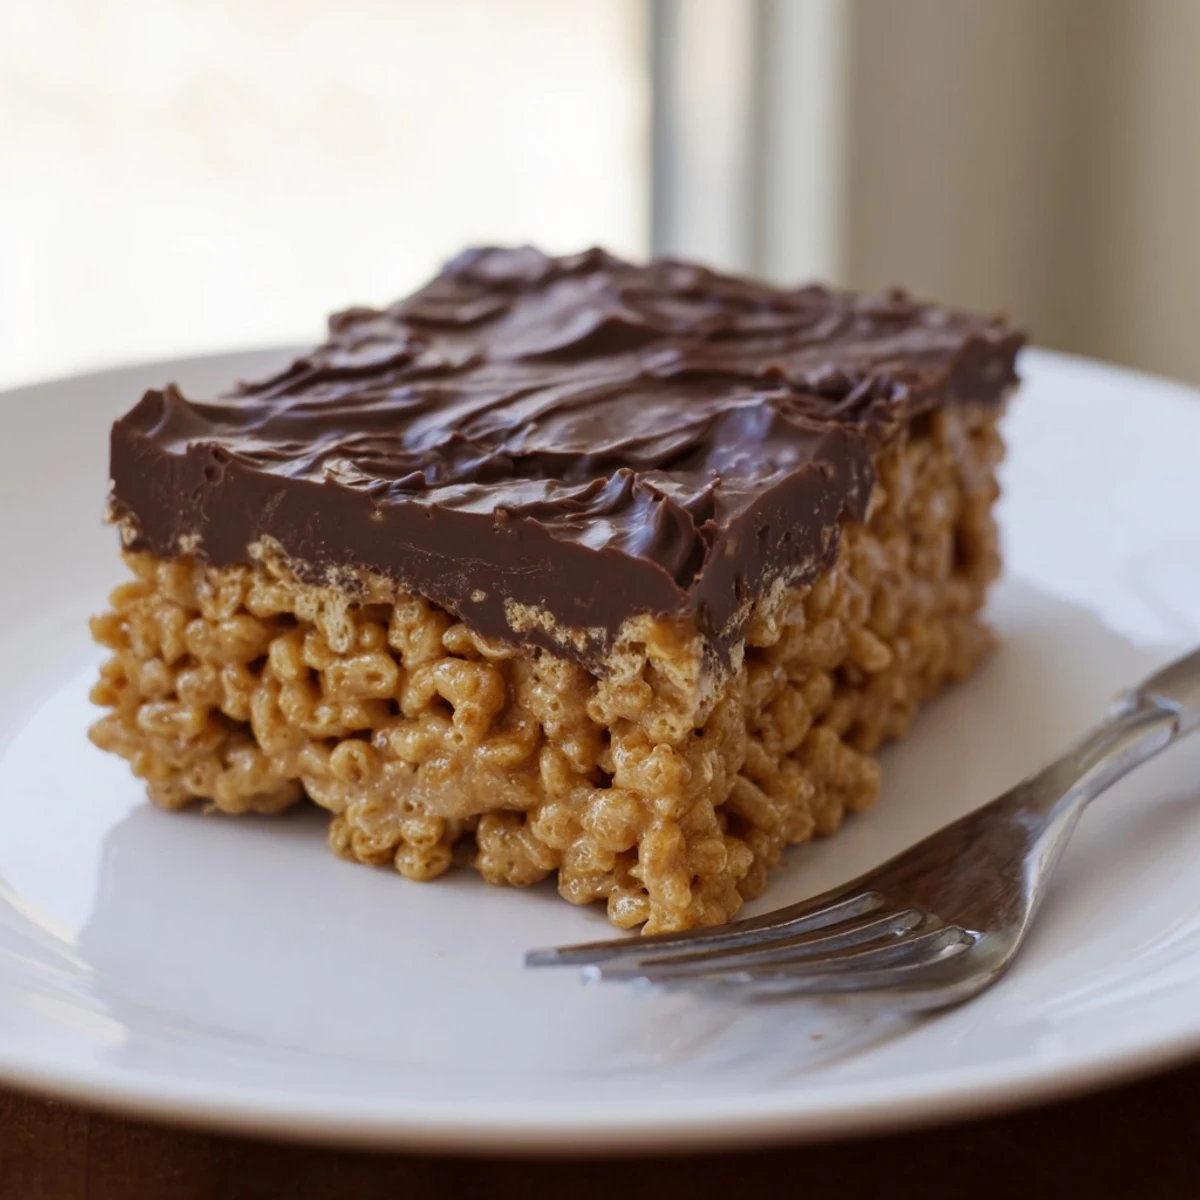
 These no-bake bars combine the satisfying crunch of gluten-free Honey Chex cereal with rich creamy peanut butter and natural honey sweetness. A smooth chocolate-peanut butter topping creates the perfect finishing layer. Simply melt, mix, press, and chill—your kitchen stays cool while these treats set up in the refrigerator.
The preparation takes just 15 minutes of active time, making them ideal for last-minute gatherings, lunchbox additions, or afternoon snacks. The cereal provides a light, crispy texture that contrasts beautifully with the dense, fudgy chocolate layer.
Customize easily by swapping sunflower seed butter for a nut-free version, or finish with flaky sea salt to enhance the chocolate flavor. Bars keep well in the refrigerator for up to a week, so you can make them ahead and enjoy throughout the week.
My college roommate used to make these bars during finals week when we needed something sweet but couldn't afford to take time away from studying. The whole dorm would know when they were ready because that honey-peanut butter aroma would drift down the hallway. Within fifteen minutes of the refrigerator door opening, the entire pan would vanish. I have been making them ever since, mostly because they are impossible to mess up.
I brought these to a potluck last summer and watched three different people ask for the recipe within five minutes of each other. One person admitted they are usually skeptical of gluten-free treats but these changed their mind completely. The best part was telling everyone they took practically zero effort to make. Sometimes the simplest recipes become the ones people remember most.
Ingredients
- 4 cups gluten-free Honey Chex cereal: This creates the perfect crunchy base and holds up way better than rice cereal which can get sad and soggy
- 1 cup creamy peanut butter: Do not use natural peanut butter that has been sitting in your cupboard forever because the oil separation will mess up your texture
- 1/2 cup honey: Warm this slightly in the microwave first because cold honey refuses to mix smoothly into anything
- 1/4 cup unsalted butter: The butter helps everything set up properly and keeps the bars from being too sticky to cut
- 1 cup semisweet chocolate chips: Make sure they are actually certified gluten-free because cross-contamination is real and nobody wants an accidental reaction
- 2 tablespoons creamy peanut butter: This little bit in the chocolate layer makes it taste so much fancier than just plain melted chips
Instructions
- Get your pan ready:
- Parchment paper is not optional here because without it these bars will stick forever and you will end up eating them out of the pan with a spoon which is fine but not presentable
- Mix the sticky stuff:
- Keep the heat on the lower side because honey burns easily and burned honey smells terrible for days
- Coat the cereal:
- Fold gently instead of stirring aggressively or you will crush all those perfect little Chex into sad dust
- Press it down:
- Use the back of a spoon or even the bottom of a measuring cup to really pack it in tight because loose bars fall apart when you try to cut them
- Melt the chocolate:
- Thirty second intervals in the microwave are your friend because chocolate goes from perfect to burnt and seized in about three seconds flat
- Spread the topping:
- Work quickly because the chocolate starts setting up as soon as it hits the cool cereal base
- The waiting game:
- One hour minimum in the fridge but honestly two hours is better if you can wait that long
- Cutting time:
- Run your knife under hot water between cuts for the cleanest edges and wipe it down frequently
 Pin It
 My daughter now requests these for every single class party and birthday celebration. Her friends started calling them the famous bars after she brought them three months in a row. There is something so satisfying about watching kids get excited about something you made with your own hands. These little moments in the kitchen become the memories they carry forward.
Storage Secrets
The refrigerator is definitely the best place for these because the chocolate stays firm and the texture stays perfect. I learned the hard way that leaving them out makes everything soft and messy especially in warm weather. An airtight container keeps them fresh for a whole week though they never last that long at my house.
Making Them Your Own
Sunflower seed butter works beautifully if you need to avoid nuts entirely. The flavor is slightly different but still really good in that salty sweet way. A tiny sprinkle of flaky sea salt on top of the chocolate layer takes these from great to absolutely unforgettable. Sometimes I add a handful of mini marshmallows to the cereal mixture because why not.
Serving Ideas
These bars travel surprisingly well which makes them perfect for picnics bake sales and pretty much any gathering. Cut them small because they are quite rich and a little goes a long way. I like to serve them with coffee because the bitter notes balance all that sweet perfectly.
- Use a sharp knife and clean it between every few cuts for the prettiest squares
- Let them sit out for about five minutes before serving if they have been in the fridge for a while
- Package them individually in parchment paper for the cutest party favors
 Pin It
 These bars have saved me more times than I can count when I need something impressive but have zero energy. That first bite of cold chocolate and crunchy cereal is worth every minute of fridge time.
Recipe FAQs
- → Do these bars need to be baked?
-
No baking required! These bars set in the refrigerator. Simply melt the ingredients on the stovetop, combine with cereal, add the chocolate topping, and chill until firm.
- → Can I make these bars dairy-free?
-
Yes! Substitute the butter with coconut oil or a dairy-free butter alternative. Use dairy-free chocolate chips and check that your cereal is certified gluten-free and dairy-free.
- → How should I store these bars?
-
Store in an airtight container in the refrigerator for up to 1 week. The cool temperature keeps the chocolate firm and prevents the bars from becoming too soft.
- → Can I use regular Chex instead of Honey Chex?
-
Regular gluten-free Chex works, though you'll lose some of the honey sweetness. You may want to increase the honey slightly or add a touch more sugar to the base mixture.
- → What size pan works best?
-
An 8x8-inch pan creates bars with ideal thickness. A 9x9-inch pan will yield thinner bars, while a smaller pan creates thicker, denser squares.
- → How long do these take to set?
-
Refrigerate for at least 1 hour until fully set. For firmer bars that cut cleanly, 2-3 hours or overnight chilling works even better.
