 Pin It
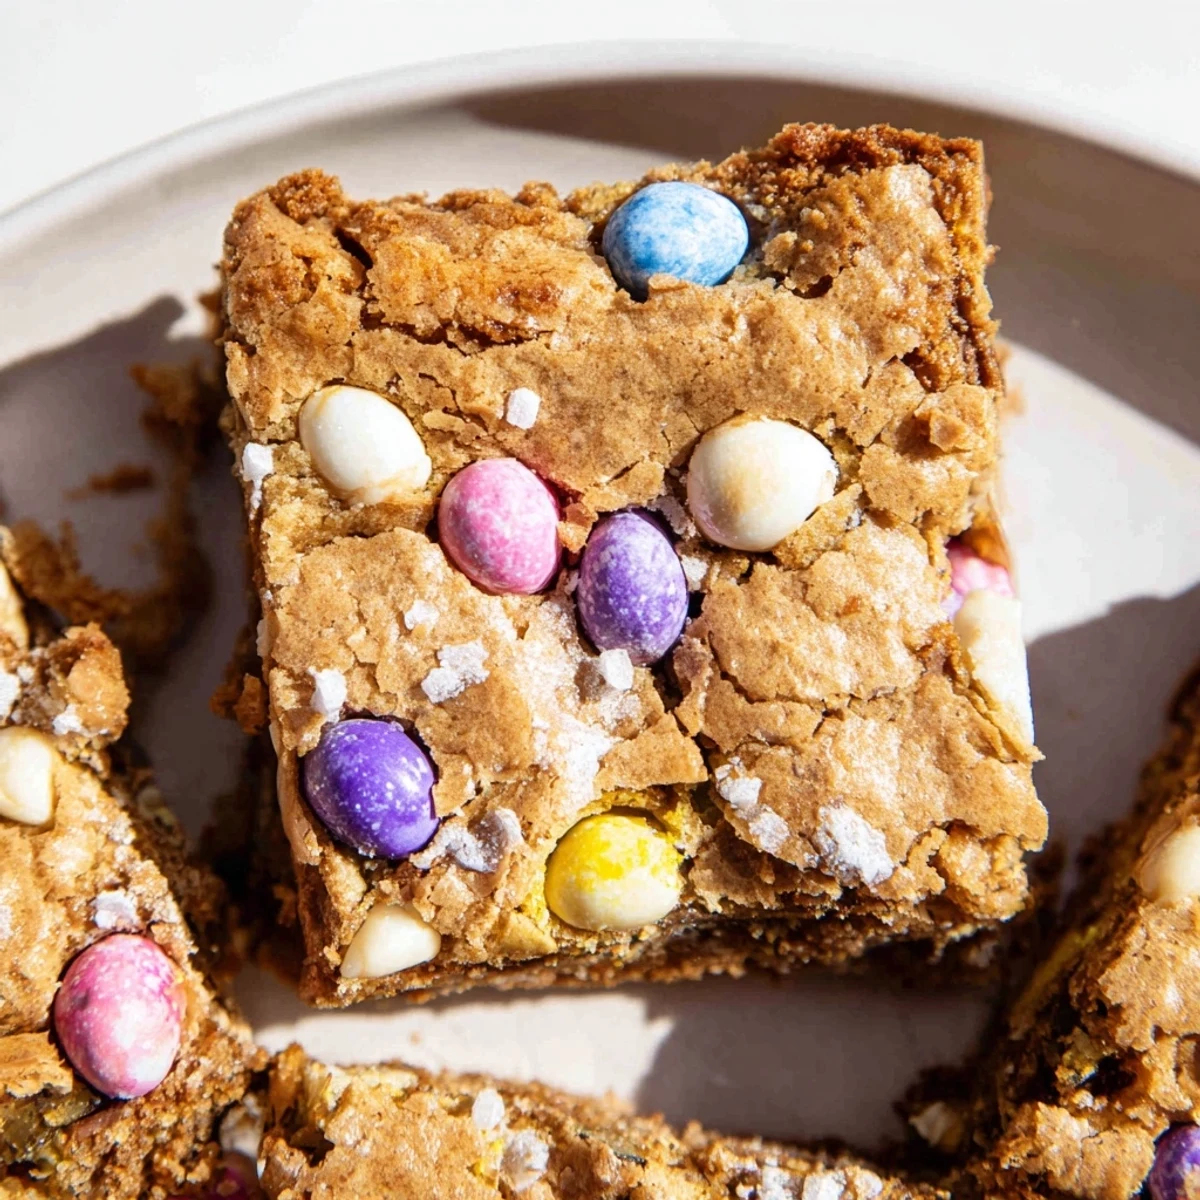
 These chewy golden blondies combine rich white chocolate chunks with colorful Mini Cadbury Easter Eggs for a festive spring treat. The batter comes together quickly with melted butter, brown sugar, and vanilla, then bakes into perfectly fudgy squares in under 30 minutes.
The contrast of creamy white chocolate against the crisp candy shell creates irresistible texture in every bite. Perfect for Easter brunch, spring parties, or anytime you want a cheerful dessert that's both beautiful and delicious.
The smell of butter melting in the microwave always pulls me into the kitchen, no matter what I was doing. These blondies started as an Easter experiment that went so right I have made them every spring since, sometimes just because Tuesday needed celebrating.
Last year my neighbor texted me at 9 pm because she could smell them baking through our shared wall. That turned into an impromptu kitchen gathering with three other neighbors, all of us standing around the pan with forks, watching the chocolate chips glisten as they cooled.
Ingredients
- All-purpose flour: Provides the structure for these chewy bars without making them cakey or dense
- Baking powder: Just enough to give them a slight lift while maintaining that dense blondie texture we love
- Salt: Balances the sweetness and makes all the chocolate flavors pop
- Unsalted butter melted and cooled: The foundation of that rich chewy texture, cooled slightly so it does not cook the eggs
- Light brown sugar packed: Creates moisture and deep caramel notes that white sugar alone cannot achieve
- Granulated sugar: Helps form that coveted crackly crust on top while keeping the interior tender
- Large eggs: Bind everything together and add richness for that perfect fudgy middle
- Vanilla extract: Rounds out all the sweet flavors with warm aromatic notes
- Mini Cadbury Easter Eggs chopped: The star of the show providing colorful crunch and that iconic chocolate shell
- White chocolate chips: Melt into creamy pools throughout the blondie for extra indulgence
Instructions
- Preheat and prepare your pan:
- Set your oven to 350°F (175°C) and line an 8x8-inch baking pan with parchment paper, letting the edges hang over like little handles to lift the blondies out later.
- Whisk the dry ingredients:
- In a medium bowl, combine the flour, baking powder, and salt, giving them a quick whisk to distribute everything evenly.
- Mix the butter and sugars:
- Pour the melted butter into a large bowl and add both sugars, whisking until the mixture turns smooth and glossy like caramel.
- Add eggs and vanilla:
- Crack in the eggs and splash in the vanilla, whisking until the batter looks creamy and well combined.
- Combine wet and dry:
- Gently fold the flour mixture into the wet ingredients with a spatula, stopping as soon as the flour disappears to keep them tender.
- Fold in the chocolate:
- Stir in the chopped Mini Eggs and white chocolate chips, but keep a handful of the prettiest egg pieces back for the top.
- Spread and top:
- Scrape the batter into your prepared pan and level it with an offset spatula, then press those reserved Mini Eggs into the surface.
- Bake to golden perfection:
- Slide the pan into the oven for 23 to 26 minutes until the top is golden and a toothpick comes out with moist crumbs rather than wet batter.
- Cool completely:
- Let the blondies cool completely in the pan before lifting them out and cutting into squares.
 Pin It
 My daughter now requests these for every school bake sale because her classmates actually cheer when she walks in with the pan. The colorful candy eggs make them feel festive even when it is not Easter at all.
Making Them Your Own
I have discovered that swapping half the white chocolate chips for dark chocolate creates this sophisticated contrast that adults cannot stop eating. Sometimes I throw in sprinkles for birthday versions and nobody complains about the extra confetti.
Storage Secrets
These actually taste better on day two when the flavors have had time to become friends and the texture becomes even fudgier. I keep them in an airtight container with a piece of bread to maintain that fresh baked softness.
Serving Suggestions
A warm blondie with vanilla ice cream is obvious but truly life changing. I also like crumbling leftovers over Greek yogurt for breakfast because no one is judging my spring morning choices.
- Serve them slightly warmed for maximum gooey factor
- Package them in clear bags tied with pastel ribbon for the cutest Easter gifts
- Freeze undecorated blondies wrapped tightly for up to two months
 Pin It
 Hope these bring as much joy to your kitchen as they have to mine.
Recipe FAQs
- → Can I make these blondies ahead of time?
-
Yes, these blondies keep beautifully in an airtight container for up to 4 days at room temperature. You can also freeze them for up to 3 months—wrap individual squares in plastic wrap and thaw at room temperature when ready to serve.
- → Why do my blondies come out cakey instead of chewy?
-
Overmixing the batter can develop too much gluten, leading to cakey texture. Fold the dry ingredients in just until combined. Also, avoid overbaking—remove from the oven when a toothpick comes out with moist crumbs, not completely clean.
- → Can I use regular Cadbury eggs instead of Mini ones?
-
Absolutely! Roughly chop full-sized Cadbury Creme Eggs or Mini Eggs into similar-sized pieces. The filling will add extra sweetness and a gooey texture. Just keep the total candy amount around 1 cup for best results.
- → What's the best way to chop Mini Cadbury Eggs?
-
Place the Mini Eggs in a sealed plastic bag and gently tap with a rolling pin or meat mallet. This contains the flying pieces and gives you control over the chunk size. Aim for pieces roughly the size of the white chocolate chips.
- → Can I substitute the white chocolate chips?
-
Milk or dark chocolate chips work wonderfully if you prefer less sweetness. Chopped chocolate bars also create lovely puddles throughout the blondies. For a colorful twist, try pastel-colored candy-coated chocolate pieces instead of white chocolate.
- → How do I know when the blondies are done baking?
-
Insert a toothpick into the center—it should come out with a few moist crumbs clinging to it, not completely clean. The edges should be slightly golden and pulling away from the pan sides. They'll continue setting as they cool, so don't worry if the center seems slightly soft.
