 Pin It
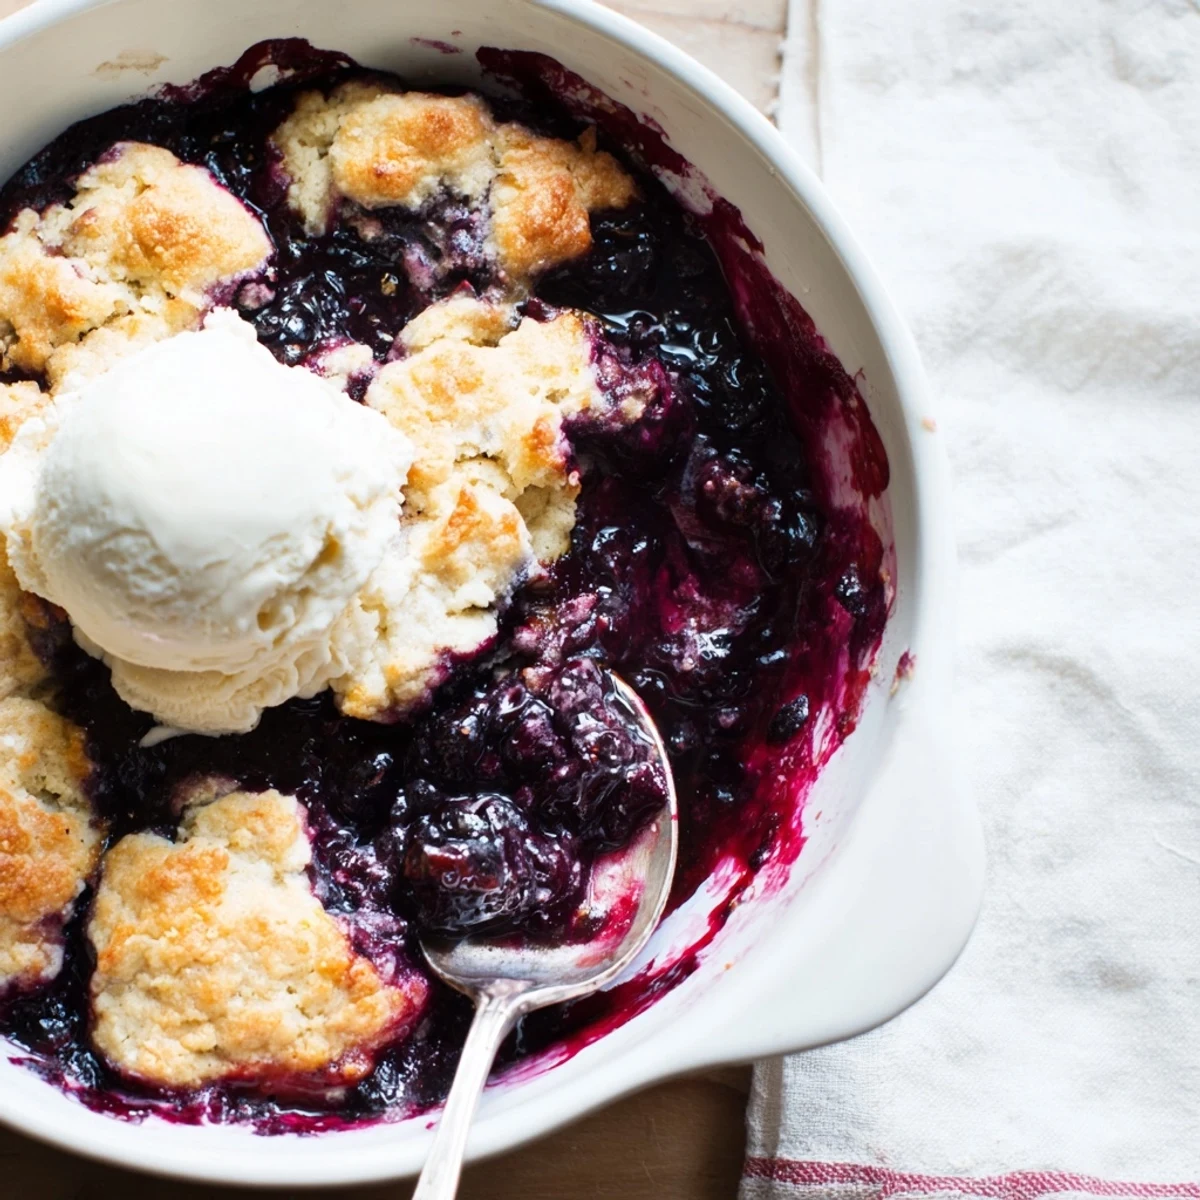
 This classic American dessert transforms simple frozen blueberries into a bubbling, sweet filling beneath a tender golden biscuit crust. The cobbler topping stays incredibly moist thanks to melted butter and milk, creating the perfect texture contrast against the juicy fruit filling.
You'll toss frozen blueberries directly into your baking dish—no thawing needed—with sugar and cornstarch to create a luscious, thickened fruit layer. The simple batter comes together in minutes and gets dropped over the berries in rustic spoonfuls, allowing those gorgeous purple bubbles to peek through as everything bakes.
The result is a homey, comforting dessert that tastes like it took hours but comes together in under an hour total. Serve it warm while the berries are still bubbling and the topping is at its golden best. A scoop of vanilla ice cream melting into the warm fruit creates an irresistible dessert experience.
This versatile dessert works year-round since frozen berries deliver incredible flavor. You can easily make it dairy-free with plant-based milk and vegan butter, or mix in other frozen berries for variation.
There is something deeply comforting about the way frozen blueberries transform in the oven, turning into a bubbling, jewel-toned mess that smells like summer itself. I discovered this during a particularly brutal February when the supermarket had run out of fresh everything, and I needed something that tasted like hope. The cobbler that emerged was even better than the fresh berry versions I had made in season, the frozen fruit somehow concentrating all its sweetness.
My neighbor texted at 7 PM on a Tuesday, having had one of those days that only warm fruit and vanilla ice cream can fix. I had this cobbler in the oven within twenty minutes, and we stood in her kitchen watching the topping turn golden through the oven door. Sometimes the best meals are the unplanned ones.
Ingredients
- 5 cups frozen blueberries: Do not thaw them first, they cook down beautifully and create the most incredible syrup
- 3/4 cup granulated sugar: Adjust slightly depending on how sweet your berries are, but this amount balances perfectly with the tartness
- 2 tablespoons cornstarch: This thickens all those juices into a proper sauce instead of a soupy mess
- 1 tablespoon lemon juice: Brightens everything and cuts through the sweetness
- 1/2 teaspoon ground cinnamon: Optional, but I always add it because it makes the house smell like a bakery
- 1 1/2 cups all-purpose flour: The base for a topping thats substantial enough to hold up to all those juicy berries
- 1/2 cup granulated sugar: For the biscuit topping, giving it a lovely crisp exterior
- 1 1/2 teaspoons baking powder: Helps the topping rise into those irresistible peaks and valleys
- 1/2 teaspoon baking soda: Works with the baking powder for a tender, not tough, texture
- 1/4 teaspoon salt: Essential for balancing all the sweetness
- 1/2 cup unsalted butter: Melted and cooled, this creates pockets of buttery richness throughout the topping
- 2/3 cup whole milk: Whole milk makes the most tender biscuits, but I have used low-fat in a pinch
- 1 teaspoon vanilla extract: Do not skip this, it ties everything together
Instructions
- Get your oven ready:
- Preheat to 375°F and grease a 9x9-inch dish, nothing fancy needed
- Make the filling:
- Toss those frozen berries with the sugar, cornstarch, lemon juice, cinnamon, and pinch of salt right in the baking dish
- Whisk the dry topping ingredients:
- In a separate bowl, combine flour, sugar, baking powder, baking soda, and salt until well blended
- Mix the batter:
- Stir in the melted butter, milk, and vanilla just until combined, the batter will be thick and thats exactly right
- Top the berries:
- Drop spoonfuls over the filling, leaving some gaps so you can see the bubbling fruit peeking through
- Bake until golden:
- 40 to 45 minutes should do it, you want the top golden brown and those berries bubbling up around the edges
- The hardest part:
- Let it cool for at least 15 minutes, the filling needs time to set up a bit
 Pin It
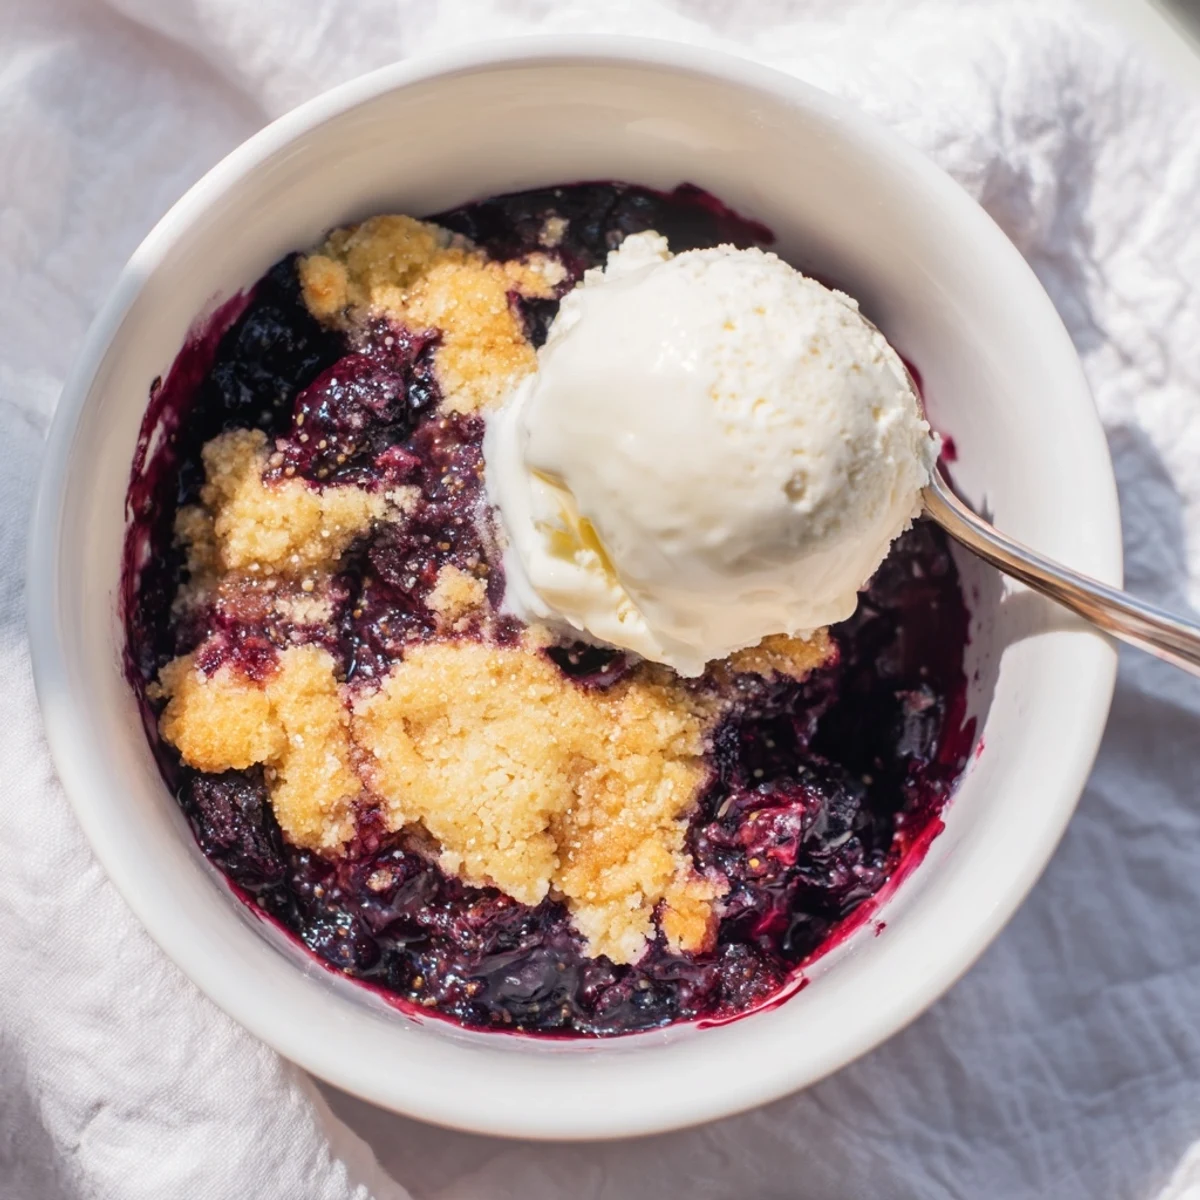
 My daughter now requests this for her birthday instead of cake, and I have learned to make two because the first one disappears before it even cools completely. There is something about that combination of hot fruit and tender biscuit that makes people linger at the table longer than usual.
Make It Your Own
Sometimes I throw in a handful of frozen raspberries or blackberries with the blueberries for a mixed berry version. The proportions stay the same, but the flavor becomes more complex and the color even more stunning.
Serving Ideas
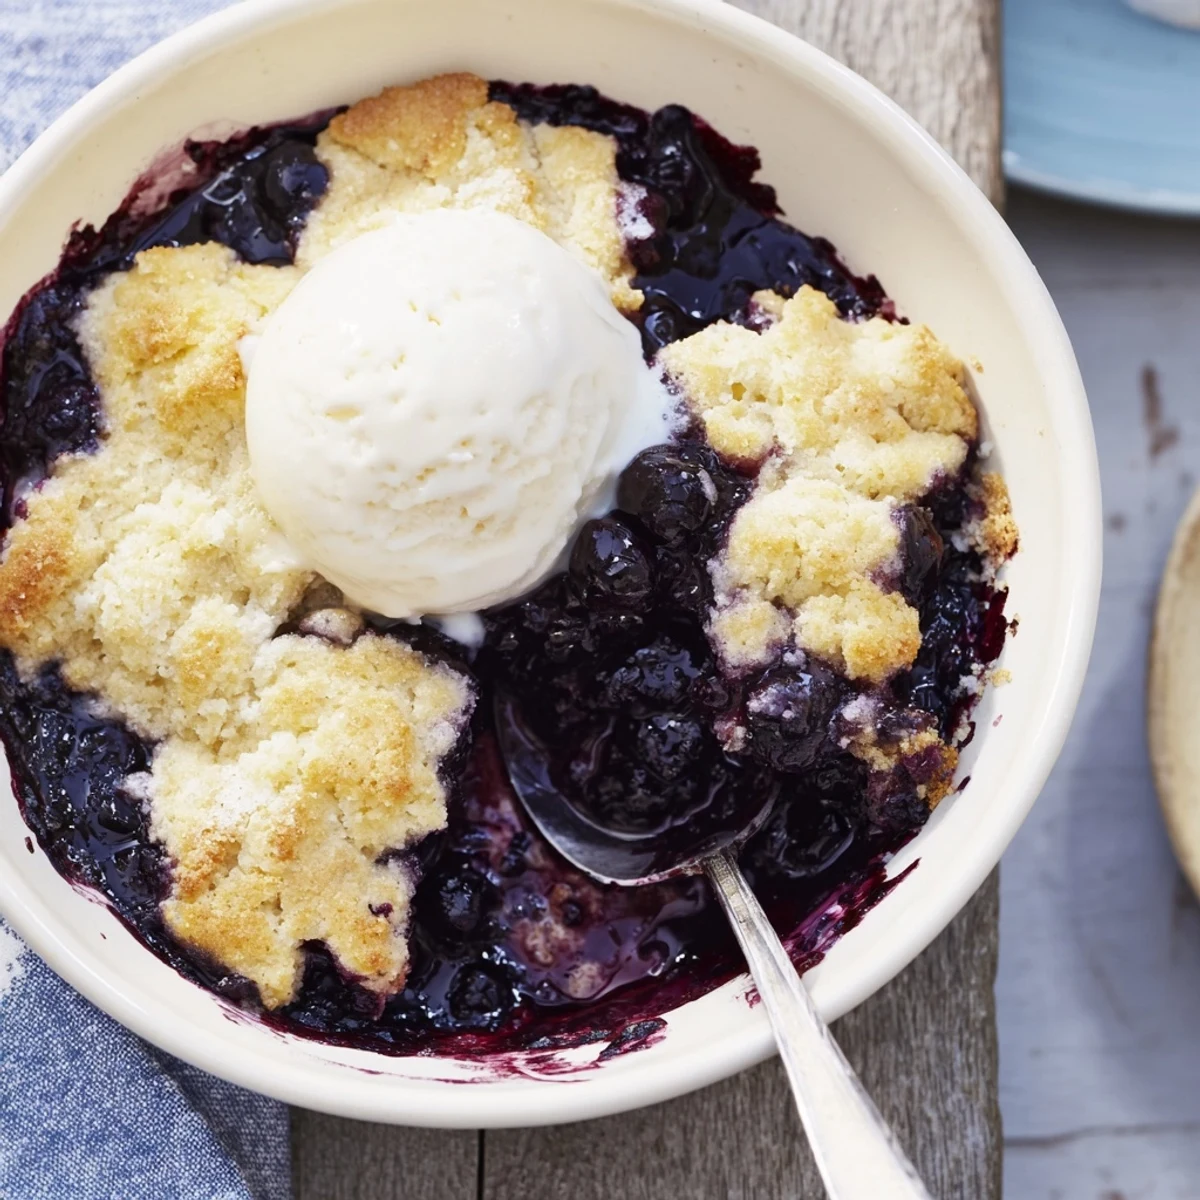
Vanilla ice cream is classic, but I have also served this with a dollop of Greek yogurt for breakfast and no one judged me. The contrast between hot fruit and cold cream cannot be overstated.
Storage And Make Ahead
This keeps surprisingly well in the refrigerator for up to three days, though the topping will soften. Reheat individual portions in the microwave for 30 seconds and it tastes freshly baked.
- Sprinkle coarse sugar over the topping before baking for extra crunch
- Substitute plant-based milk and vegan butter for a dairy-free version
- A 9x13 inch pan works if you want a slightly thinner cobbler
 Pin It
 Life is too short for boring dessert, and this cobbler has rescued more weeknight dinners than I can count.
Recipe FAQs
- → Do I need to thaw frozen blueberries before making cobbler?
-
No, you should use frozen blueberries directly from the freezer. Thawing them first would make them too watery and affect the consistency of your filling. The cornstarch helps thicken the juices released during baking.
- → Why is my cobbler topping dry instead of moist?
-
Overmixing the batter can create a tough, dry topping. Stir just until combined—the batter will be thick and slightly lumpy, which is perfect. Also ensure you're measuring flour correctly and not adding too much.
- → Can I use fresh blueberries instead of frozen?
-
Absolutely! Fresh blueberries work wonderfully. You may need slightly less cornstarch since fresh berries release less liquid than frozen. Reduce cornstarch to 1 tablespoon and adjust based on how thick you prefer your filling.
- → How do I know when the cobbler is done baking?
-
The cobbler is ready when the topping is golden brown and set, not doughy or wet in the center. You should see berry juices bubbling up through the gaps in the topping. A toothpick inserted into the biscuit portion should come out clean.
- → Can I make this cobbler ahead of time?
-
Yes! You can assemble the entire cobbler up to 24 hours ahead and refrigerate before baking. Add 5-10 minutes to the baking time if baking cold. Leftovers reheat beautifully in the microwave or oven.
- → What other fruits can I use in this cobbler?
-
This recipe works with any frozen or fresh berries—try mixed berries, blackberries, raspberries, or sliced peaches. Just keep the total fruit amount at 5 cups and adjust sugar based on fruit sweetness.
