 Pin It
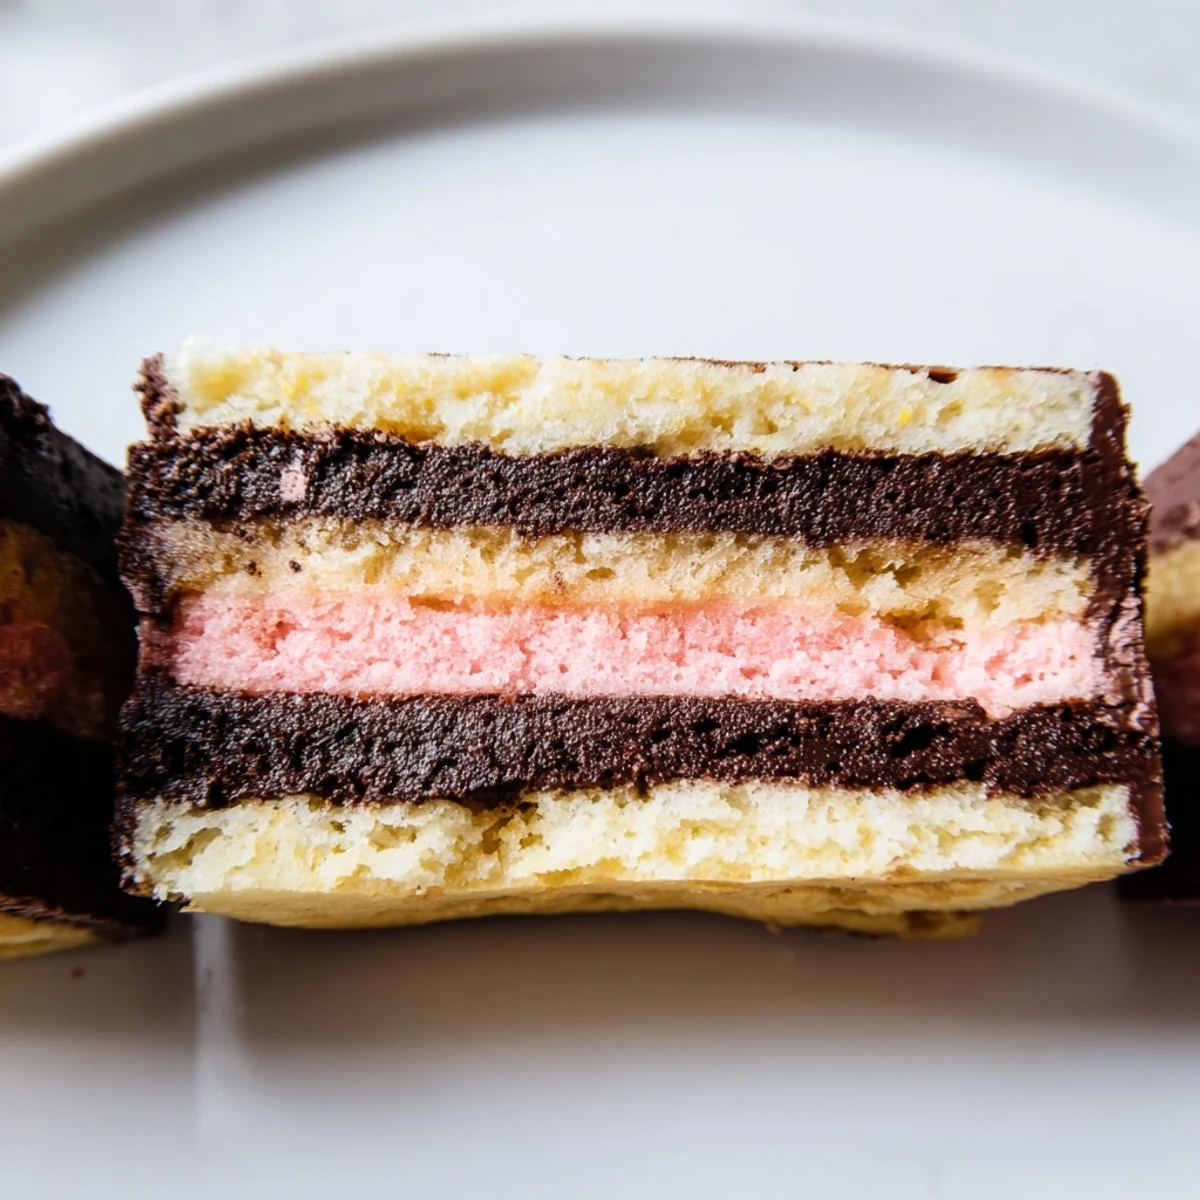
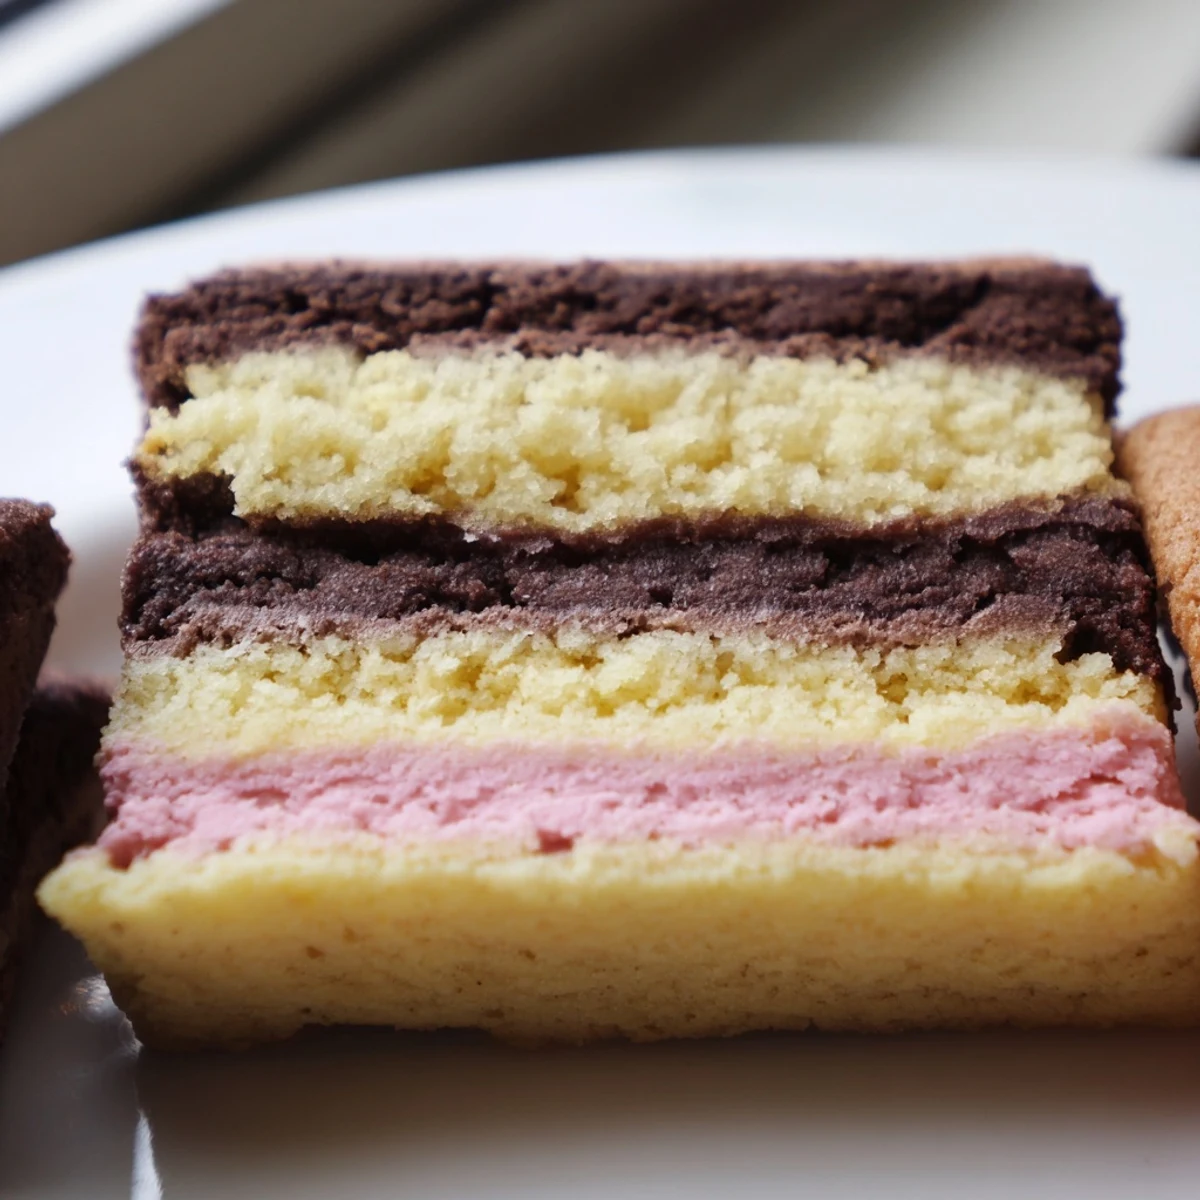
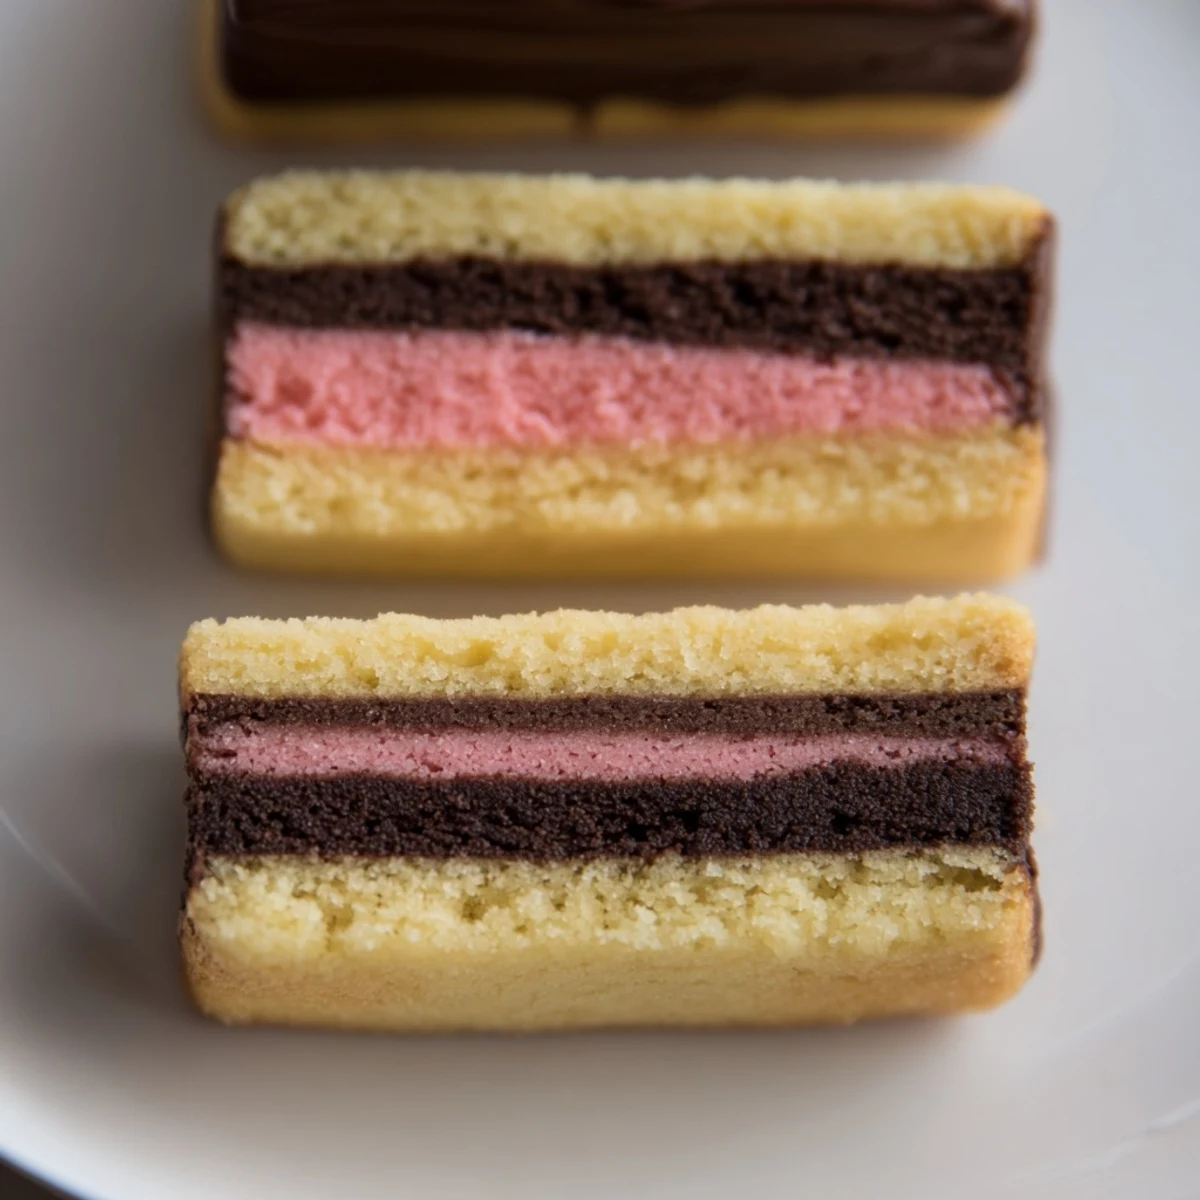
 Neapolitan Cookies bring together three classic flavors—chocolate, vanilla, and strawberry—in one beautifully layered butter cookie. Inspired by the iconic ice cream, each cookie delivers a trio of flavors in a single bite.
The dough is divided into three portions, each flavored and colored separately, then stacked and chilled before slicing. With a prep time of 30 minutes and 12 minutes in the oven, these cookies yield 36 pieces and are perfect for sharing at gatherings or gifting during holidays.
The ice cream truck jingle still echoes in my head every summer, and somehow those three stripes of chocolate, vanilla, and strawberry ended up embedded in my brain as the ultimate trifecta of happiness. Turning that nostalgic combo into a cookie felt almost inevitable one rainy Saturday when I had time to kill and a butter stash that needed using. Three doughs, one log, and a freezer nap later, I had something that looked almost too pretty to eat. Almost.
I brought a tin of these to a potluck once and watched three adults freeze mid conversation when they spotted the Neapolitan layers. One friend actually grabbed two before dinner was even served, claiming she was saving them from getting crushed in transit. That was the moment I knew this recipe had earned a permanent spot in my rotation.
Ingredients
- All-purpose flour (2½ cups, 315 g): The structural backbone, and you really do need to spoon and level it rather than scooping blindly.
- Baking powder (1 tsp): Just enough lift to keep these tender without turning them into little pillows.
- Salt (½ tsp): Never skip this, especially in a butter cookie where salt does all the heavy lifting behind the scenes.
- Unsalted butter, softened (1 cup, 225 g): Room temperature butter is non-negotiable here, so set it out an hour ahead or you will fight your mixer.
- Granulated sugar (1¼ cups, 250 g): Standard white sugar gives you that crisp edge and chewy center balance.
- Large eggs (2): Bind everything together and add richness to each layer.
- Pure vanilla extract (2 tsp): This is the star of the vanilla layer, so use the good stuff, not the imitation bottle.
- Freeze-dried strawberry powder (1 tbsp): This is your secret weapon for real fruit flavor and that gorgeous blush pink without any added moisture.
- Unsweetened cocoa powder (2 tbsp): Gives the chocolate layer its depth and color, and a teaspoon of milk smooths it right out.
- Milk (1 tsp): Just a splash to help the cocoa incorporate into the dough without turning it crumbly.
Instructions
- Whisk the dry base:
- In a medium bowl, whisk the flour, baking powder, and salt together until evenly distributed. Set it aside so it is ready when the wet mixture calls for it.
- Cream butter and sugar:
- Beat the softened butter and sugar in a large bowl with an electric mixer until the mixture looks pale, fluffy, and lighter than when you started, about two minutes of steady mixing.
- Add eggs and vanilla:
- Drop in one egg at a time, beating after each addition, then pour in the vanilla extract and mix until everything is smooth and fragrant.
- Bring it all together:
- Gradually add the dry ingredients to the wet mixture on low speed, mixing just until the last streak of flour disappears into the dough.
- Split into three:
- Divide the dough into three equal portions, roughly weighing them if you want perfectly even layers, though a good eyeball estimate works fine too.
- Make the strawberry dough:
- Add the freeze-dried strawberry powder to one portion and knead it gently until the color blooms into a soft, even pink throughout.
- Make the chocolate dough:
- Add the cocoa powder and milk to the second portion and work it in until you have a smooth, rich brown dough with no dry pockets.
- Keep the vanilla plain:
- Leave the third portion exactly as it is, because sometimes simplicity is the flavor that holds everything else together.
- Shape the rectangles:
- On parchment paper or plastic wrap, press each dough portion into a flat rectangle about 8 by 4 inches, keeping the thickness as even as you can manage.
- Stack and press:
- Layer chocolate on the bottom, vanilla in the middle, and strawberry on top, pressing gently so the layers stick together without blending into each other.
- Chill until firm:
- Wrap the stacked dough tightly and refrigerate it for at least 45 minutes until it feels solid enough to slice cleanly without squishing.
- Preheat and prep:
- Heat your oven to 350°F (175°C) and line your baking sheets with fresh parchment paper while the dough finishes firmming up.
- Slice and arrange:
- Use a sharp knife to cut the log crosswise into quarter-inch slices, placing each cookie an inch apart on the sheets so they have room to spread.
- Bake until golden:
- Slide the sheets into the oven for 10 to 12 minutes, watching for the faintest golden blush on the edges as your signal to pull them out.
- Cool completely:
- Let the cookies rest on the sheet for five minutes, then transfer them gently to a wire rack where they will crisp slightly as they cool.
 Pin It
 A neighbor once told me these cookies reminded her of the Neapolitan ice cream boxes her grandmother used to buy every Sunday. She stood in my kitchen holding one cookie and talking for twenty minutes about childhood summers in Brooklyn. Food does that sometimes, pulling a thread that unravels an entire story you never expected to hear.
Getting Ahead and Storing Them
The dough log freezes beautifully for up to a month, which means you can slice off exactly what you need and bake fresh cookies on demand. Once baked, store them in an airtight container at room temperature and they will stay tender and flavorful for about a week, though they rarely last that long in my house.
Playing With Flavor Swaps
Raspberry powder works just as well as strawberry if you want a slightly tarter edge, and a teaspoon of lemon zest folded into the vanilla layer adds a brightness that makes the whole cookie taste more grown up. You can even replace the chocolate layer with espresso powder for a mocha twist that pairs brilliantly with afternoon coffee.
Quick Reference Before You Bake
A few small details can make the difference between good and great, especially on your first attempt at building the layered log.
- Use a bench scraper or the flat side of a knife to square off the edges of each rectangle before stacking.
- Rotate the log a quarter turn halfway through slicing so the bottom does not flatten under pressure.
- Dip your knife in warm water and wipe it dry between every few cuts for the cleanest possible edges.
 Pin It
 These cookies are proof that a little extra effort in the kitchen can turn a simple butter cookie into something that makes people smile before they even take a bite. Share them generously, because joy multiplies when it is passed along.
Recipe FAQs
- → Can I make the dough ahead of time?
-
Yes, the assembled dough can be wrapped tightly and refrigerated for up to 3 days before slicing and baking. You can also freeze it for up to 2 months—thaw overnight in the fridge before using.
- → What can I use instead of freeze-dried strawberry powder?
-
You can substitute with ½ teaspoon of strawberry extract combined with 2 drops of pink or red food coloring. Alternatively, raspberry powder works well for a different berry flavor.
- → Why is chilling the dough necessary?
-
Chilling firms the butter in the dough, which helps the layered cookies hold their shape during slicing and baking. Without adequate chilling, the layers may spread and blend together in the oven.
- → How should I store baked Neapolitan Cookies?
-
Store cooled cookies in an airtight container at room temperature for up to one week. You can also freeze baked cookies for up to 3 months by layering them between sheets of parchment paper in a freezer-safe container.
- → Can I dip these cookies in chocolate?
-
Absolutely. Dipping cooled cookies in melted semisweet or white chocolate adds an extra layer of indulgence. Let the chocolate set completely on parchment paper before storing.
- → Why did my cookie layers spread too much while baking?
-
Excessive spreading usually means the dough wasn't chilled long enough or the butter was too warm. Ensure the dough is firm before slicing, and always bake on cool baking sheets rather than warm ones.
