 Pin It
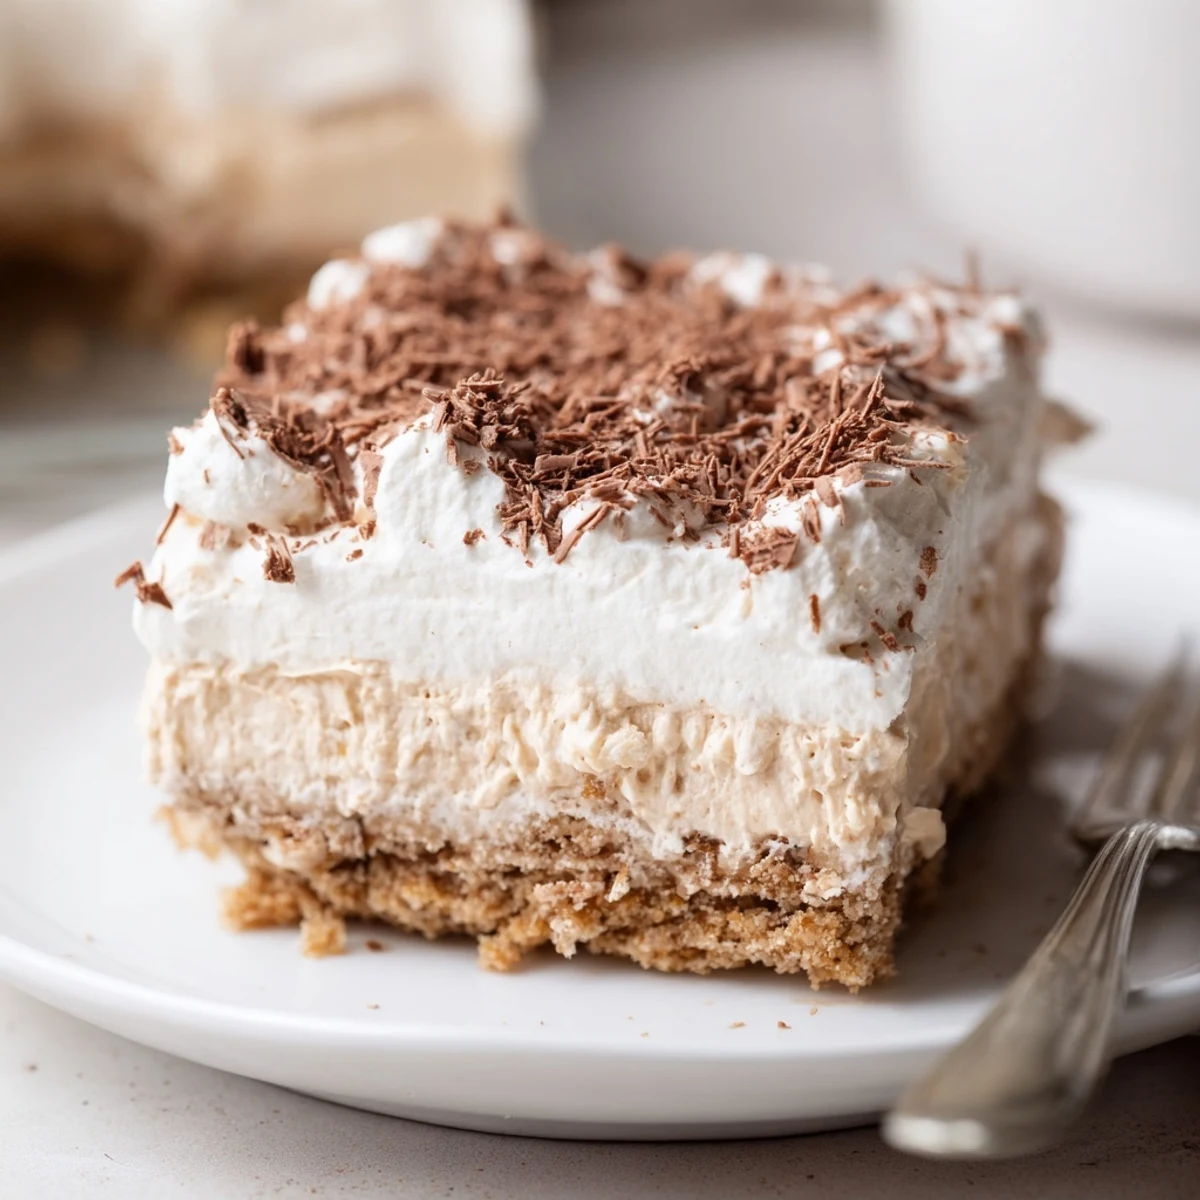
 This no-bake layered dessert builds from a crisp crushed-cookie base bound with melted butter, followed by whipped cream and a smooth instant vanilla pudding layer. Assemble cold components, spread each layer evenly, and finish with chocolate shavings or a dusting of cocoa. Chill for at least two hours (or overnight) to allow the layers to set, then slice and serve chilled. Try chocolate pudding, cookie swaps or fresh berries for variation.
The first time I threw together this no bake layered dessert, it was late on a summer night when the last thing I wanted was to turn on the oven. The sound of the electric mixer whipping cream was the only thing breaking the silence in my kitchen, and the promise of something sweet kept me awake. I was drawn to how effortlessly everything came together—just mix, layer, and chill. In no time, creamy clouds and buttery crumbs transformed into a dessert that made the whole apartment smell faintly of vanilla and comfort.
I still remember serving this to friends on a rainy Sunday when our brunch plans fell through. We all gathered around the fridge, impatiently watching the dish set, and ended up scraping the last creamy bits from the corners together. This recipe has become my secret weapon for unexpected get-togethers, rescued plans, and spontaneous cravings.
Ingredients
- Graham crackers or digestive biscuits: These are the backbone of the dessert, lending a gentle crunch and soaking up flavors as they chill; I use a food processor for even crumbs.
- Unsalted butter: Melting it ensures each crumb holds together, creating that perfect no-fuss base.
- Heavy whipping cream: The colder, the better—it whips up light and fluffy, so I chill my bowl ahead of time.
- Powdered sugar: Dissolves seamlessly into the cream, adding just the right touch of sweetness.
- Vanilla extract: Even a teaspoon imparts that nostalgic aroma I can’t resist.
- Instant vanilla pudding mix: Magic in a packet—thickens up in minutes for a fuss-free layer.
- Whole milk: Using cold milk helps the pudding set quickly; I avoid using skim for a richer taste.
- Chocolate shavings or cocoa powder (optional): I love the dramatic finish it gives—almost too pretty to eat, but never for long.
Instructions
- Mix and Press:
- Stir the crushed cookies and melted butter together until every crumb glistens, then press firmly into the bottom of your dish with the back of a spoon for an even, sturdy layer.
- Whip It Good:
- Beat the heavy cream, powdered sugar, and vanilla in a cold bowl until billowy peaks form and it looks like soft clouds; resist overbeating for the fluffiest texture.
- Pudding Perfection:
- Whisk together the pudding mix and cold milk for two minutes—watch as it thickens and smells irresistibly sweet—then let it rest for another five minutes.
- First Cream Layer:
- Gently spread half the whipped cream over the cookie base, smoothing the surface with little swirls for some fun.
- Add the Pudding:
- Spoon the pudding over the cream, spreading it all the way to the edges so every slice is evenly luscious.
- Top It Off:
- Pile on the rest of the whipped cream, using a spatula to create soft waves or peaks—it’s your canvas.
- Finishing Flourish:
- Scatter chocolate shavings or dust with cocoa for flair; little hands like to help with this step if you have kids around.
- Chill Time:
- Cover with plastic wrap, slide into the fridge, and let it rest for at least two hours—patience rewards you with set, sliceable layers.
- Slice and Enjoy:
- Cut generous squares and serve chilled, forks at the ready as you listen for that happy first bite crunch.
 Pin It
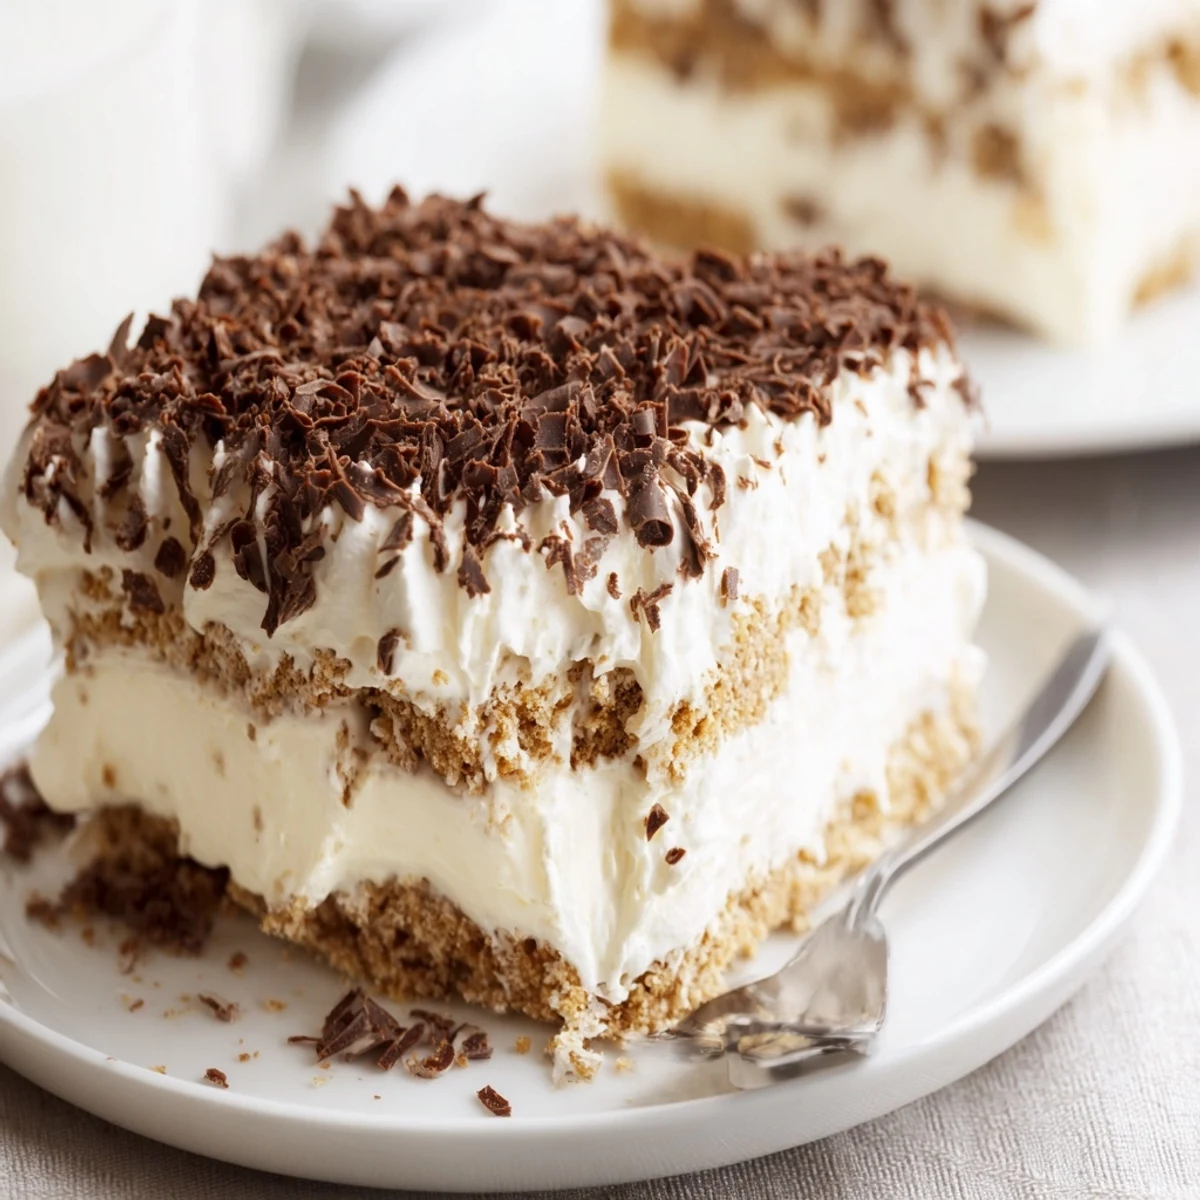
 When I brought this to a potluck, someone asked where I bought it, and their surprise when I explained it was homemade made my day. Sometimes, the simplest dishes have the biggest impact around a crowded table.
Making It Your Own
After many rounds, I’ve added everything from sliced strawberries to a drizzle of caramel between layers, especially when I want extra color or flavor. Swapping in chocolate cookies or a flavored pudding breaks routine in the best way. The recipe flexes for whatever is in your pantry or what you’re craving that week.
Serving and Storing Ideas
This dessert is happiest chilled, so let it rest in the fridge until you’re ready to slice. If you have leftovers, press plastic wrap directly against the cream to keep it fresh and creamy for the next day. Honestly, some people think it tastes even better after sitting a little longer.
Little Twists That Work
I once scattered chopped toasted nuts on top for some crunch and it disappeared in minutes. A dash of cinnamon in the base gives it holiday vibes even in July. Whatever you do, don’t skip the final garnish—it’s the detail that makes everyone smile.
- Try layering in thinly sliced bananas or berries for freshness.
- If you’re out of pudding mix, a thin layer of sweetened Greek yogurt works in a pinch.
- Let every layer chill a bit before adding the next if you want the cleanest stripes.
 Pin It
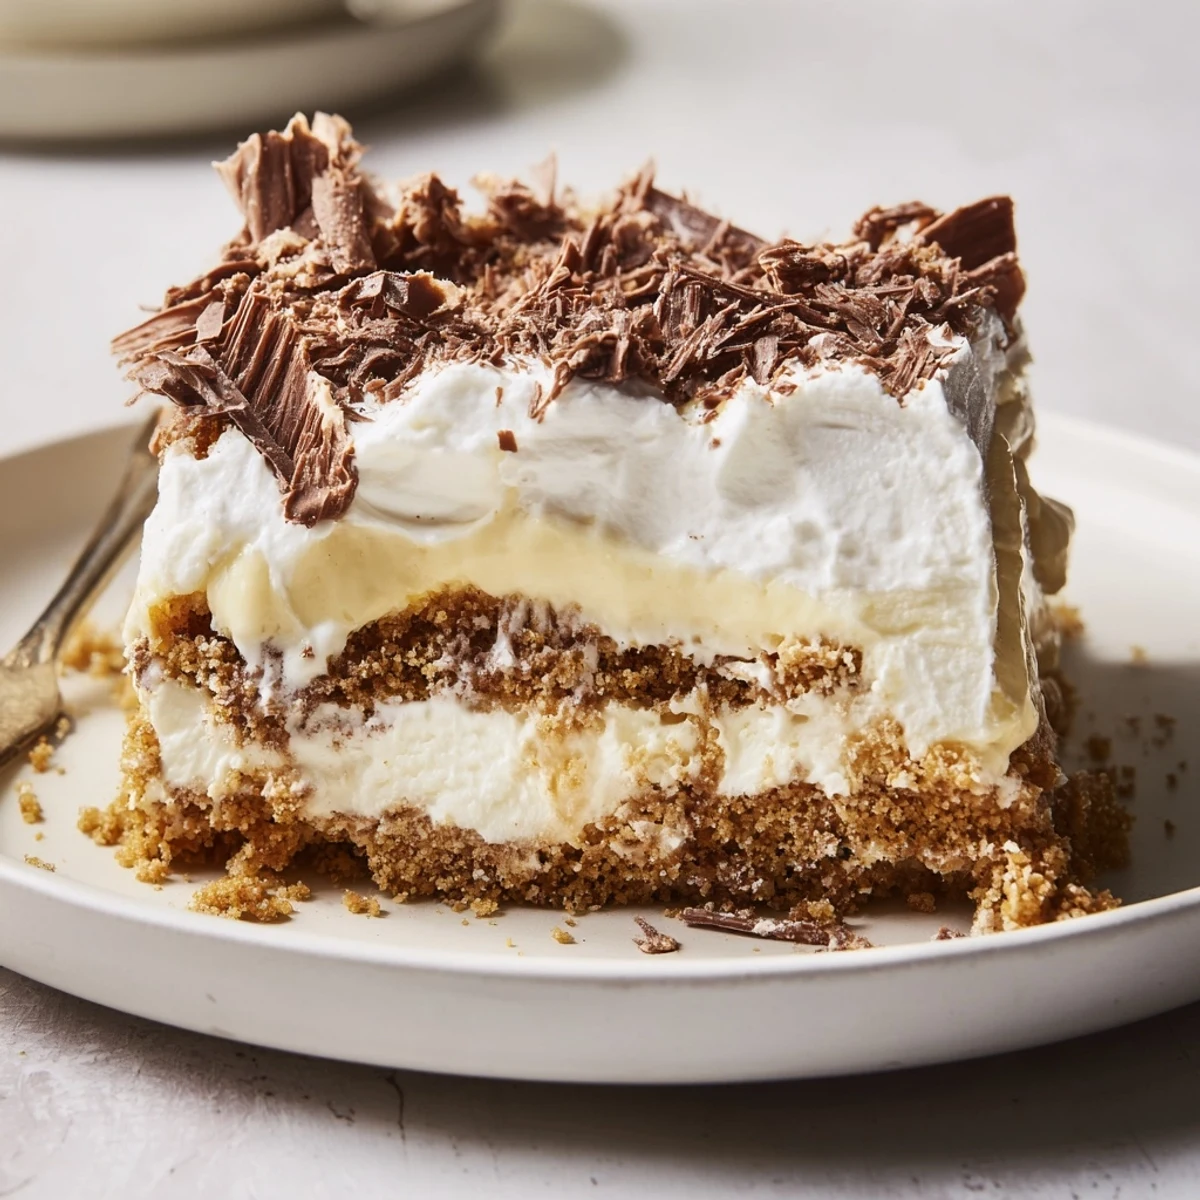
 This dessert is proof that a little patience, a handful of simple ingredients, and a bit of kitchen curiosity can bring people together. Save yourself a square for the next day—it might be even better then.
Recipe FAQs
- → How long should it chill before serving?
-
Chill for a minimum of two hours to let the layers firm up; overnight chilling yields cleaner slices and a more cohesive texture.
- → Can I swap the cookie base for something else?
-
Yes — use chocolate cookies, shortbread or crushed biscuits to vary flavor and texture. Adjust butter to reach a packable consistency for the base.
- → What are good topping options?
-
Finish with chocolate shavings, a dusting of cocoa, toasted nuts, or fresh berries to add contrast and visual appeal.
- → How do I get neat slices?
-
Run a sharp knife under hot water, dry it, then slice in a single smooth motion between cuts. Wiping the knife between cuts keeps edges tidy.
- → Can it be prepared ahead of time?
-
Yes — assemble and refrigerate overnight. It keeps well covered for 2–3 days, making it ideal for make-ahead service.
- → Any tips for dietary restrictions?
-
Use gluten-free cookies and dairy-free cream/milk alternatives to accommodate needs, and always check packaged-ingredient labels for allergens.
