 Pin It
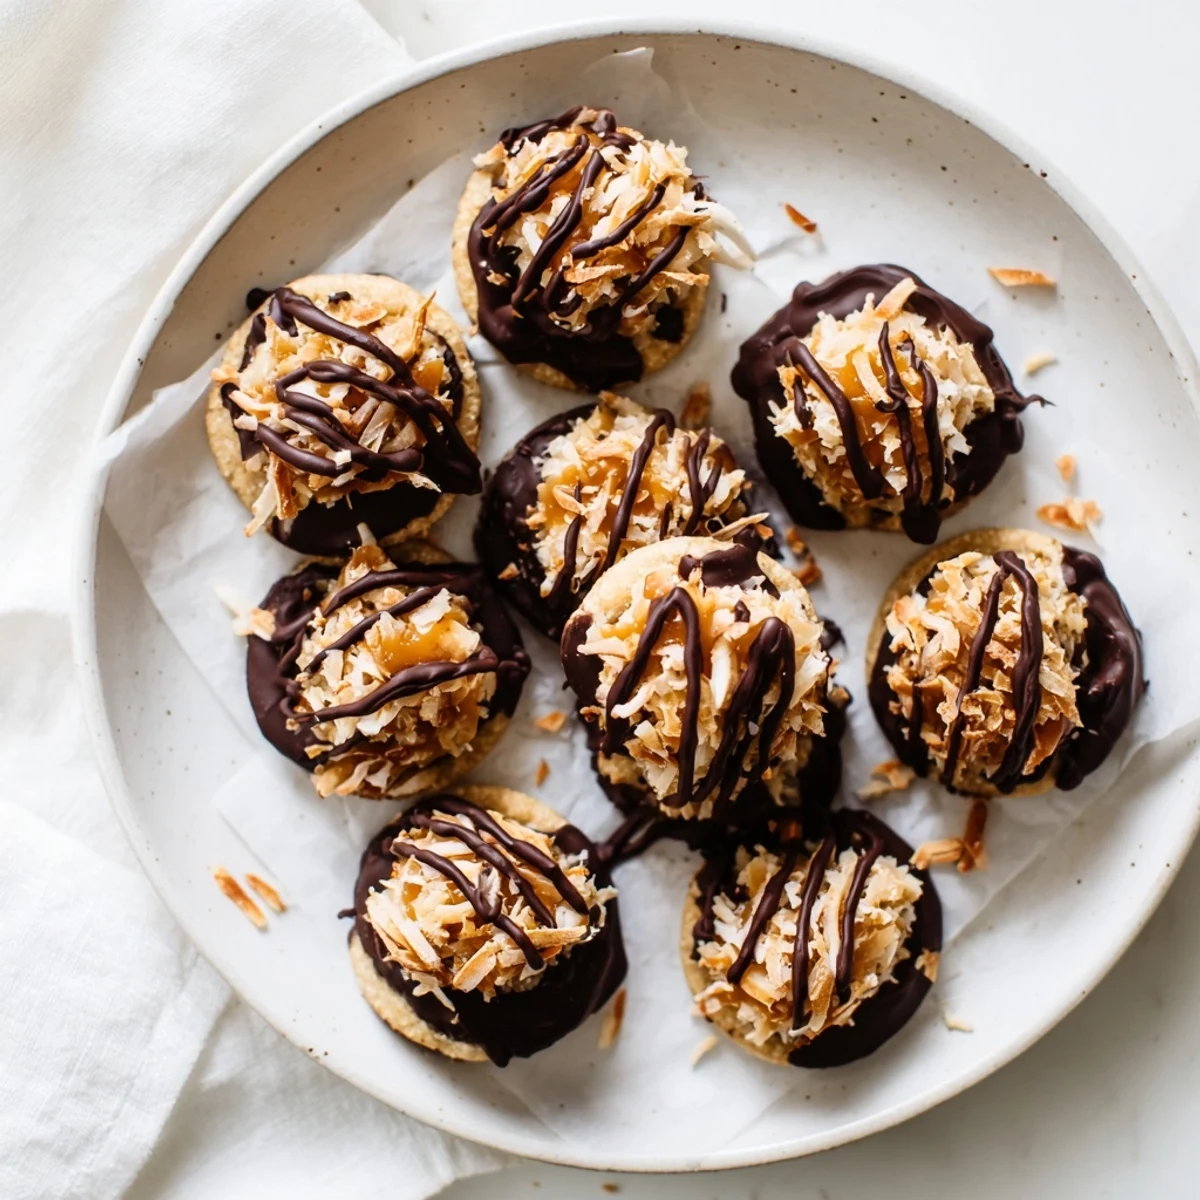
 Create these indulgent layered treats featuring a date-coconut base topped with caramel coconut filling and finished with dark chocolate. The food processor does most of the work, combining dates, shredded coconut, almond flour, and cocoa powder into a sticky dough that forms the foundation.
The caramel layer uses creamy almond butter sweetened with maple syrup and mixed with toasted coconut for authentic flavor. A final dip in melted dark chocolate with coconut oil delivers the signature coating that sets beautifully in the refrigerator.
Perfect for portion control, these handheld delights store well in the fridge for up to a week. Naturally sweetened and packed with healthy fats from almonds and coconut, they satisfy sweet cravings without baking.
Last winter, during a snowed-in weekend with nothing but pantry staples and a serious craving for Girl Scout cookies, I accidentally created something even better. The memory of standing in my kitchen in fuzzy socks, pressing these sticky little bites together while watching fat flakes fall outside, still makes me smile. Sometimes the best discoveries happen when you're just trying to survive a cookie emergency with what you have on hand.
I brought these to a book club meeting last spring and watched three different people's eyes widen at first bite. Someone actually asked if I'd secretly bought them from a bakery, which I'm still taking as the ultimate compliment. Now they're my go-to whenever I need to impress without spending hours in the kitchen.
Ingredients
- 1 cup pitted dates: These natural sweeteners bind everything together while adding that deep caramel flavor
- 1 cup unsweetened shredded coconut: Use organic if you can find it, it has a fresher taste
- 1/2 cup almond flour: Creates that cookie-like texture and keeps everything gluten-free
- 2 tbsp cocoa powder: Dutch-processed gives the smoothest chocolate flavor
- 1/4 tsp salt: Crucial for balancing all that sweetness
- 1/2 cup creamy almond butter: The secret to the most incredible caramel-like layer
- 2 tbsp maple syrup: Adds just enough liquid sweetness without being overpowering
- 1/2 cup shredded coconut toasted: Toasting transforms the flavor completely, do not skip this
- 3 oz dark chocolate chopped: Go for at least 70% cacao for that sophisticated finish
- 1 tsp coconut oil: Makes the coating shiny and helps it set perfectly
Instructions
- Prep your workspace:
- Line a baking sheet with parchment paper and clear some counter space. You will want everything ready before your hands get sticky.
- Make the chocolate base:
- Pulse dates, coconut, almond flour, cocoa powder and salt in your food processor until the mixture sticks together when pinched. It should look like damp crumbs.
- Shape the bites:
- Scoop about a tablespoon of mixture and press firmly into balls, flattening slightly into discs. They should hold their shape well.
- Whip up the caramel:
- Stir almond butter and maple syrup until completely smooth, then fold in your toasted coconut. The mixture should be thick and spreadable.
- Assemble:
- Top each base with a generous teaspoon of caramel, pressing gently so it stays put. Do not worry if it looks messy, the chocolate will hide everything.
- Melt the chocolate:
- Melt dark chocolate with coconut oil in 30 second bursts, stirring between each. The mixture should be glossy and smooth.
- Coat the bites:
- Dip each bottom into chocolate and return to parchment. Drizzle the remaining chocolate artistically over the tops.
- Set and serve:
- Refrigerate for 30 minutes until firm, then share immediately or store for later. They actually get better after a day.
 Pin It
 My sister called me from across the country last month demanding this recipe after seeing a photo I posted. She made them for her kids and they are now officially the most requested birthday treat in the house. There is something magical about these little bites that brings out the kid in everyone.
Making Ahead
I have learned that these actually improve after sitting overnight. The flavors meld together and the texture becomes somehow even more satisfying. Store them in an airtight container in the refrigerator for up to a week, though they have never lasted that long in my house.
Serving Suggestions
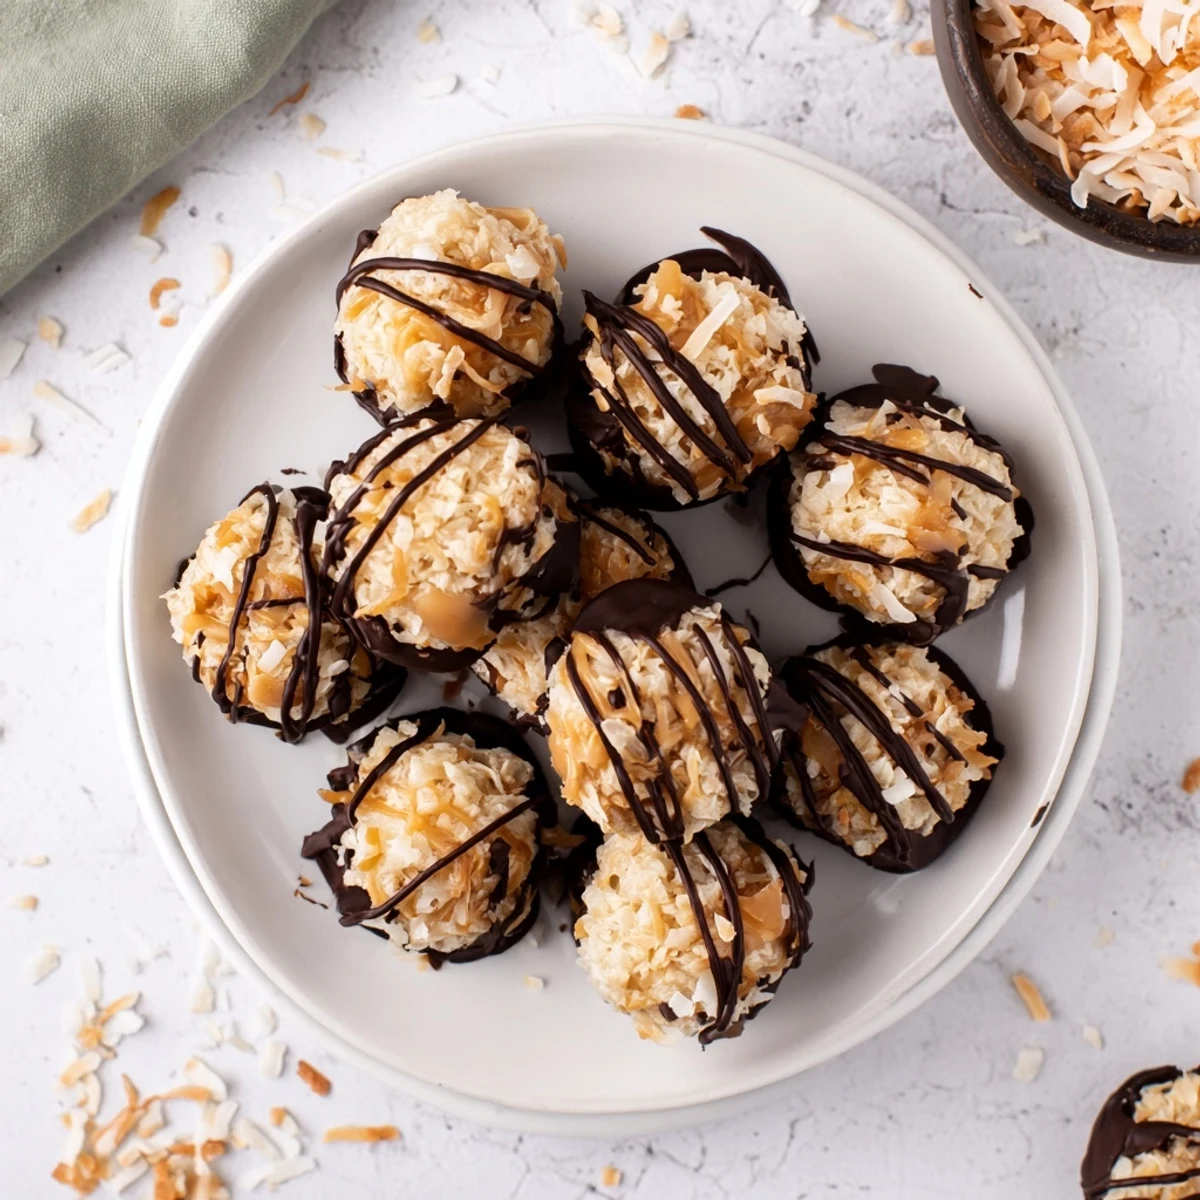
These shine brightest when served slightly chilled, allowing the chocolate coating to snap when you bite through. I love arranging them on a vintage cake stand or simple white plate where they can really show off that gorgeous drizzle. They have become my unexpected dinner party finale.
Perfecting The Technique
After making these dozens of times, I have discovered that the size of your food processor matters. A smaller one tends to blend more evenly, incorporating the dates better. Also, wetting your hands slightly makes shaping infinitely easier.
- Work quickly once the chocolate is melted, it starts setting fast
- If the base mixture feels too dry, add one more date
- The chocolate drizzle looks best when done with a fork
 Pin It
 There is something profoundly satisfying about creating such an indulgent treat with wholesome ingredients. These little bites prove you do not have to compromise on flavor to eat something that makes you feel good from the inside out.
Recipe FAQs
- → How long do these keep in the refrigerator?
-
These layered bites stay fresh for up to one week when stored in an airtight container in the refrigerator. The chocolate coating remains firm and the texture stays perfectly chewy.
- → Can I freeze them for longer storage?
-
Absolutely. Place them in a freezer-safe container with parchment paper between layers. They freeze well for up to three months. Thaw in the refrigerator for 30 minutes before serving.
- → What's the best way to melt the chocolate?
-
Use a double boiler for gentle, even heating that prevents seizing. Alternatively, microwave in 30-second intervals, stirring between each burst. Adding coconut oil helps achieve a smooth, dippable consistency.
- → Can I make these nut-free?
-
Replace almond flour with oat flour and substitute sunflower seed butter for the almond butter. The texture remains similar, though the flavor profile shifts slightly to highlight the toasted coconut notes.
- → Why do I need to refrigerate them?
-
Chilling sets the chocolate coating and firms up the caramel layer. At room temperature, the chocolate softens and the texture becomes gooey. For best results, serve chilled or briefly let sit at room temperature before eating.
