 Pin It
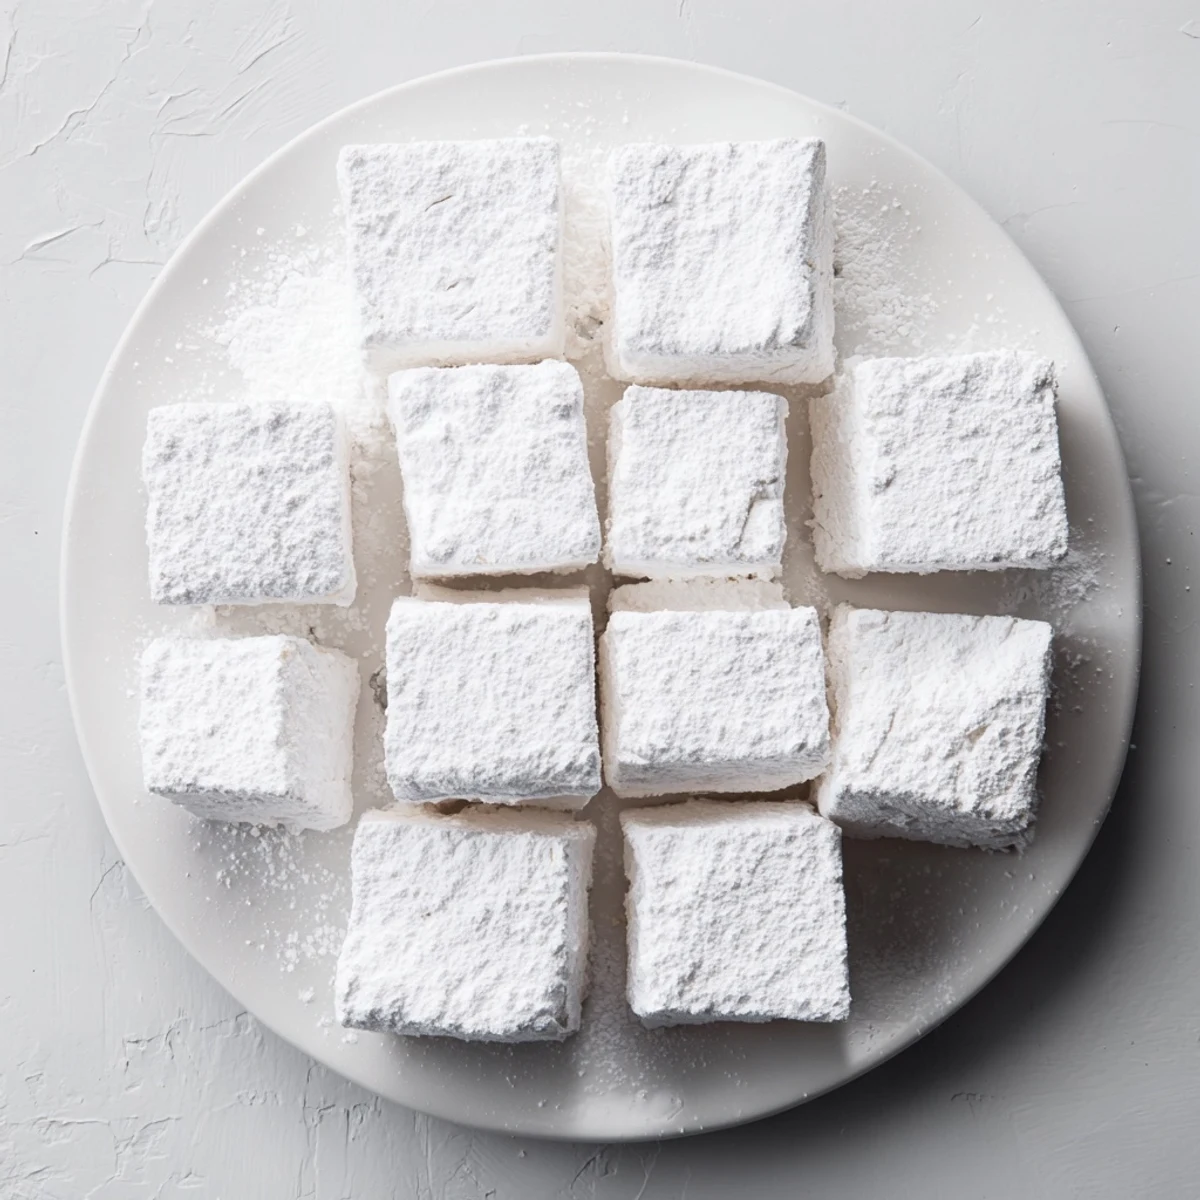
 Craft incredibly soft and fluffy homemade marshmallows with a simple technique that delivers professional results. These pillowy confections feature a delicate vanilla flavor and perfect texture for snacking, melting into hot chocolate, or giving as homemade gifts. The process involves creating a sugar syrup, blooming gelatin, and whipping until glossy and tripled in volume. After setting for four hours or overnight, you'll have approximately 36 one-inch squares of marshmallow perfection.
The winter my daughter declared hot chocolate her favorite beverage changed everything. I realized store bought marshmallows were doing her cocoa a disservice, and my kitchen experiments with gelatin began in earnest. Theres something almost magical about watching that glossy white mass triple in volume, transforming from liquid syrup into pillowy clouds right before your eyes.
I first made these for a holiday gift exchange, bundling them in mason jars with handmade tags. People acted like Id given them gold bars, and I spent the next three months making batches for every birthday and thank you gift. Now I cant imagine going back to the stiff, preservative filled squares from the grocery store.
Ingredients
- Granulated sugar: The foundation of your syrup, providing structure and sweetness without any competing flavors
- Light corn syrup: Prevents crystallization and keeps your marshmallows soft and chewy instead of grainy
- Unflavored gelatin: The magic ingredient that transforms liquid into fluffy clouds, blooming in cold water first is crucial
- Pure vanilla extract: Add this during the final minute of mixing to preserve its aromatic compounds
- Confectioners sugar and cornstarch: This coating is essential for preventing sticking and giving that classic marshmallow exterior
Instructions
- Prep your pan and gelatin:
- Lightly grease a 9x9 inch pan and dust it with a mixture of equal parts confectioners sugar and cornstarch. In your stand mixer bowl, sprinkle gelatin over half a cup of cold water and let it soften while you work on the syrup.
- Cook the sugar syrup:
- Combine sugar, corn syrup, remaining water, and salt in a medium saucepan. Stir over medium heat until dissolved, then stop stirring and bring to 240°F on your candy thermometer. This temperature is nonnegotiable for proper texture.
- Combine and whip:
- With mixer on low, carefully stream the hot syrup into the gelatin. Gradually increase to high speed and beat for 10 to 12 minutes until thick, glossy, and tripled in volume. Add vanilla during the final minute.
- Set and cut:
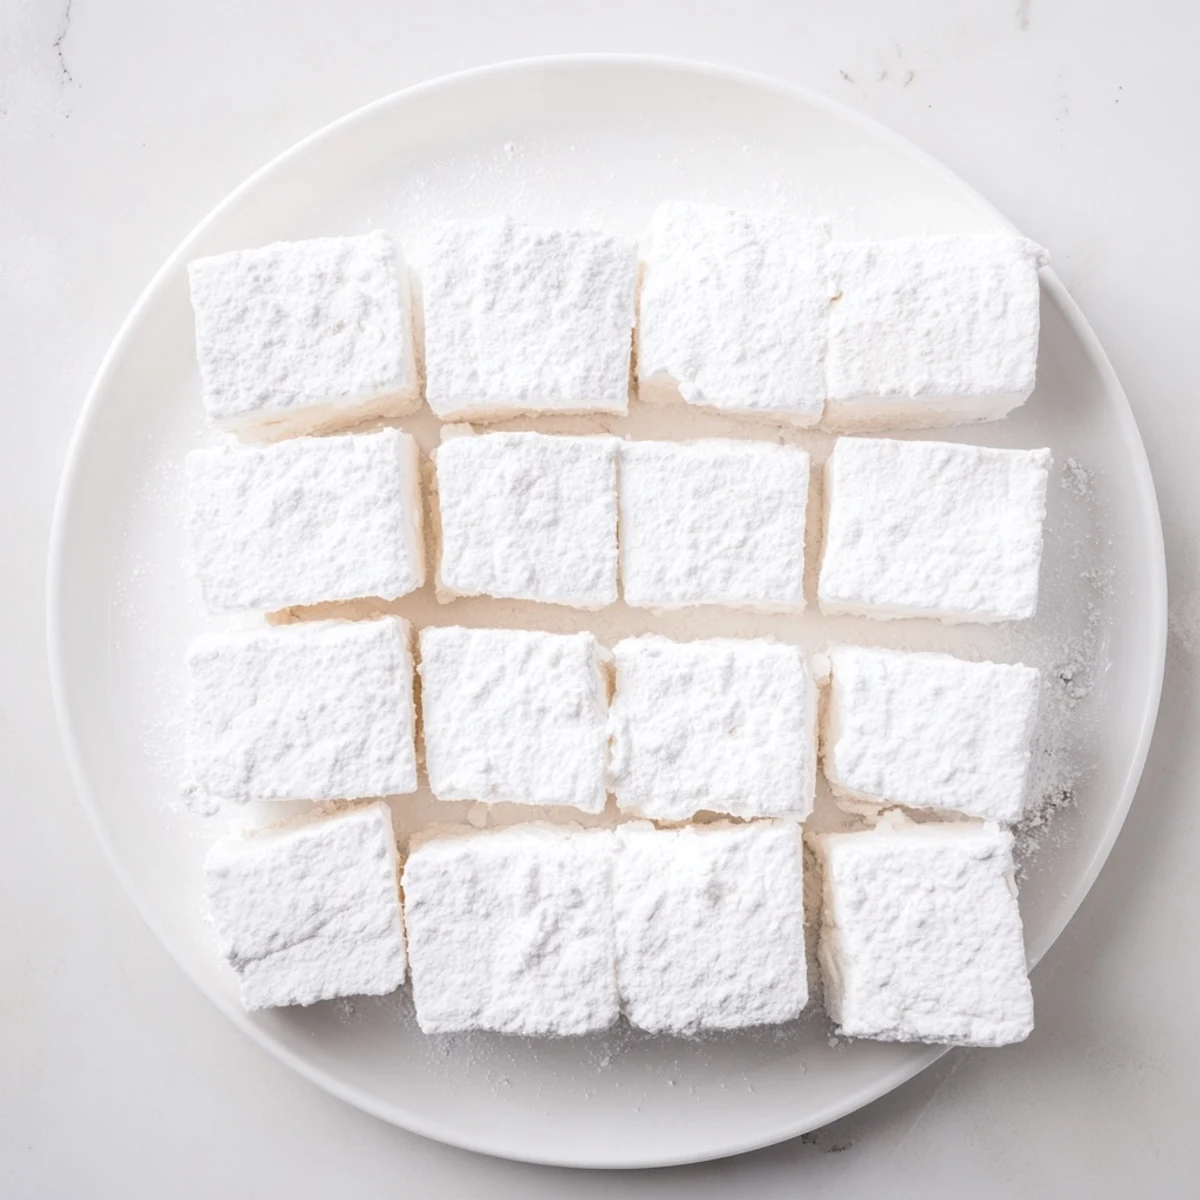
- Spread quickly into your prepared pan, smooth the top, and dust with more sugar mixture. Let set uncovered for at least 4 hours, then turn out and cut into squares with a knife dusted in the sugar coating.
 Pin It
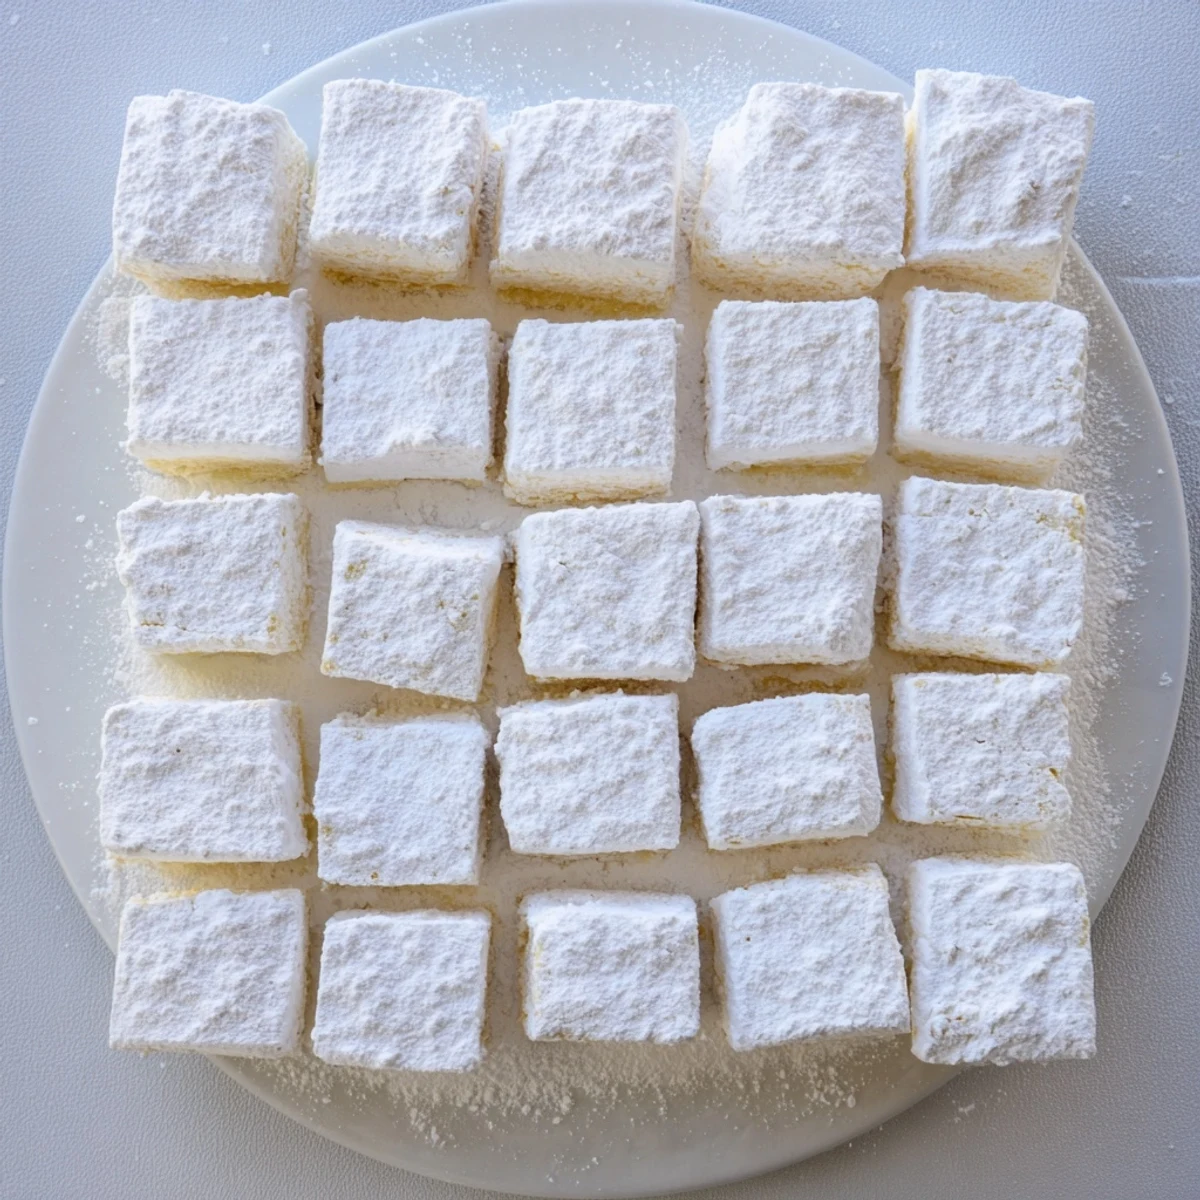
 My niece now requests these for every family gathering, and watching her carefully select the perfect square for her hot chocolate makes the effort completely worthwhile. Theres a quiet joy in making something so simple yet so transformative from scratch.
Getting Creative with Flavors
Once youve mastered the classic vanilla version, the flavor possibilities are endless. Replace vanilla with peppermint extract for holiday marshmallows, or try almond extract for something nutty and sophisticated. A few drops of food coloring during that final minute of mixing can transform them into festive treats that look as good as they taste.
The Science of the Fluff
What makes marshmallows transform from syrup to fluff is essentially the same science behind meringues, but with gelatin providing structure instead of egg proteins. The whipping process incorporates air bubbles that get trapped in the protein network, creating that characteristic light texture. This is why the full 10 to 12 minute whipping time is crucial, and why rushing this step yields dense marshmallows instead of clouds.
Storage and Gifting
These marshmallows keep beautifully in an airtight container for up to a week, though they rarely last that long in my house. Layer them between parchment paper to prevent sticking, and store at room temperature, never in the refrigerator where cold air will make them tough. For gifting, pack them in cellophane bags or glass jars with a small sachet of the sugar coating.
- Tuck a few extra marshmallows into gift bags as an unexpected treat
- Package them with a tin of hot chocolate mix for an instant gift basket
- Make double batches during the holidays because they disappear faster than you can imagine
 Pin It
 Theres something deeply satisfying about mastering a confection that seems so intimidating but rewards you with such pure, simple joy. Once you taste homemade marshmallows melting into your next cup of cocoa, youll understand why theyre worth every minute of effort.
Recipe FAQs
- → How long do homemade marshmallows need to set?
-
Allow marshmallows to set at room temperature for at least 4 hours, though overnight setting produces the best texture and makes cutting easier.
- → Can I make these without a stand mixer?
-
A stand mixer is highly recommended as you need to whip for 10-12 minutes on high speed. Hand mixers may work but risk overheating during the extended whipping time.
- → How should I store homemade marshmallows?
-
Store in an airtight container at room temperature for up to 1 week. Keep layers separated with parchment paper to prevent sticking. Avoid refrigeration as they can become too firm.
- → What temperature must the sugar syrup reach?
-
The sugar syrup needs to reach 240°F (115°C), known as the soft-ball stage. Using a candy thermometer is essential for accuracy and proper marshmallow texture.
- → Can I customize the flavor of these marshmallows?
-
Absolutely! Replace vanilla extract with peppermint, almond, raspberry, or lemon extract. Add food coloring during the final minute of mixing for vibrant colored marshmallows perfect for holidays.
- → Why do my marshmallows stick to the knife when cutting?
-
Dust your knife or pizza cutter generously with the confectioners sugar and cornstarch mixture before cutting. Clean and re-dust the knife frequently for clean, non-sticky cuts.
