 Pin It
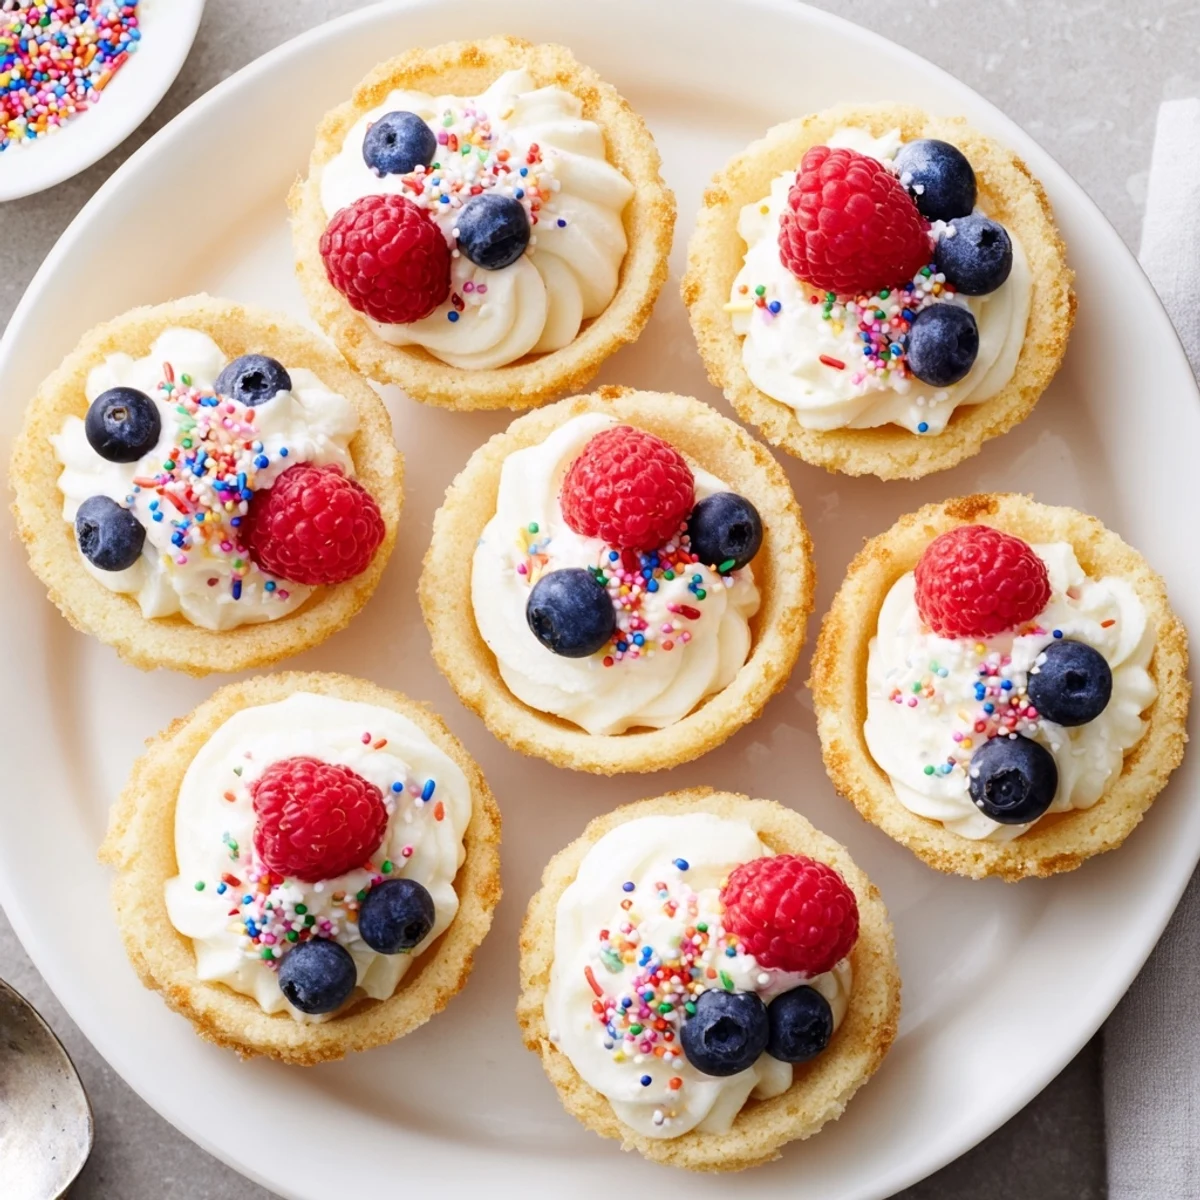
 These delightful sugar cookie cups start with a classic vanilla butter cookie dough pressed into mini muffin tins, creating edible cup-shaped vessels. After baking until golden and pressing centers to deepen the wells, fill them with freshly whipped vanilla cream or alternatives like lemon curd and chocolate ganache. Top with fresh berries, colorful sprinkles, or mini chocolate chips for a festive touch. The tender cookie shells pair perfectly with creamy fillings and juicy fruits, making them ideal for celebrations, birthdays, or everyday sweet cravings. Kids love helping decorate these interactive treats, and adults appreciate the nostalgic flavors and elegant presentation.
The kitchen counter was covered in flour, my daughter was standing on a stool, and we were attempting what she called 'cookie bowls for ice cream.' That afternoon became one of those sweet, messy moments that stick with you, and these sugar cookie cups have been a family favorite ever since.
I brought these to a neighborhood block party last summer, and they disappeared before I could even point them out. My neighbor asked for the recipe before she even finished her first one, telling me she'd been trying to recreate something similar from a bakery for years.
Ingredients
- All-purpose flour: The foundation that gives these cups their structure and holds everything together
- Baking soda and salt: These work together to lift the dough and balance the sweetness
- Unsalted butter: softened to room temperature so it creams properly with the sugar
- Granulated sugar: Creates that crisp edge while keeping centers tender
- Egg: Binds the dough and adds richness for the perfect cookie texture
- Vanilla extract: Pure vanilla makes all the difference in classic sugar cookie flavor
- Heavy cream: Whipped to create the dreamiest vanilla cream filling
- Powdered sugar: Sweetens and stabilizes the whipped cream without making it grainy
Instructions
- Get your oven ready:
- Preheat to 350°F and generously grease your 24 cup mini muffin tin so nothing sticks.
- Mix the dry ingredients:
- Whisk together the flour, baking soda, and salt in a medium bowl until well combined.
- Cream the butter and sugar:
- Beat the softened butter and granulated sugar for about 2 minutes until it looks pale and fluffy.
- Add the egg and vanilla:
- Beat in the egg and vanilla extract until everything is smoothly incorporated.
- Combine the dough:
- Gradually mix in the dry ingredients just until the flour disappears, being careful not to overwork it.
- Shape the cups:
- Scoop about 1 tablespoon of dough into each muffin cup and gently press it up the sides to form a cup shape.
- Bake to golden:
- Bake for 10 to 12 minutes until the edges are lightly golden and centers are set.
- Form the wells:
- While still warm, use the back of a spoon to gently press down the center of each cup.
- Cool completely:
- Let them rest in the tin for 10 minutes before moving to a wire rack to finish cooling.
- Make the filling:
- Whip the chilled heavy cream with powdered sugar and vanilla until stiff peaks form.
- Fill and finish:
- Fill each cooled cup with whipped cream and add whatever toppings make you happy.
 Pin It
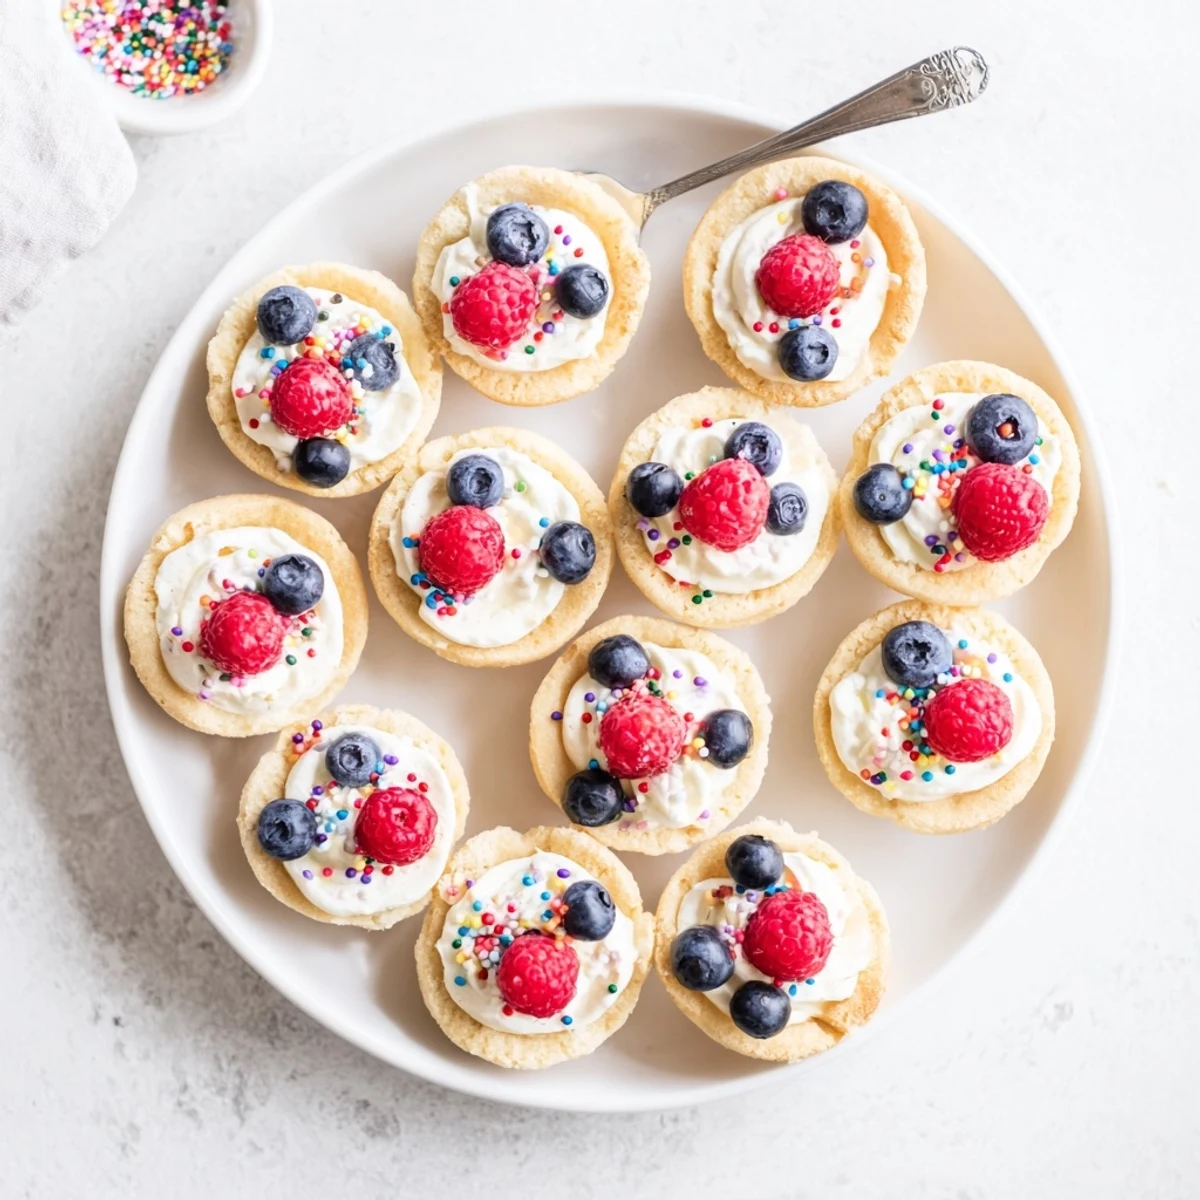
 My daughter now makes these entirely by herself, and I've learned that the most beautiful part of this recipe isn't how pretty they look, it's watching someone gain confidence in the kitchen one cookie cup at a time.
Make Them Your Own
The filling possibilities are endless, from lemon curd to chocolate ganache to your favorite buttercream frosting.
Storage Secrets
Keep the unfilled cups in an airtight container for up to three days, then fill them right before serving so they stay perfectly crisp.
Getting Creative
Food coloring in the dough or filling makes these instantly festive for holidays or themed parties.
- Add sprinkles to the dough for a confetti effect
- Try chocolate dough by replacing some flour with cocoa powder
- Experiment with flavored extracts like almond or lemon
 Pin It
 There's something deeply satisfying about bite sized desserts that let you try a little bit of everything without committing to a whole slice.
Recipe FAQs
- → Can I make the cookie dough ahead of time?
-
Yes, the dough can be prepared up to 3 days in advance and stored refrigerated in an airtight container. Let it soften slightly at room temperature for about 15-20 minutes before pressing into muffin tins, as cold dough may be difficult to shape properly.
- → What other fillings work well besides vanilla cream?
-
Lemon curd adds bright citrus notes, chocolate ganache provides rich decadence, cream cheese frosting offers tangy sweetness, fruit preserves bring natural fruitiness, and peanut butter or Nutella create nutty variations. Get creative with seasonal favorites or match fillings to party themes.
- → How do I prevent the cookie cups from sticking to the muffin tin?
-
Lightly grease the muffin tin with butter, oil, or cooking spray before adding dough. Letting the cups cool for about 10 minutes in the tin helps them set and release more easily. If stubborn, gently run a thin knife around the edges to loosen before carefully lifting out.
- → Can I freeze unfilled cookie cups?
-
Absolutely. Bake and cool completely, then freeze unfilled cups in a single layer on a baking sheet before transferring to freezer bags. They'll keep well for up to 3 months. Thaw at room temperature for 1-2 hours, then fill just before serving to maintain the best texture.
- → Why do I need to press the centers again after baking?
-
During baking, the cookie dough naturally puffs up slightly, which reduces the depth of the cup shape. Gently pressing the warm centers with a spoon deepens the wells, creating more space for fillings while preserving the structural integrity of the cookie shell.
- → Can I use regular-size muffin tins instead of mini?
-
Yes, but you'll need to adjust baking time to about 14-16 minutes and use approximately 2 tablespoons of dough per cup. This yields larger portions—about 12 servings instead of 24—and creates more substantial treats perfect for indulgent dessert presentations.
