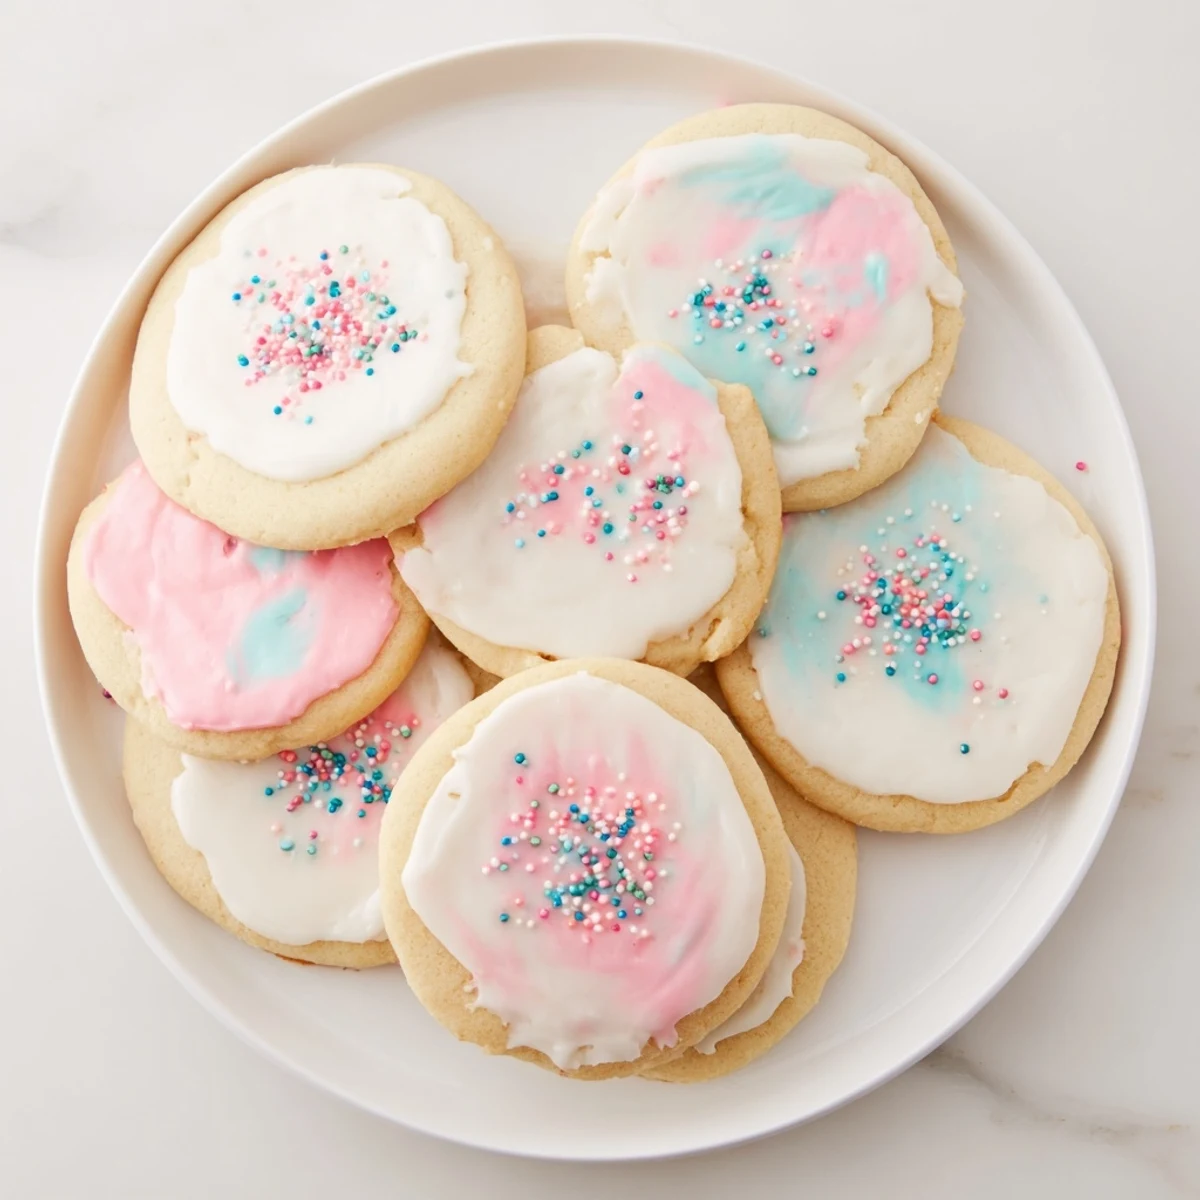
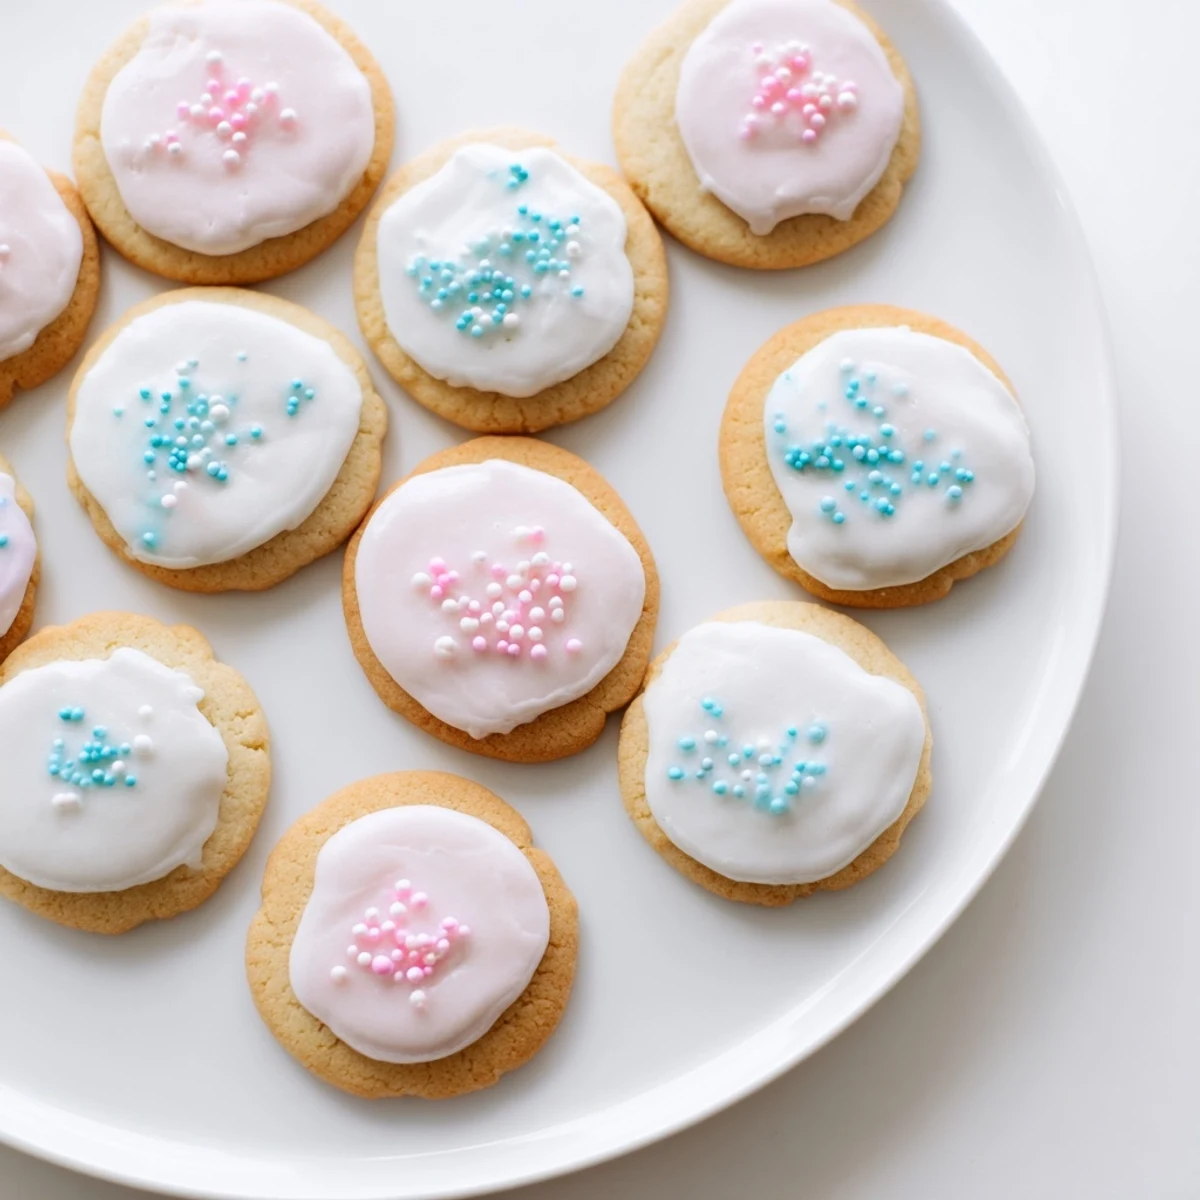
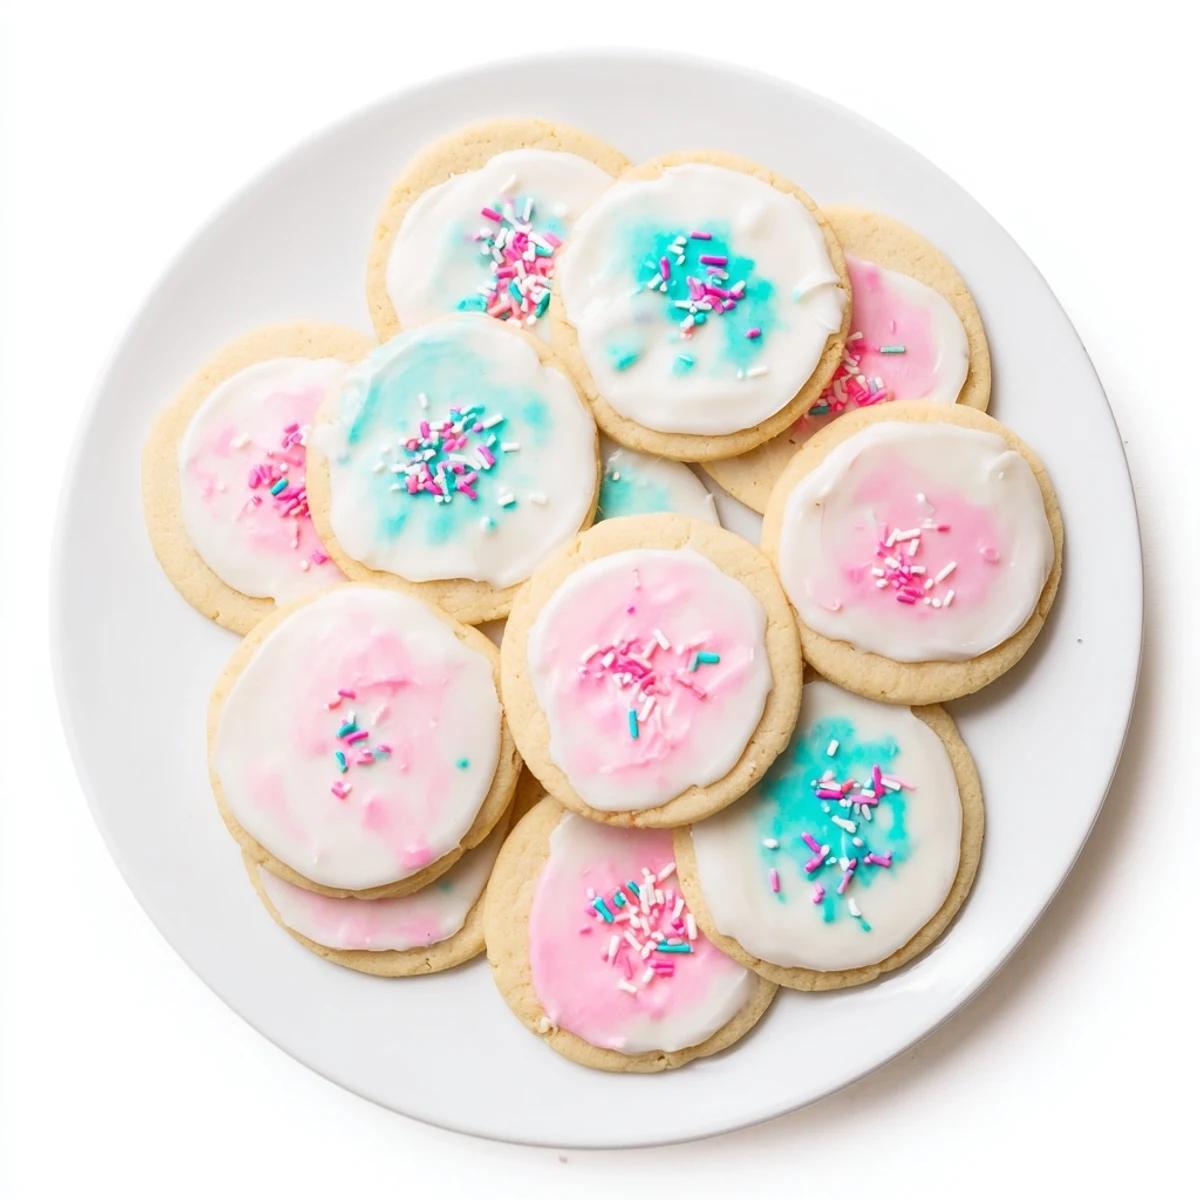
 Pin It
 Whisk together powdered sugar, milk, corn syrup, and vanilla for a smooth, pourable icing that sets firm. The corn syrup creates a professional glossy finish while keeping the consistency perfect for dipping, spreading, or piping intricate designs. Customize with food coloring and sprinkles for any celebration.
The first time I made cookie icing, I stood over the sink, frustrated that my beautiful snowflakes were still sticky three hours later. My grandmother watched me, then disappeared into her pantry and returned with a bottle of light corn syrup. That tiny ingredient changed everything— suddenly I had glossy, professional looking icing that actually set firm, just like the ones from the bakery downtown where I'd spent entire paychecks on decorated cookies as a teenager.
Last Christmas, my niece and I spent an entire Sunday at the kitchen table with bowls of colored icing and dozens of cooled sugar cookies. We made the most glorious mess—sprinkles everywhere, food coloring stained fingers, icing in our hair. But those cookies, with their smooth professional looking finish and vibrant colors, were the hit of every cookie exchange we attended.
Ingredients
- 2 cups powdered sugar, sifted: Sifting might feel like an extra step, but it's absolutely essential for silky smooth icing without any lumps that could clog your piping tips
- 2–3 tablespoons milk: Start with 2 tablespoons and add more only if needed—dairy milk gives a richer flavor, but any milk works beautifully
- 1 tablespoon light corn syrup: This is the secret ingredient that creates that gorgeous glossy finish and helps the icing set properly
- 1/2 teaspoon pure vanilla extract: Don't skip this—it adds a lovely warmth that balances the sweetness
- Food coloring: Gel coloring gives you vibrant hues without thinning your icing, but liquid drops work perfectly for pastel shades
- Sprinkles: Add these while the icing is still wet so they adhere properly
Instructions
- Whisk your base:
- In a medium bowl, combine the powdered sugar, 2 tablespoons of milk, corn syrup, and vanilla extract, whisking until completely smooth and glossy
- Check your consistency:
- The perfect icing should be thick enough to hold its shape but pour easily—if it's too thick, add milk just 1/2 teaspoon at a time
- Add your colors:
- Divide the icing into separate bowls if using multiple colors, then stir in food coloring a few drops at a time until you reach your desired shade
- Decorate your cookies:
- Use immediately to decorate cooled sugar cookies by dipping, spreading with a knife, or piping designs using bags or squeeze bottles
- Let them set:
- Allow decorated cookies to dry at room temperature for at least 4 hours until the icing is completely firm
 Pin It
 These cookies became my go to hostess gift after I showed up to a friend's holiday party with a tin of decorated sugar cookies, and she immediately put them on the dessert table instead of unwrapping them later. Something about that smooth, glossy icing makes people think you spent hours, when really it's the easiest decorating method I've ever found.
Getting That Perfect Consistency
I learned the hard way that consistency matters more than you might think. Too thick, and your icing leaves peaks and rough edges. Too thin, and it runs off the edges of your cookies. The sweet spot is thick honey consistency—it should pour slowly but settle into a smooth surface within about 10 seconds.
Color Without Compromise
Food coloring can be tricky, and I've definitely turned more than one batch of pink icing into muddy brown by getting over enthusiastic. Always start with less color than you think you need—you can always add more, but you can't take it away. Gel colors are my go to for vibrant shades since they don't water down your icing.
Storage and Make Ahead Tips
You can make this icing up to a week ahead and store it in the refrigerator in an airtight container. When you're ready to use it, let it come to room temperature and give it a good stir—it might need a tiny splash of milk to reach the right consistency again. This has saved me more than once when I'm prepping for a big baking day.
- Keep a small spray bottle of water handy to thin icing that's thickened while you're working
- Use toothpicks to add tiny amounts of gel coloring without making a mess
- Cover any bowls of icing you're not actively using to prevent them from forming a skin
 Pin It
 There's something deeply satisfying about pulling out a tray of perfectly set, beautifully decorated cookies. Whether you're making them for a holiday, a birthday, or just because it's Tuesday, this simple icing turns ordinary sugar cookies into something truly special.
Recipe FAQs
- → How long does the icing take to dry completely?
-
Allow decorated cookies to dry at room temperature for at least 4 hours until completely set. For best results, let them dry overnight before stacking or storing.
- → Can I make this icing ahead of time?
-
Yes, store leftover icing in an airtight container in the refrigerator for up to 1 week. Bring to room temperature and stir well before using. You may need to add a few drops of milk to restore the consistency.
- → What's the purpose of corn syrup in this icing?
-
Corn syrup creates the glossy finish and helps the icing dry smoothly without cracking. It also keeps the icing from becoming too hard, maintaining a pleasant texture on the cookies.
- → How can I adjust the consistency for different decorating techniques?
-
Add more milk, 1/2 teaspoon at a time, for a thinner consistency perfect for flooding cookie surfaces. Add more powdered sugar for thicker icing ideal for piping detailed borders and designs.
- → Can I substitute the corn syrup?
-
While corn syrup provides the best gloss and texture, you can substitute with honey or maple syrup. Keep in mind this will slightly alter the flavor and may affect the final sheen and drying time.
- → What's the best way to color this icing?
-
Gel food coloring works best as it won't thin the consistency. Add coloring a few drops at a time to separated portions of icing and mix thoroughly. For vibrant colors, start with white icing rather than off-white.
