 Pin It
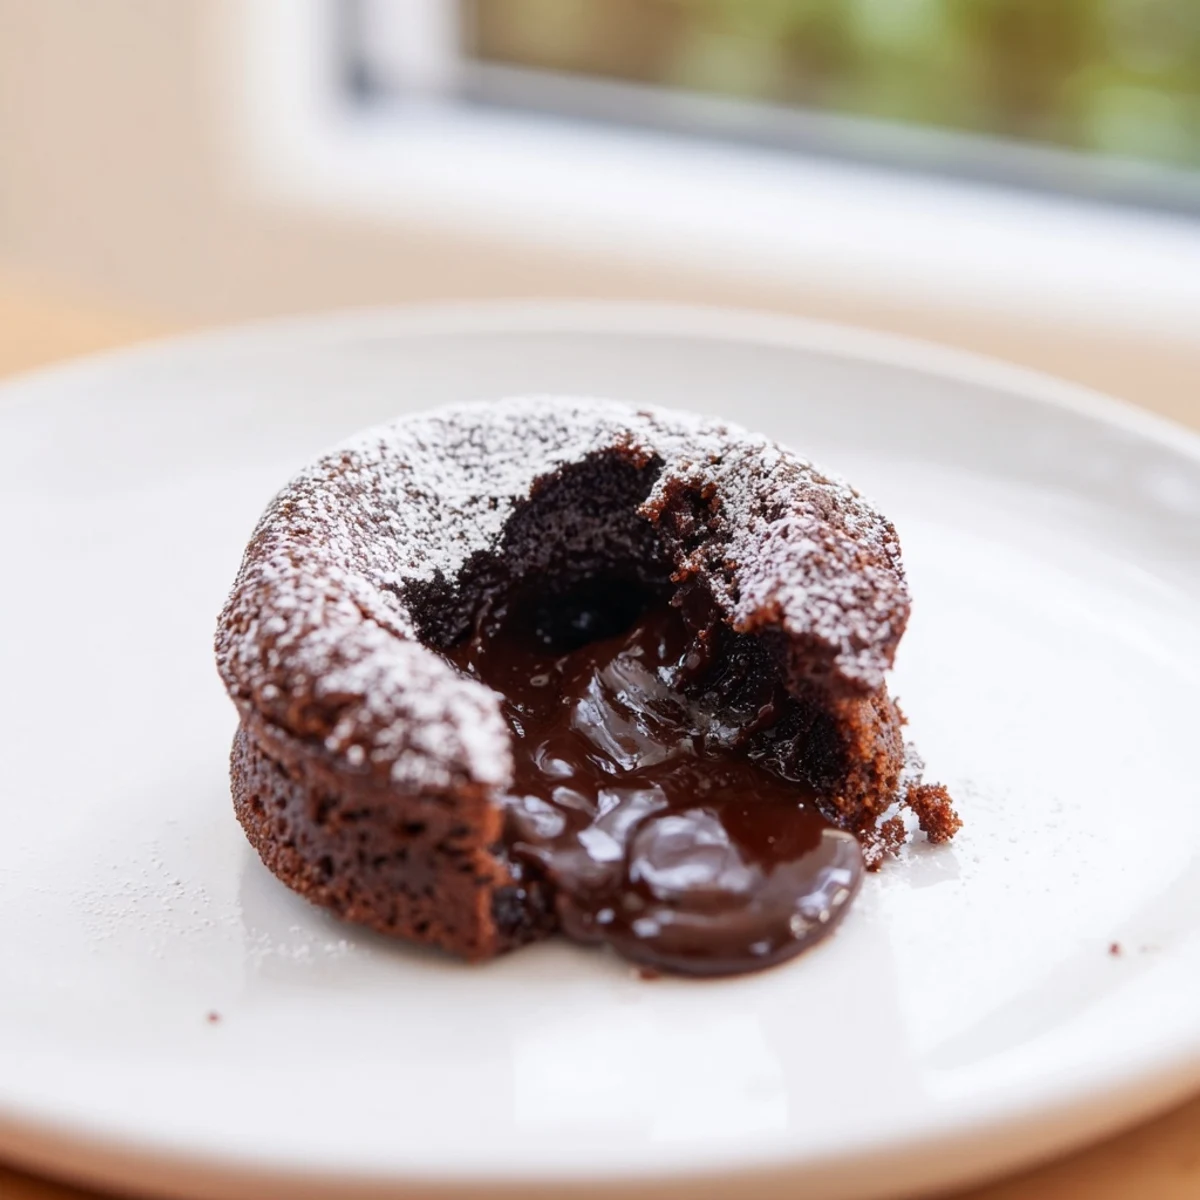
 Craft these delightful individual chocolate cakes, renowned for their irresistibly gooey, molten core. The process begins with melting rich bittersweet chocolate and butter, then whisking it into an egg, sugar, and vanilla mixture. A touch of flour and salt completes the batter. Baked briefly in ramekins, the cakes achieve perfectly set edges while maintaining a luscious, flowing center. Serve warm for an unforgettable dessert experience. Yields 4 servings in under 30 minutes, perfect for a special occasion.
Sometimes, a quiet evening just calls for a touch of magic, something that feels effortlessly elegant but secretly simple. These chocolate lava cakes became my go-to for those moments, conjuring a little "ooh" and "aah" around the table with their perfectly gooey centers. I remember the very first time I nailed the timing, watching the steam curl up as I broke into that warm, dark chocolate — it was pure culinary bliss. It's the kind of dessert that feels like a warm hug and a fancy restaurant all at once.
One chilly Tuesday, feeling a bit blue after a long day, I decided these were the perfect pick-me-up, not for a crowd, but just for myself and my partner. The scent of melting chocolate filled the kitchen, a sweet, comforting cloud that instantly lifted my spirits. We ate them straight from the ramekins, huddled on the couch, the warm chocolate melting away any remnants of the day's stress. It was a simple, perfect moment of indulgence.
Ingredients
- Bittersweet Chocolate (60–70% cocoa): This is the heart of your cake; choose a high-quality bar you genuinely enjoy eating, as its flavor will shine through.
- Unsalted Butter: The richness of unsalted butter complements the chocolate without adding unwanted saltiness, letting you control the seasoning perfectly.
- Powdered Sugar: Using powdered sugar ensures a smoother batter and a more tender crumb than granulated sugar would, dissolving beautifully into the eggs.
- All-Purpose Flour: Just a tiny bit of flour gives the cakes structure, preventing them from collapsing while still allowing that gorgeous molten center to form.
- Large Eggs & Large Egg Yolks: The extra yolks contribute to the incredible richness and custardy texture, making the center extra luxurious and spoon-worthy.
- Pure Vanilla Extract: A splash of vanilla enhances the chocolate's depth, adding a warm, aromatic layer that makes the flavors sing.
- Pinch of Salt: Don't skip this tiny touch; salt is a chocolate's best friend, magically intensifying its flavor and balancing the sweetness.
Instructions
- Get Ready to Bake:
- Get that oven roaring to 425°F (220°C) – it’s crucial for that perfect lava flow! Then, butter those ramekins like you're pampering them, giving them a light dust of flour to ensure your cakes slide out beautifully.
- Melt the Chocolate:
- Gently melt your chopped chocolate and butter in a heatproof bowl set over a simmering pot of water, stirring until it’s silky smooth. Take it off the heat and let it cool just a bit so it doesn't scramble your eggs later.
- Whisk the Eggs:
- In another bowl, whisk together the eggs, extra yolks, powdered sugar, and vanilla until the mixture is thick, pale, and ribbons from the whisk. This adds air and richness.
- Combine Wet Ingredients:
- Carefully fold the slightly cooled chocolate mixture into the egg mixture until they are just combined, being gentle to keep that airy volume.
- Add Dry Ingredients:
- Sift in the flour and your pinch of salt, then fold it in with a light hand, mixing only until you no longer see streaks of flour. Overmixing will make your cakes tough.
- Fill the Ramekins:
- Divide the luscious batter evenly among your prepared ramekins.
- Bake to Perfection:
- Place your filled ramekins on a baking sheet and pop them into the preheated oven for 11–12 minutes. The edges should look set, but the centers should still jiggle slightly – that's your molten core!
- Serve Immediately:
- Let them rest for just one minute, then gently run a thin knife around the edge of each cake and invert it onto a serving plate. Don’t wait – enjoy them hot with that glorious molten center!
 Pin It
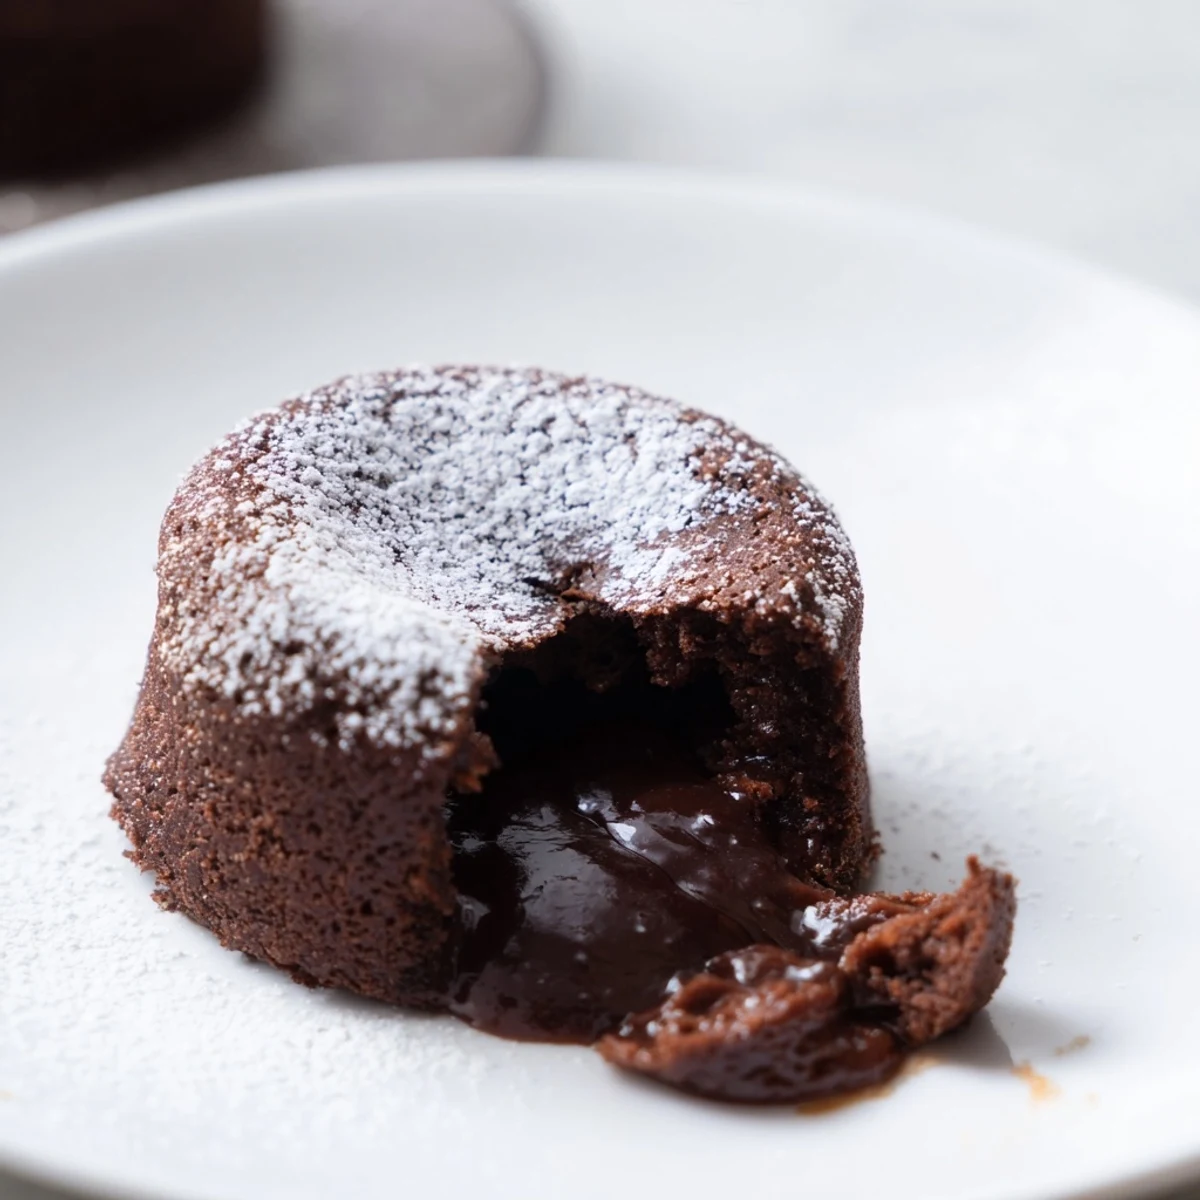
 This dessert became an unexpected star at a small dinner party once. I'd planned a rather elaborate meal, but it was these little cakes that everyone talked about, the collective gasp of delight as they cut into them. It wasn't just the taste; it was the shared experience of that moment of delicious discovery that truly made it memorable, making the cakes feel like a little celebration in themselves.
The Magic of Temperature
The specific oven temperature is absolutely key here. That high heat creates a quick crust on the outside while leaving the interior perfectly underbaked and liquid. If your oven isn't calibrated correctly, you might find your cakes either too firm or too runny, so a little familiarity with your own oven's quirks can go a long way. It's a delicate balance, but one that yields spectacular results.
Beyond the Basics of Serving
While these cakes are incredible on their own, don't hesitate to elevate them with simple garnishes. A little scoop of vanilla bean ice cream melting into the warm chocolate is divine, or a dollop of freshly whipped cream provides a lovely contrast. For an extra touch of elegance, a few fresh raspberries or a light dusting of cocoa powder can make all the difference in presentation.
Making Ahead for Effortless Entertaining
One of my favorite discoveries about these cakes is how forgiving they are for making ahead. You can prepare the batter, fill your ramekins, and pop them in the fridge for several hours, or even overnight. Just remember to add an extra minute or two to the baking time straight from the cold. This little trick means you can have a showstopping dessert ready with minimal fuss right when your guests arrive.
- Always bring chilled ramekins to room temperature for about 15 minutes before baking if possible, to help ensure even cooking.
- Consider having your serving plates ready and warm to keep the cakes at their best temperature.
- Don't be afraid to experiment with a tiny pinch of espresso powder in the batter for an even deeper chocolate flavor.
 Pin It
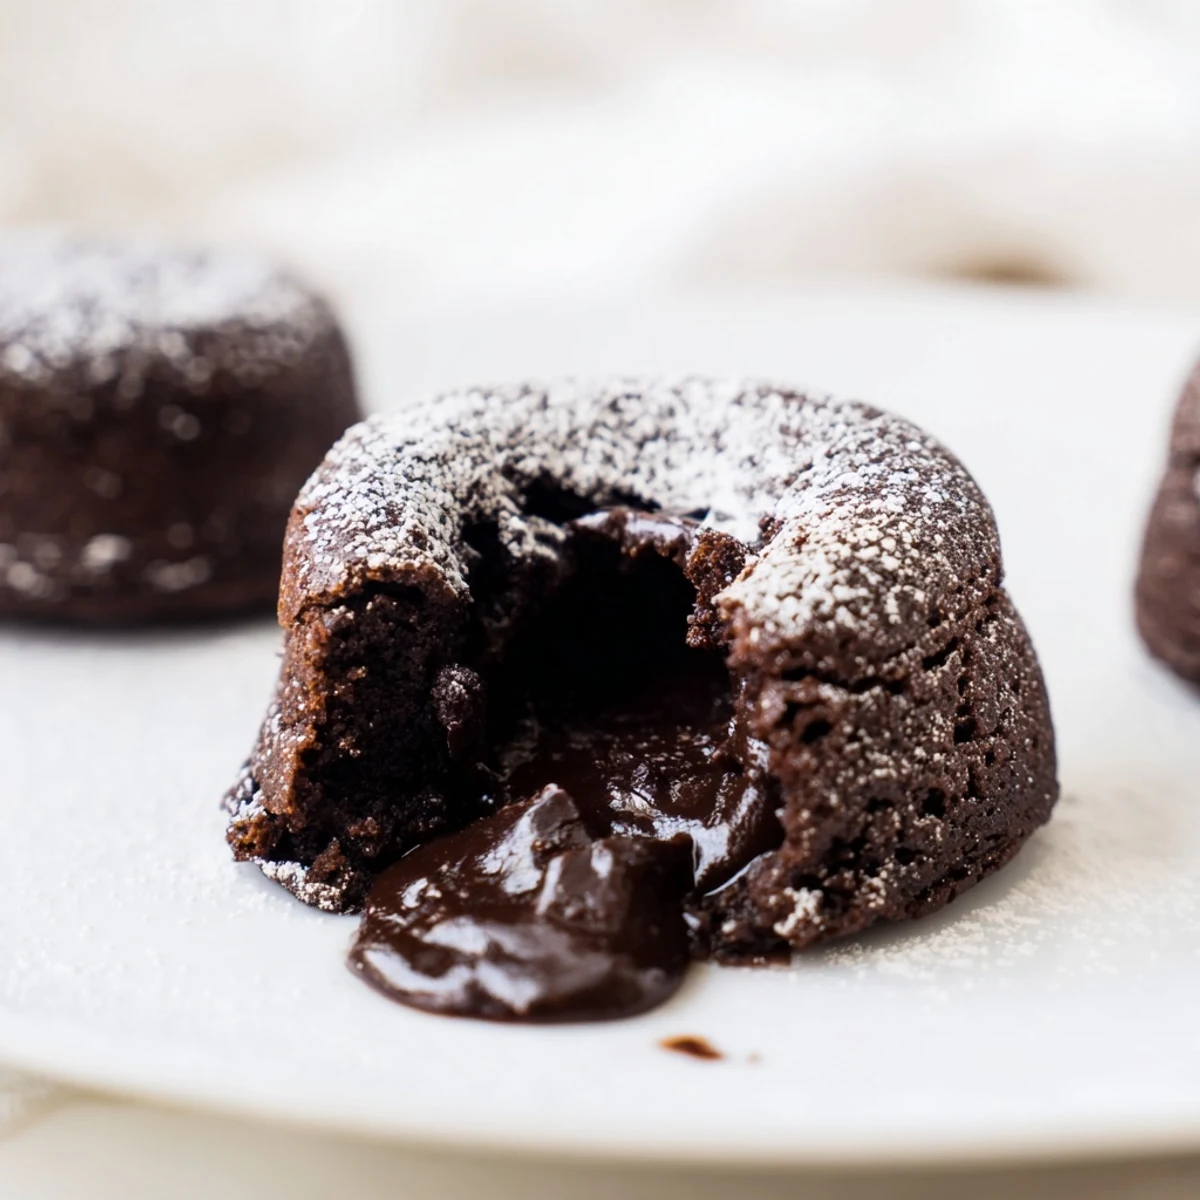
 These molten chocolate cakes are more than just a dessert; they’re a small indulgence, a moment of warmth, and a little piece of culinary magic. Go on, create some magic in your own kitchen tonight!
Recipe FAQs
- → How do I ensure the center remains perfectly molten?
-
The key is precise baking time. Bake just until the edges are set and appear puffed, but the very center still looks soft and slightly jiggly. Overbaking will solidify the core, so watch carefully and remove promptly.
- → Can these be made ahead of time?
-
Yes, the batter can be prepared and poured into greased ramekins up to 8 hours in advance. Store them covered in the refrigerator. If baking from chilled, add an extra minute to the cooking time to compensate for the lower starting temperature.
- → What are the best ways to serve these delightful cakes?
-
These cakes are exquisite served warm, inverted onto plates. Enhance their presentation and flavor with a dusting of powdered sugar, a scoop of vanilla bean ice cream, a dollop of fresh whipped cream, or a side of fresh berries like raspberries or strawberries.
- → What if I don't have ramekins?
-
While ramekins are ideal for individual portions, you could use a muffin tin for smaller versions, though the baking time will need adjustment. Ensure whatever you use is oven-safe and properly greased and floured.
- → Can I use semi-sweet chocolate instead of bittersweet?
-
Absolutely. Using semi-sweet chocolate will result in a slightly milder and sweeter flavor profile. Adjust the amount of powdered sugar slightly if you prefer less sweetness, but generally, it's a direct substitute.
- → How do I know when the cakes are cooked just right?
-
Look for the edges to be firm and slightly risen, while the very center should still appear glossy and soft, possibly even wobbly when gently shaken. An instant-read thermometer inserted into the edge should read around 180-190°F (82-88°C).
